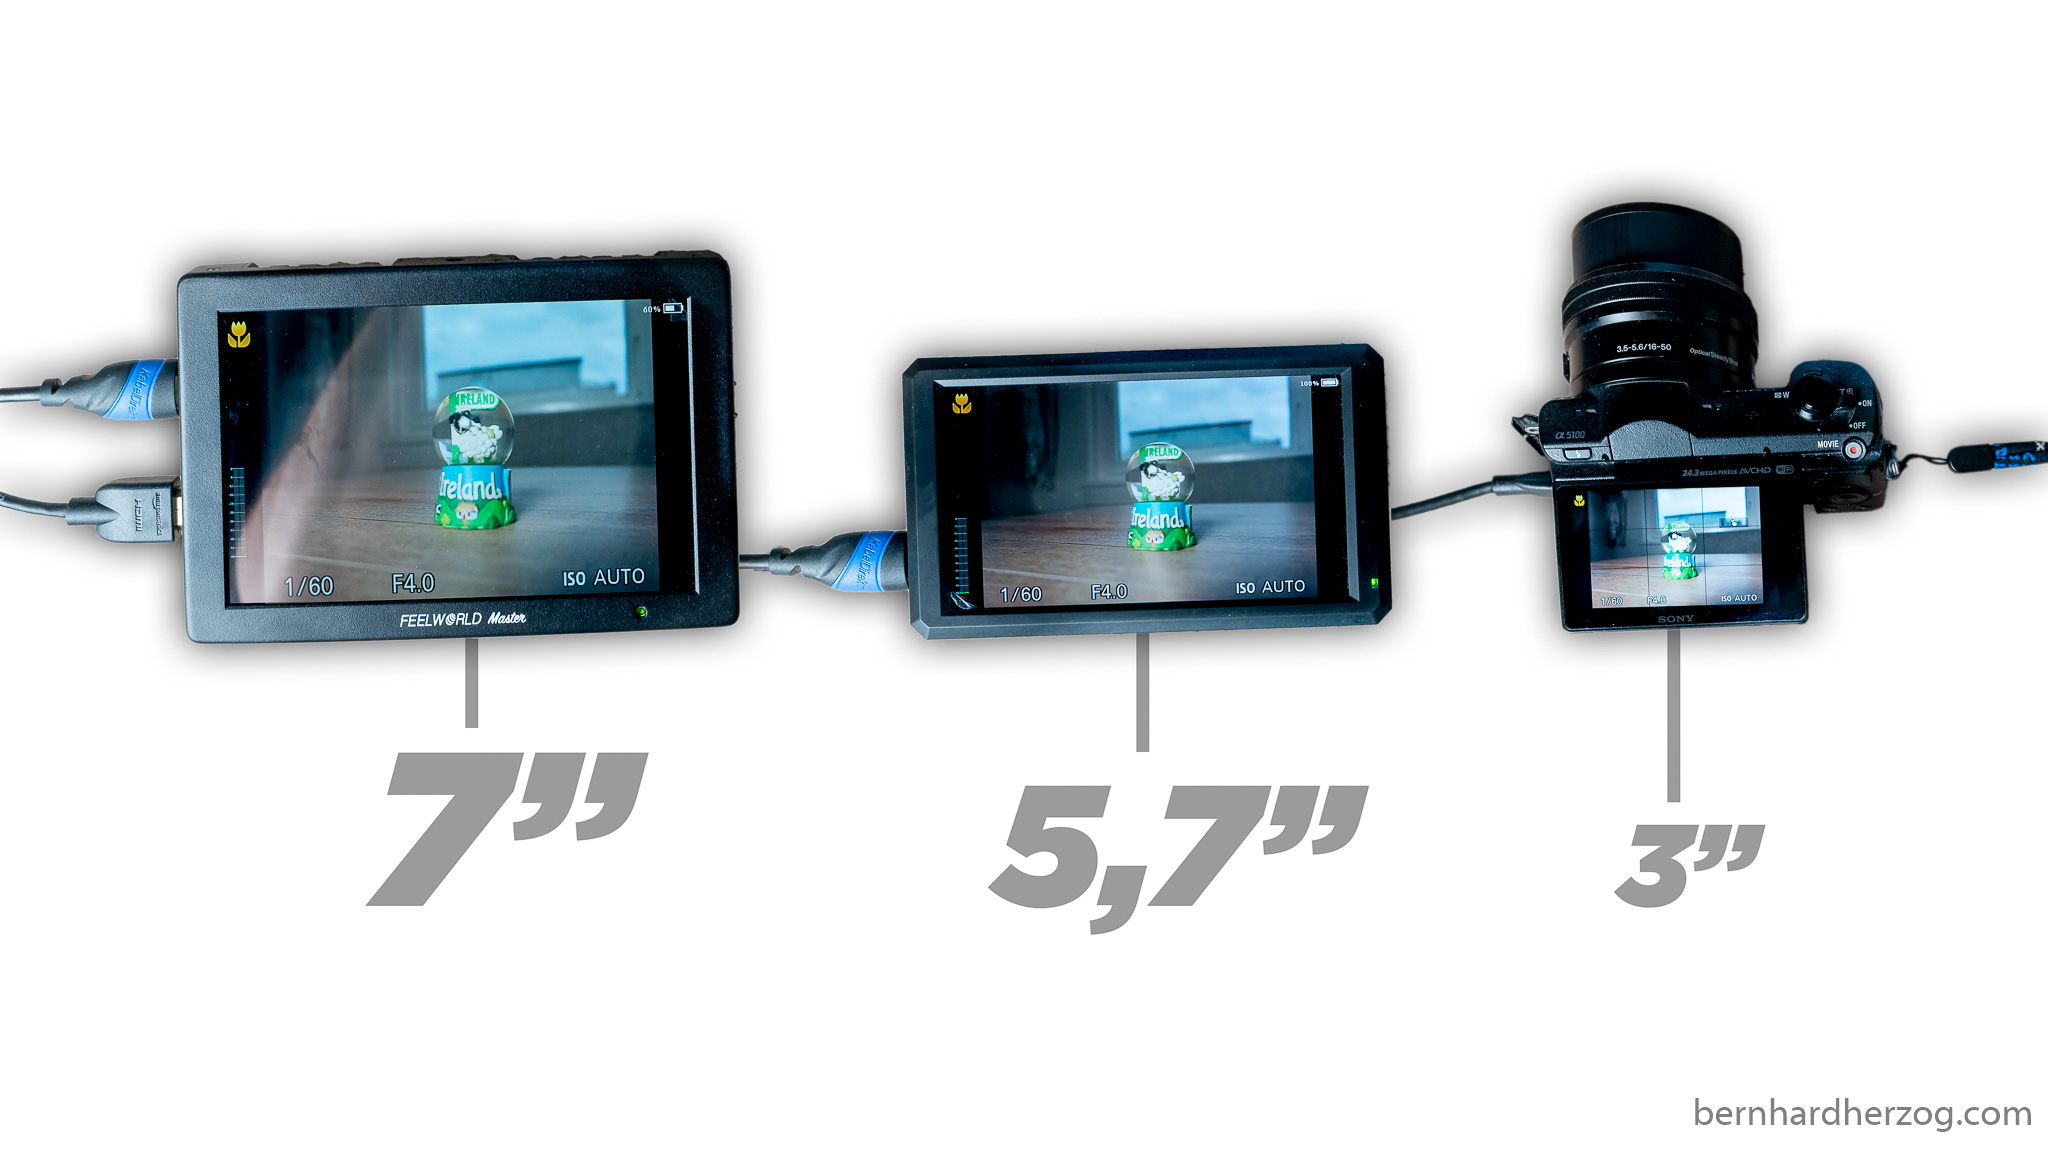
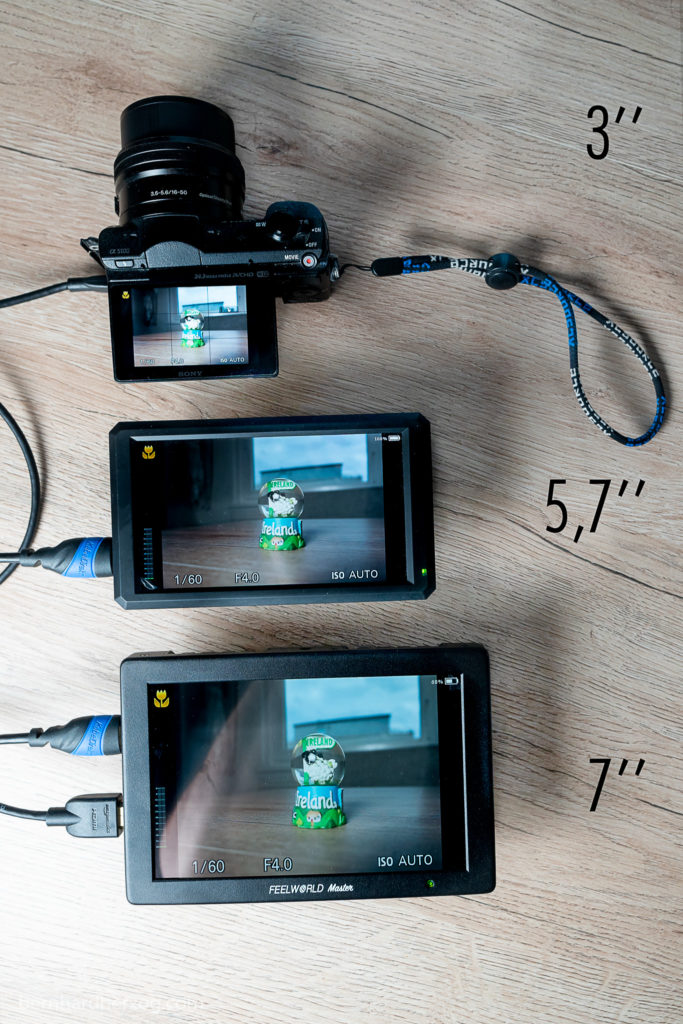
On-camera monitors are important to see what is in focus and when filming yourself. Today I want to test the new on-camera monitors from Feelworld. Deciding on which size to buy is not easy. The monitors in the master series are available in 3 sizes: 5 inches, 5,7 inches and 7 inches. Because I will use the monitor mostly in my home studio choosing the largest size was the obvious choice for me. Read on to see if it was the right one.
YouTube-Video
Advantages of a bigger monitor
I use the monitor when making videos. When I want to film myself with the Sony a6500 I cannot see myself on the camera screen. I think the only Sony camera that can do this is the old a5100, but it has no 4k unfortunately:
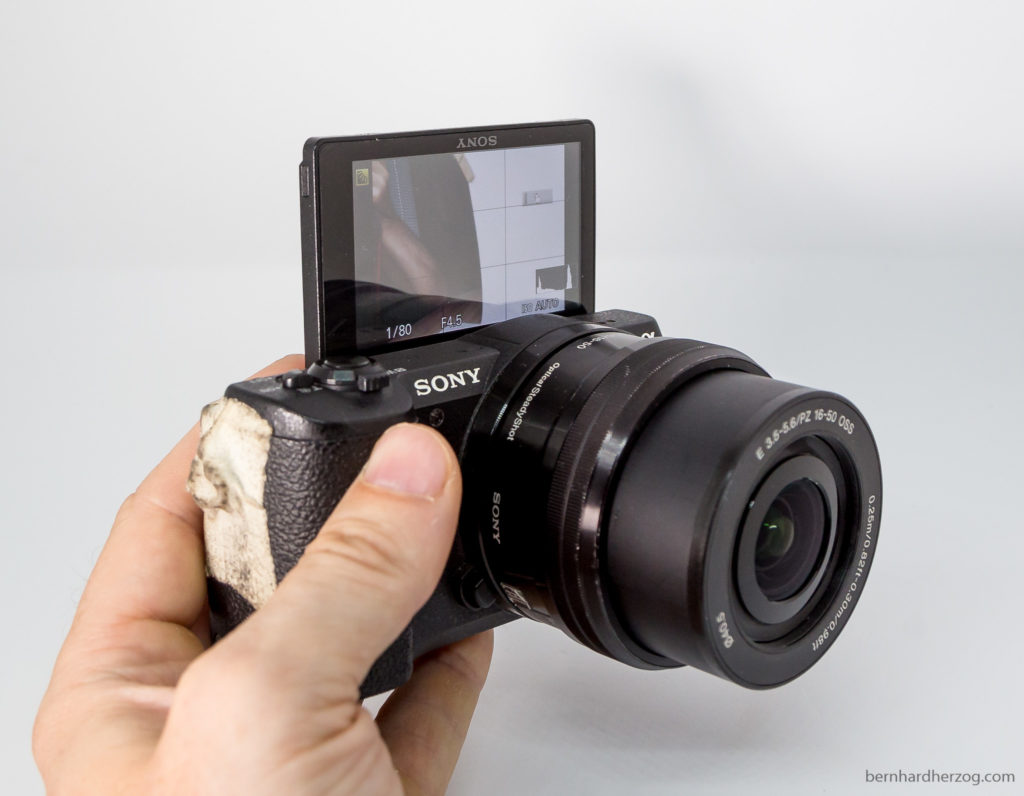
An external monitor solves this problem, I can use it for framing and to see if I am or the subject is in focus.
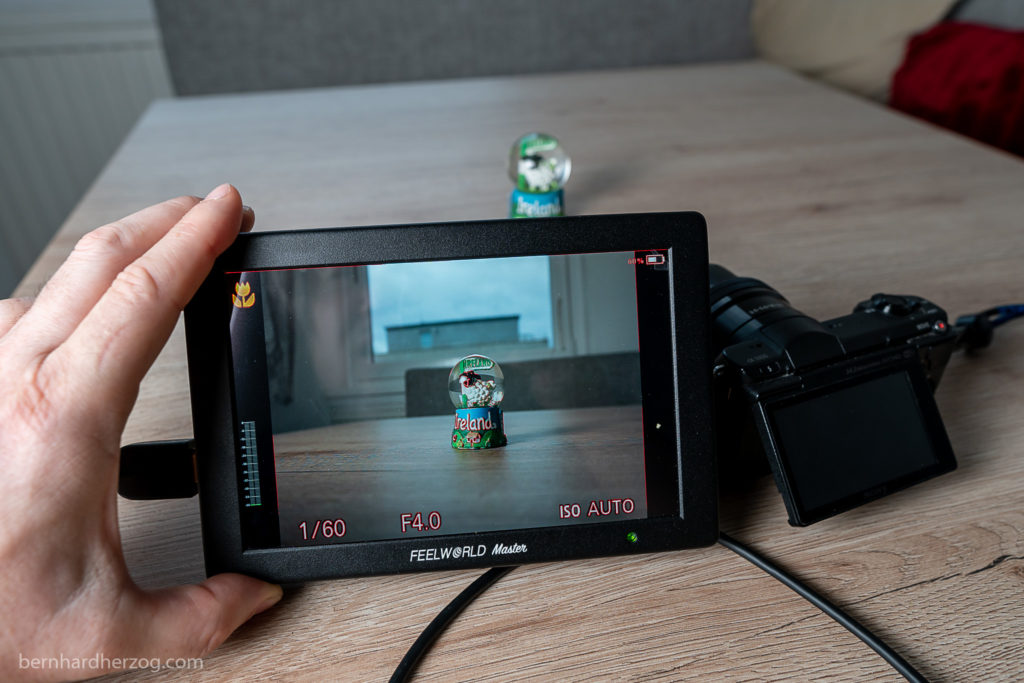
For focusing a bigger monitor is better, I can see better the details, even if I am further away. On the camera screen it is very difficult. A small monitor is more lightweight and therefore better for mobility and to use on a gimbal.
When I am on the road my shooting style is more like run-and-gun so I would not have time to set up a monitor anyways.
If you want to use the monitor on the road I would recommend the MA6 or MA5. Those monitors are smaller and made out of plastic.
Feelworld Master MA7 specification
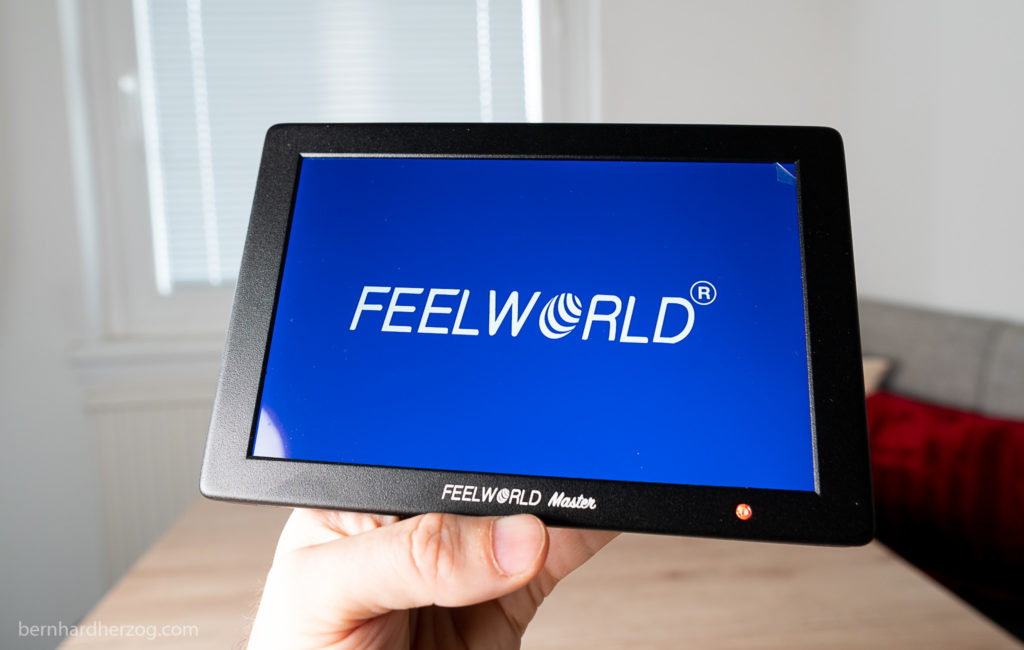
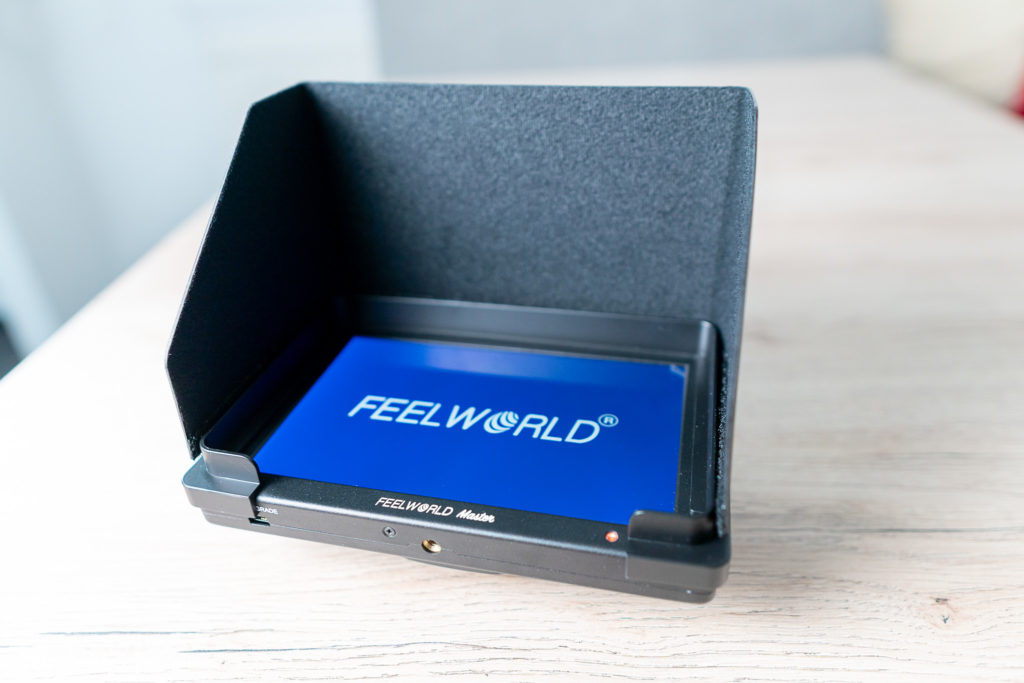
The Feelworld Master MA7 is made out of aluminium and looks very premium.
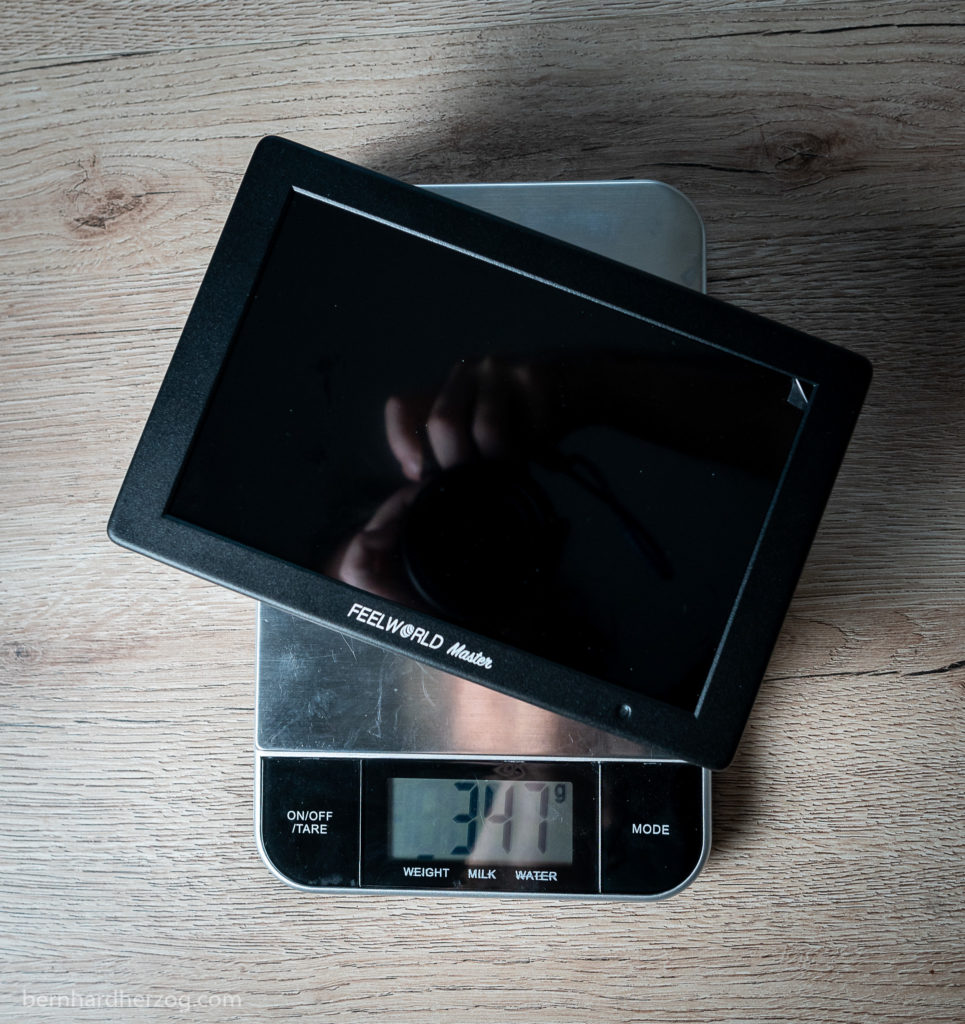
The monitor weighs in at ca. 350g (without battery):
What’s in the box
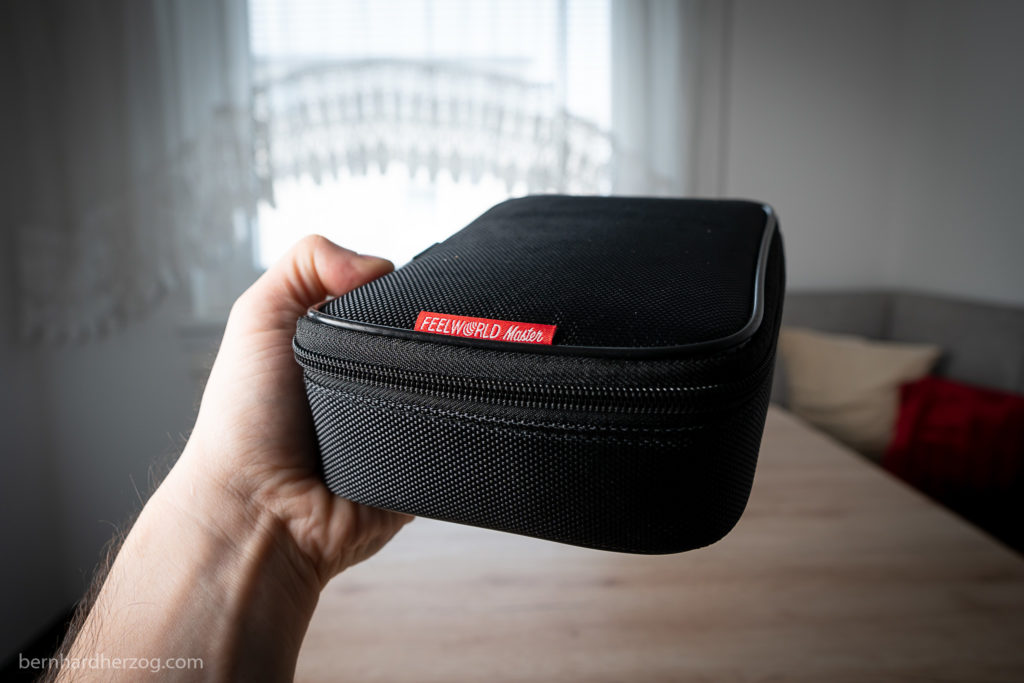
The monitor comes in a nice carrying bag that is very good for protection.
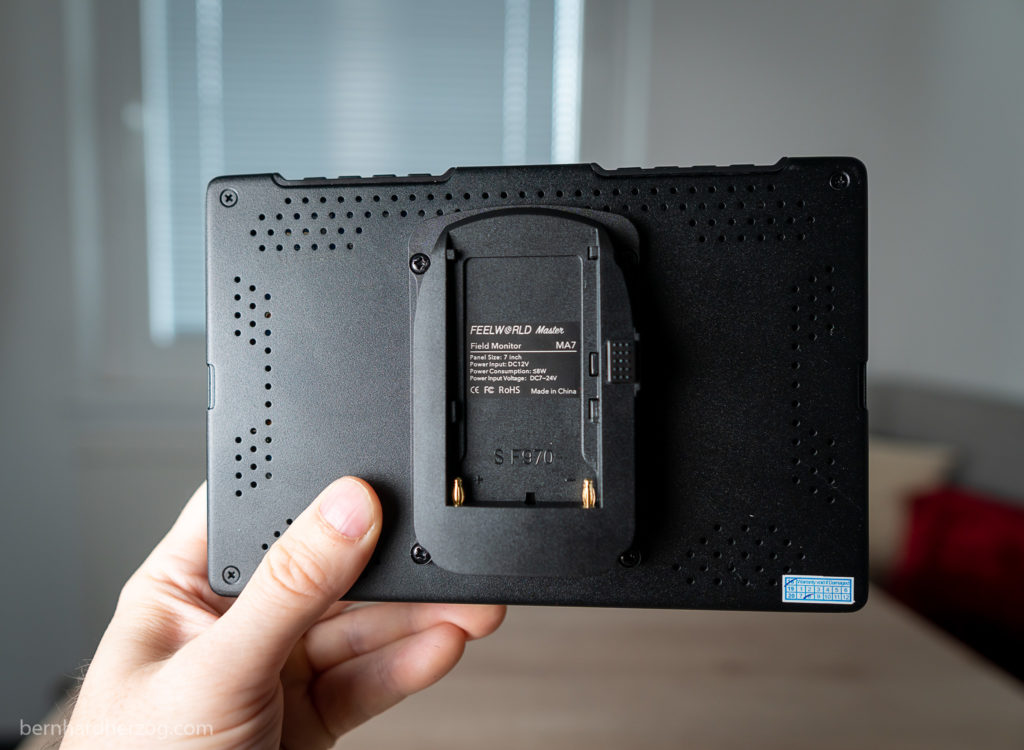
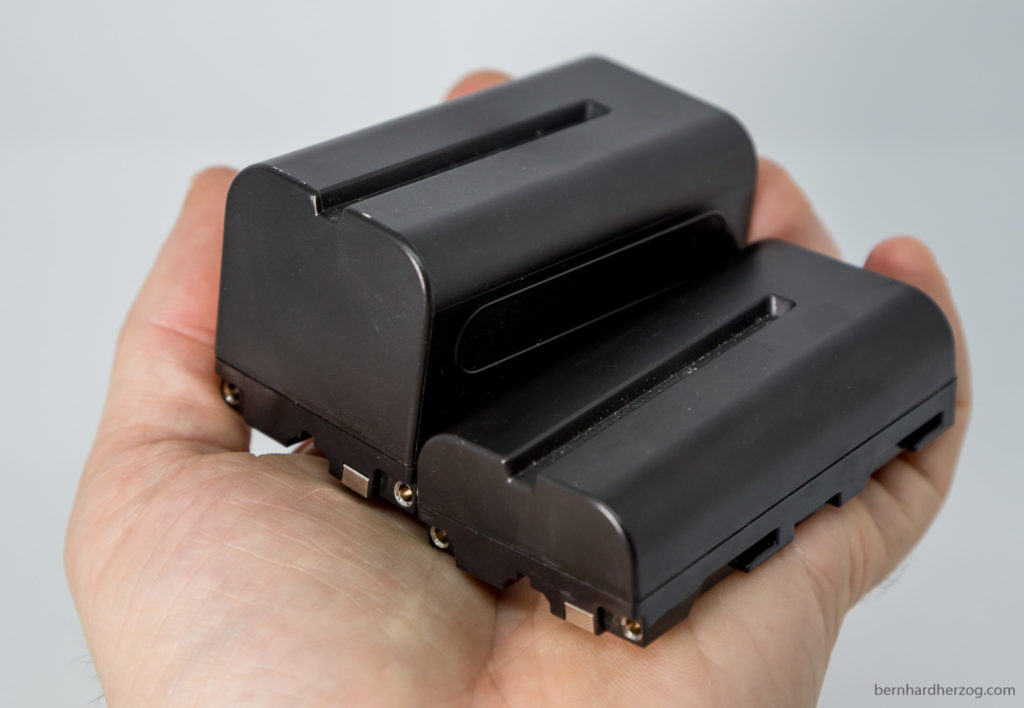
On the back of the monitor there is a battery plate to put Sony NP-Fxxx-style batteries. This works very nicely and there is a button to release the battery.
Those batteries have to be bought separately but are available from many manufacturers and can be used on video lights as well.
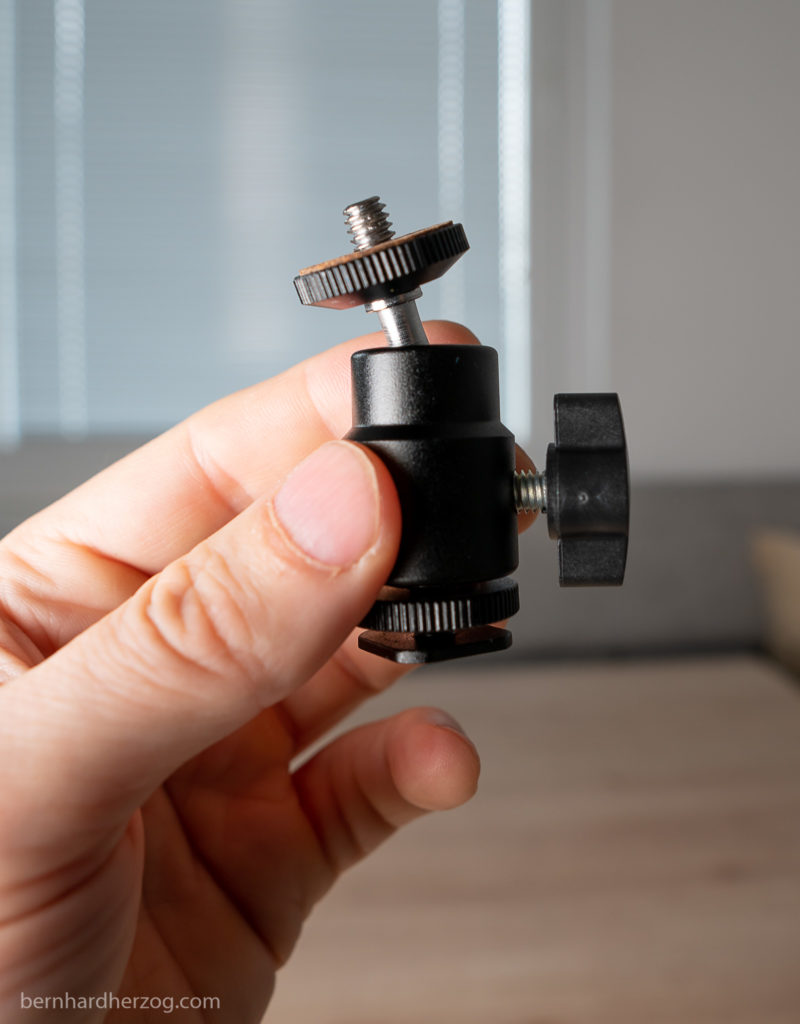
The monitor can be mounted on the camera using the included ball head:
The MA5 and MA6 have a tilt arm but the MA7 just this tripod head, I think because of its already big size.
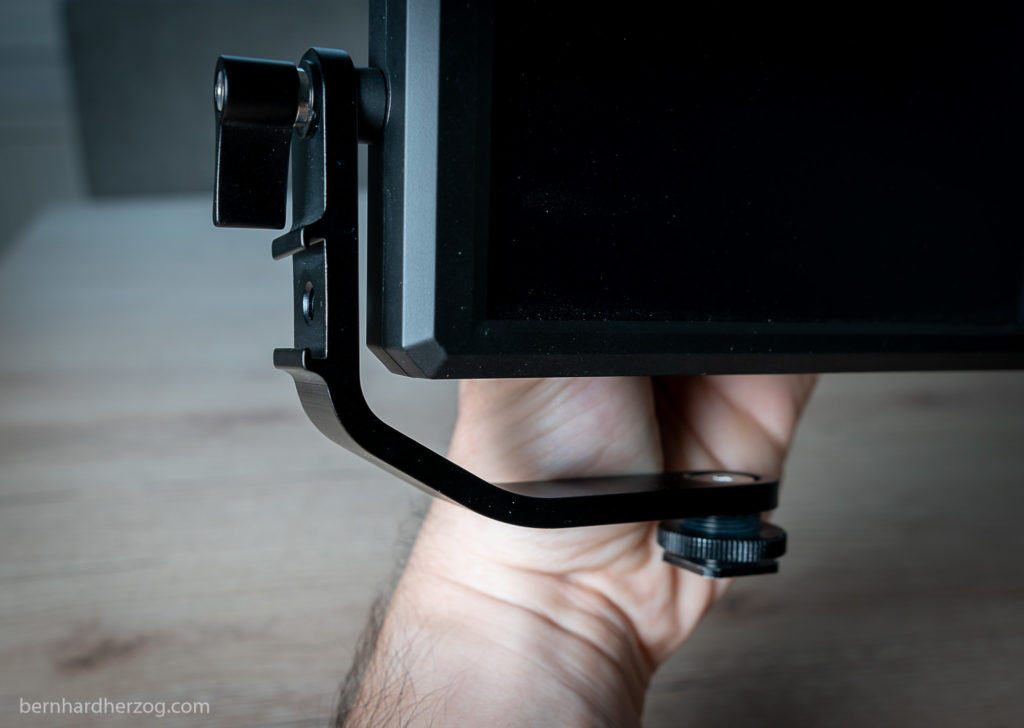
Advantage of having a tilt arm is that it is possible to mount the microphone on the side of the arm, when the hot shoe on the camera is already occupied by the monitor. You can also very easily tilt the monitor.
The problem with the tilt arm is that when you rotate it to film yourself the screen will be upside down because it does not have a sensor to detect the orientation. You have to mirror the screen via the menu manually. This is not necessary with a ball head, because you would just rotate the screen horizontally.
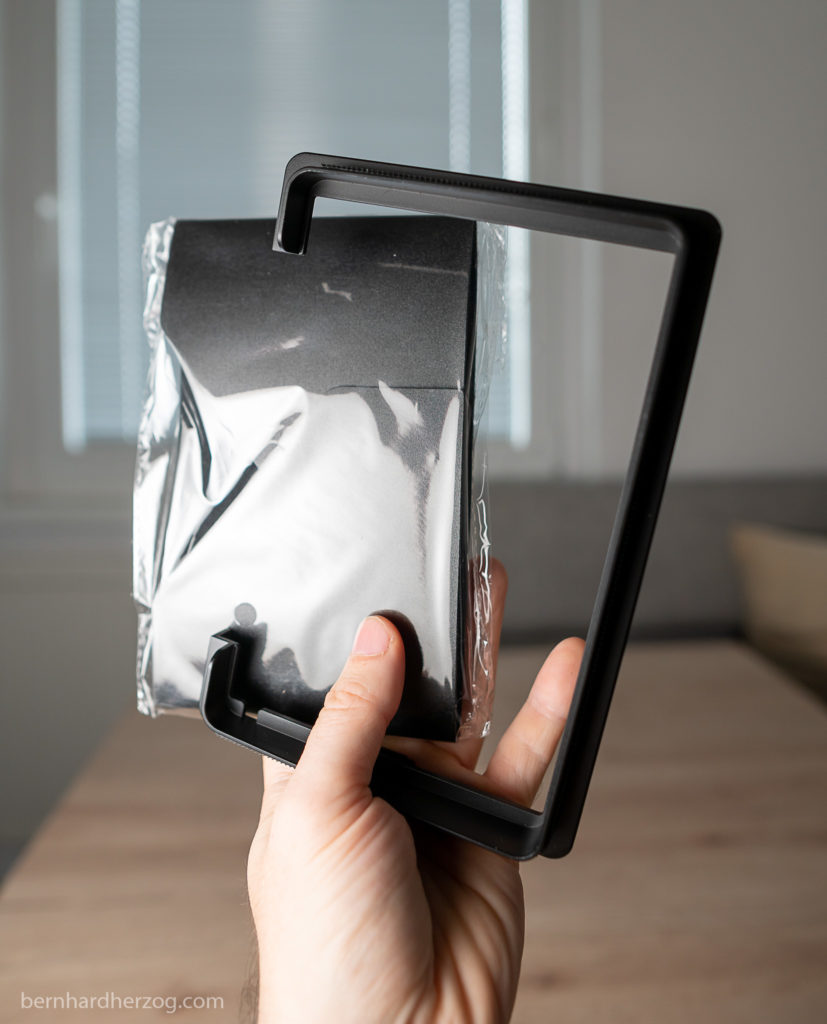
Then there is a sunshade and a frame to put the sunshade on the monitor.
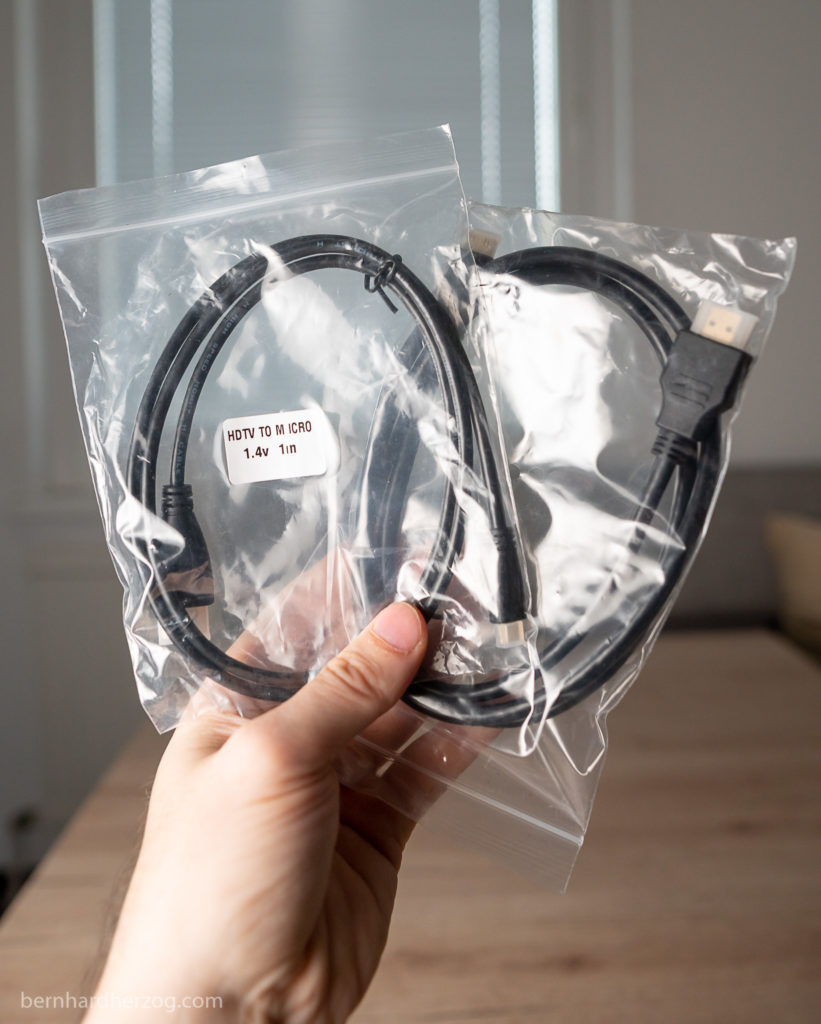
Last but not least the package contains two HDMI cables to connect the monitor to the camera, one for Micro- and the other for Mini-HDMI. I will need Micro-HDMI for my Sony camera.
Monitor review
My Home Studio Setup
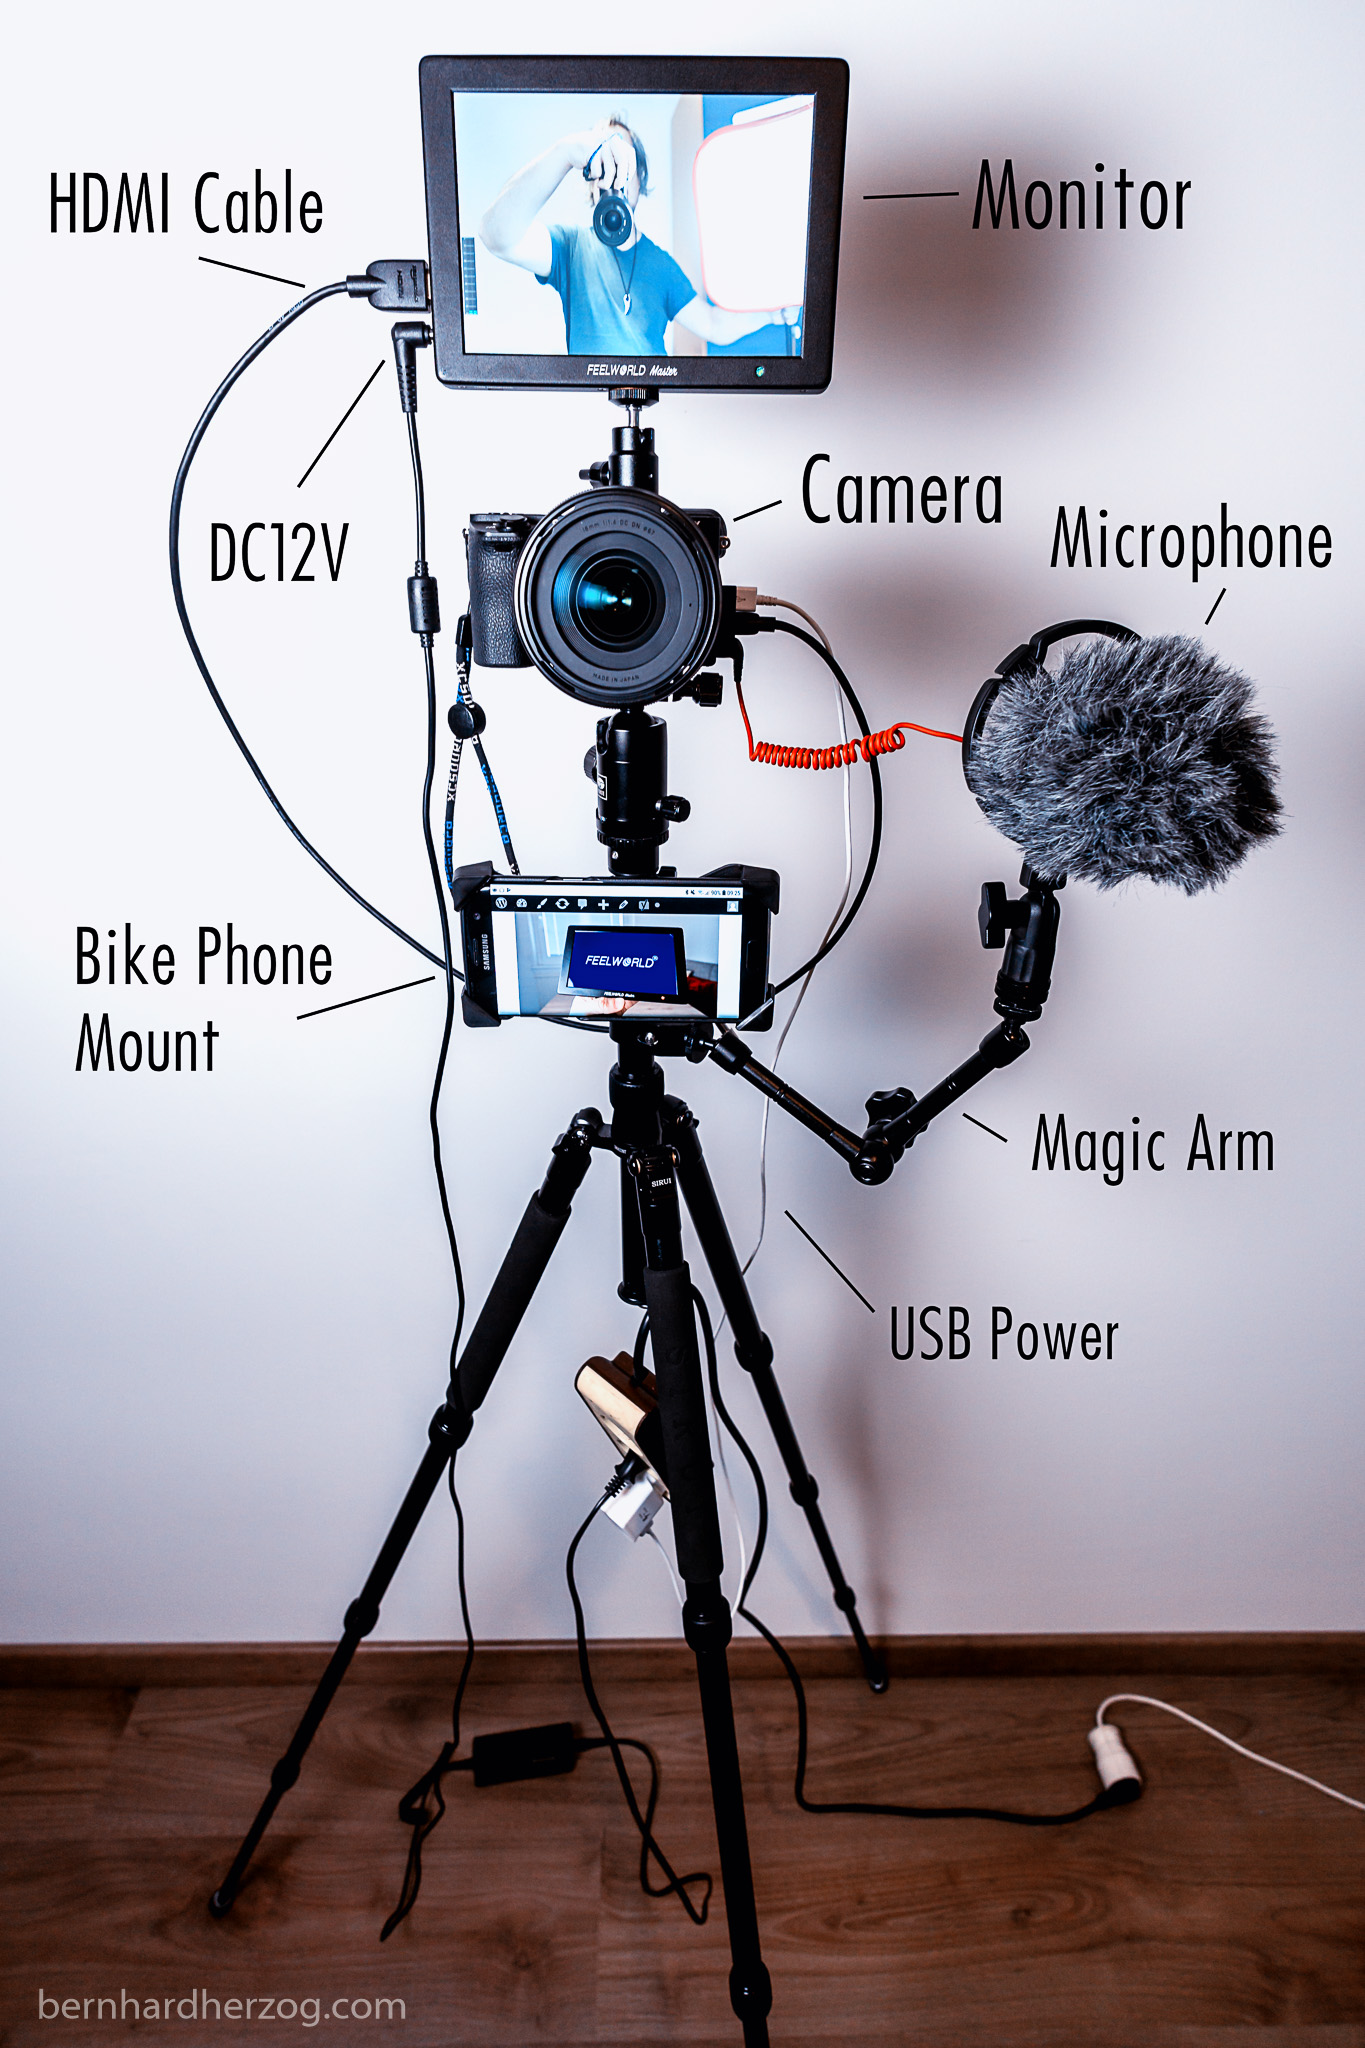
I want to show you my new home studio setup first:
As you can see I have mounted the monitor on top of my camera (Sony a6500). I am really happy with its big size.
The microphone is mounted on a magic arm. This is nice because I can move the microphone closer to myself to record better quality audio.
I power the monitor using a 12V power adapter and the camera using USB. So I don’t have to worry about running out of batteries (which used to happen a lot when filming in 4K with my Sony camera).
Then I also have a bike phone mount so that I can use my phone as a teleprompter.
The tripod has a hook to hang a bag as a weight on it to have it more stable. I use this to hang my cables so that they don’t put any stress on my camera or monitor.
I will link to all products at the end of the article.
Using the monitor
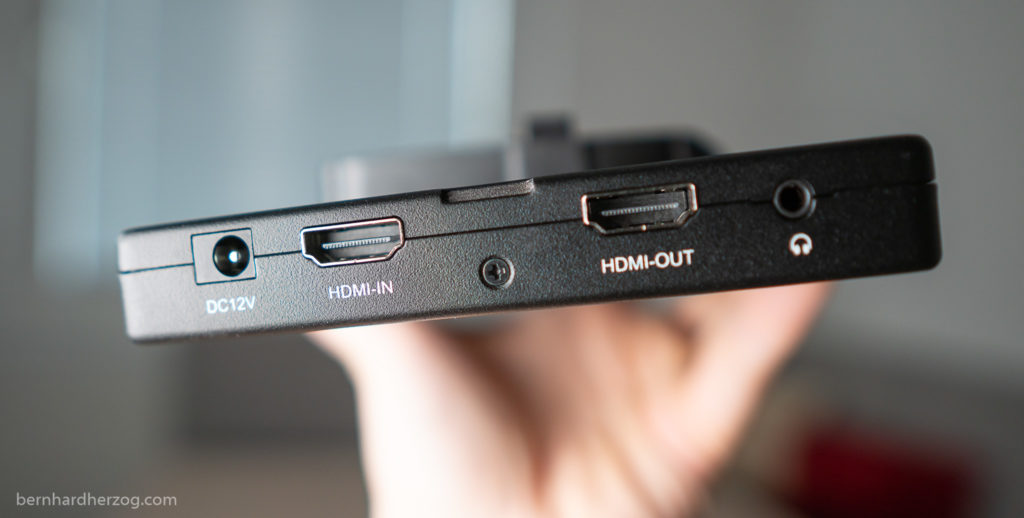
On the side of the monitor there is a DC 12V power input, an HDMI-in and an HDMI-out port and a headphone jack.
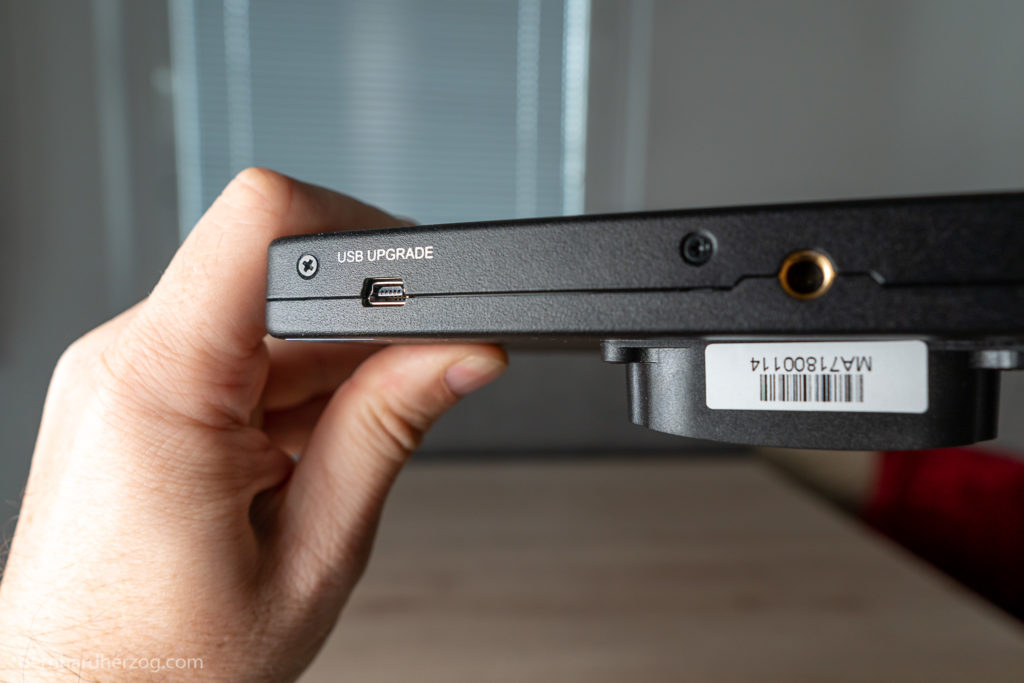
On the bottom of the monitor is a tripod mount and an USB upgrade option (being just for the manufacturer presumably).
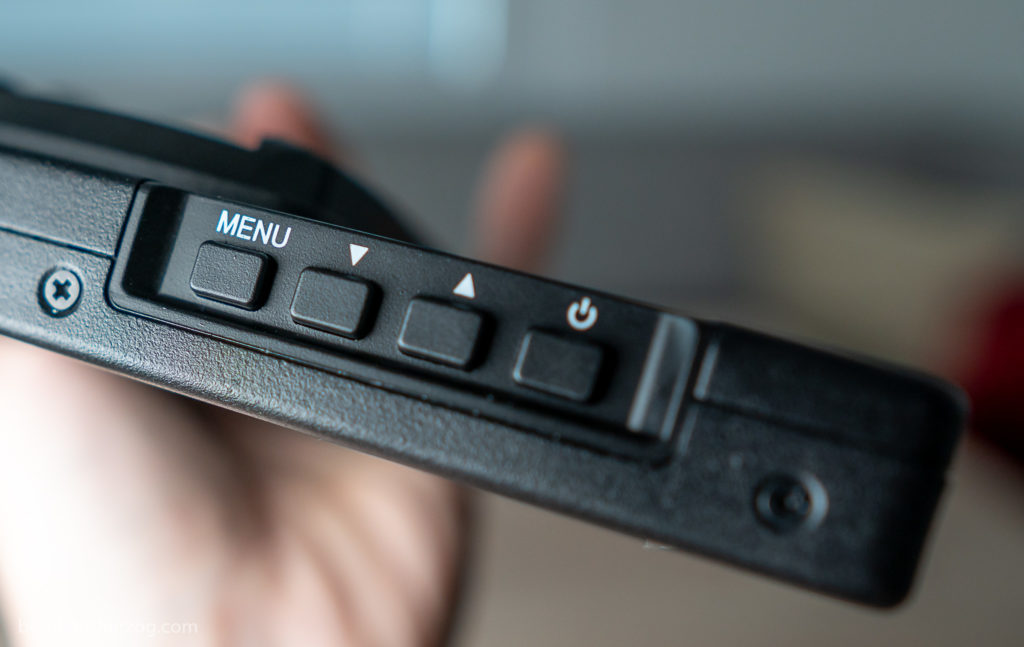
The monitor can be turned on holding the button on the top.
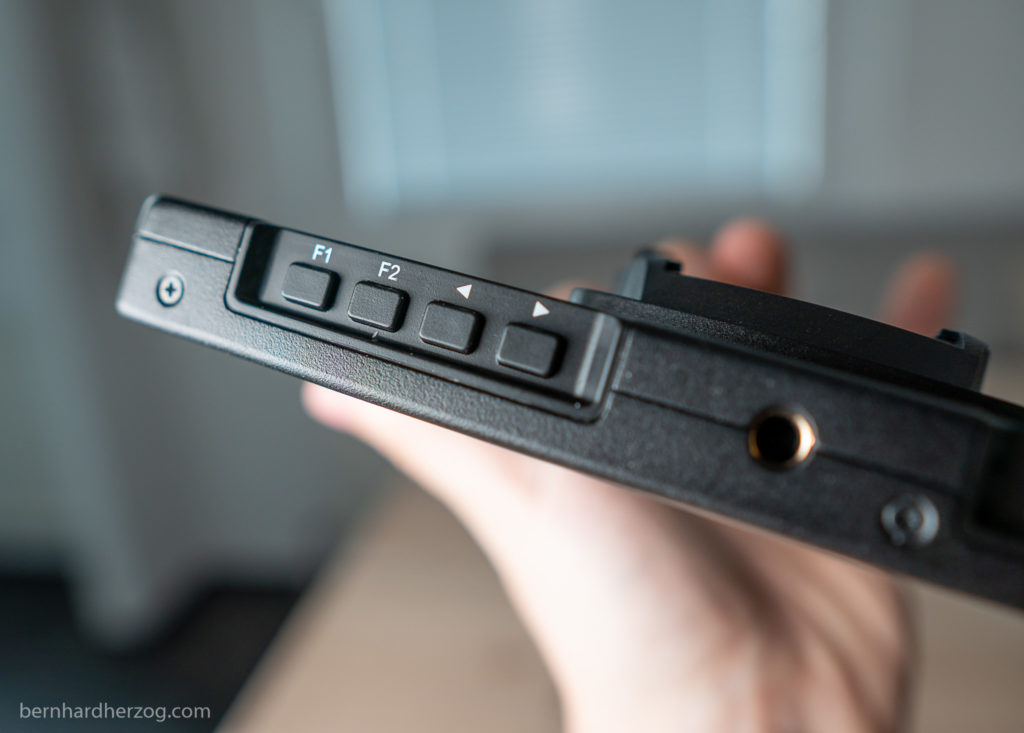
There is also a menu button and buttons to scroll through the menu. It is also possible to mount the monitor on top as well and there are two function buttons:
I have assigned the following functions:
- Focus Assist (Focus Peaking)
- False Colors
Focus Peaking is very important for me to see what is in focus. There is nothing worse than having the subject slightly out of focus. Especially when filming in 4k I want a sharp picture.

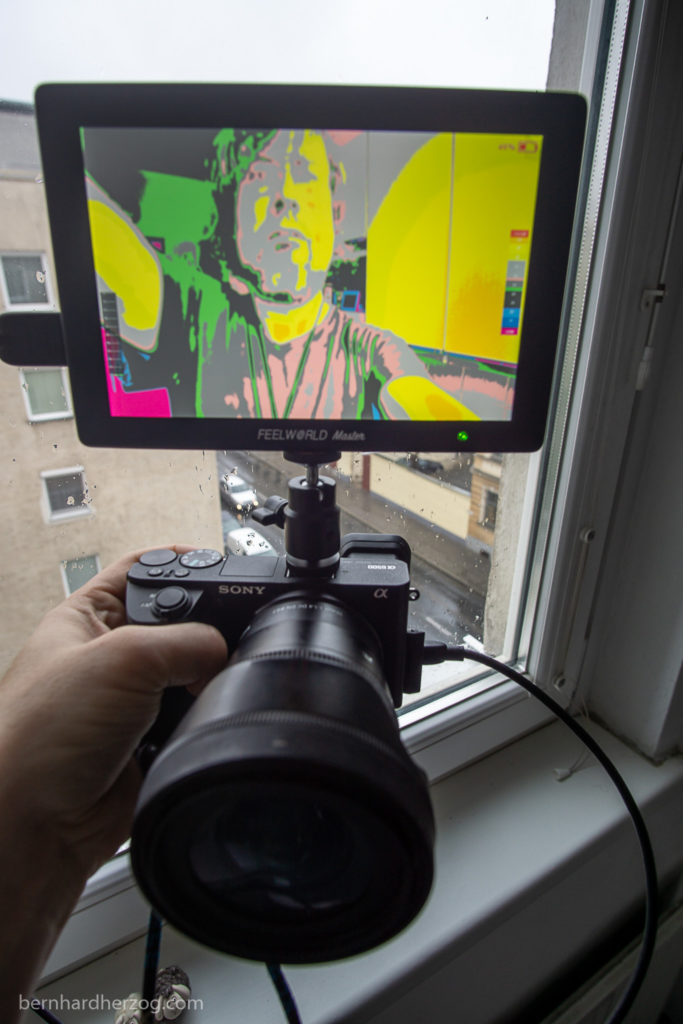
At first I did not understand the false colors function. But now it is invaluable to me. With a histogram you can just judge the picture in general, i.e. if it is over- or underexposed. With false colors you can actually see the luminosity of the picture.
For example skin tones should be around 70 IRE (light grey/pink). When I film with different light setups I can try to match the exposure of the shots by looking at the false colors. I can also see which areas are over- or underexposed.
Here is a list of other functions that I like:
- Audio Meter – to check if my audio does not clip
- Histogram – to check the distribution of brightness
Of course the monitor has a lot of other functions but until now I did not use them too much.
Conclusion
Until now I am really happy with the Feelworld Master MA7 monitor. It has the perfect size for my home studio.
Here is what I like about this monitor:
- aluminium and very premium looking, thin
- very bright and detailed picture (Full HD screen)
- battery plate on the back works very well
- external power option
- HDMI in and out
I cannot really say anything bad about this monitor. Of course the smaller monitors have a tilt arm as well but this also has disadvantages when rotating the monitor to film yourself. I.e. the screen will be upside down if you flip it because it has no sensor to detect its orientation. You have to flip it back using the mirror function in the menu. But it is possible to mount a microphone as well which is a plus.
If you need something more lightweight for on the road use or for use with a gimbal I would definitely recommend the smaller monitors MA5 and MA6 (the MA6 being my favorite).
If you have any question about or experience with the monitor please comment below I appreciate it.
Please use the following links for buying. I will receive a small kickback for my efforts from anything you buy from these links without additional costs for you. THANK YOU!
amazon.de:
Feelworld Master MA7
Feelworld Master MA6P
Feelworld Master MA5
Small DSTE Batteries with charger
Medium sized DSTE Batteries
Leike Power Adapter
amazon.co.uk:
Feelworld Master MA7
Feelworld Master MA6P
Feelworld Master MA5
Small DSTE Batteries with charger
Medium sized DSTE Batteries
Leike Power Adapter
amazon.com:
Feelworld Master MA7
Feelworld Master MA6P
Feelworld Master MA5
Small DSTE Batteries with charger
Medium sized DSTE Batteries
Leike Power Adapter
amazon.fr:
Feelworld Master MA7
Feelworld Master MA6P
Feelworld Master MA5
Small DSTE Batteries with charger
Medium sized DSTE Batteries
Leike Power Adapter
amazon.es:
Feelworld Master MA7
Feelworld Master MA5
Small DSTE Batteries with charger
Medium sized DSTE Batteries
Leike Power Adapter
amazon.it:
Feelworld Master MA7
Feelworld Master MA6P
Feelworld Master MA5
Small DSTE Batteries with charger
Medium sized DSTE Batteries
Leike Power Adapter
Recommended camera equipment for photo, video & travelling (AMAZON):
Sony a6600
Sony a6400 (cheaper)
Sony a6100 (Budget-Option for 4K)
Sigma 16mm 1.4
Sony 35mm 1.8
Samyang 12mm 2.0
Feelworld Master MA7
Smaller monitor
Rode VideoMicro
Rode Wiress Go II
Mini Tripod
Travel Tripod
Small LED-Light
Light #1 (powerful)
Light #2 (Bi-Color)
Softbox for this light
Light tent/box
DJI Osmo Action
GoPro 9
GoPro MAX
Invisible Selfie Stick
Mavic Mini 2 drone
Mavic Air 2
for photo and video:
Fuji XT-4
Fuji Telezoom
Entry level camera (Canon)

Leave a Reply