Today I am testing the new Wireless Microphone system from Moman, the Moman C2 (Moman sent me the microphone for testing). I will test the audio quality of this brand new microphone. I will use it on my Gimbal and film an online Yoga class as a real world test. I will even print some parts for the wireless microphone using my 3d printer! Please read on to learn more!
(This article is also available in German, click here if you want the German version!)
Why my external audio recorder finally retires
Until now I was using an external audio recorder, the Zoom H1 and I was syncing the audio in post. I did this to have clear audio, also when I am more far away from the camera. But this was a really time-consuming process and a real pain in the ass.
I was always dreaming of having a wireless microphone to avoid this step. The Moman C2 is a dream come true, it has a very small size similar to the Rode Wireless Go.
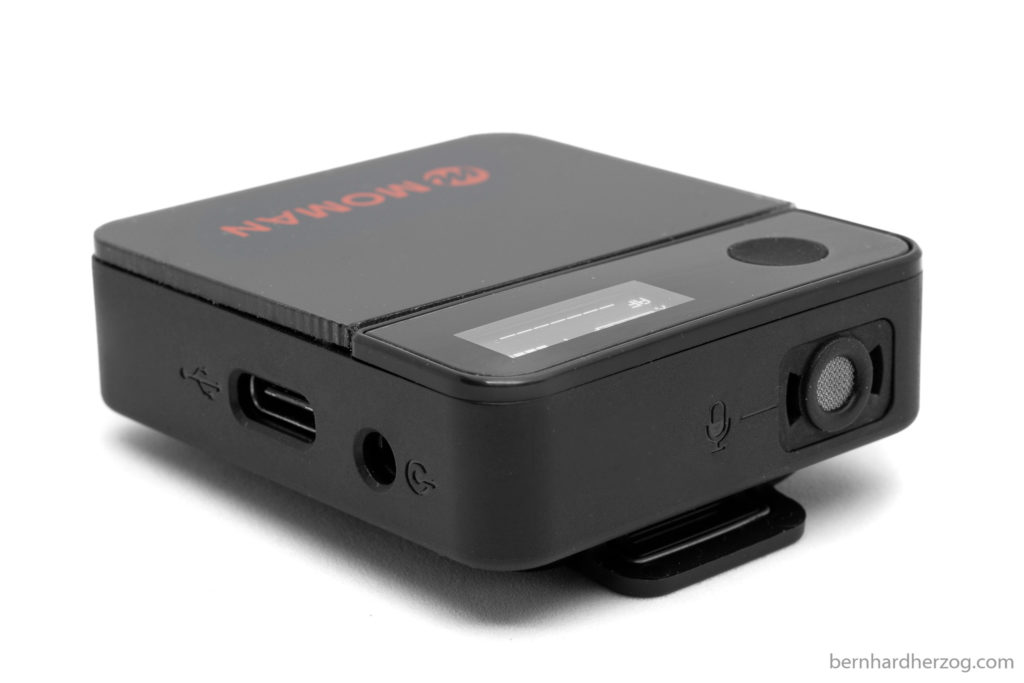
I will test the audio quality of this brand new microphone. I will use it on my Gimbal and film an online Yoga class as a real world test. This is really popular right now because of the pandemic. I will even print some parts for the wireless microphone using my 3d printer!
Video
2,4 GHz vs. UHF
The Moman C2 uses the WLAN frequency band which is 2,4 GHz. The advantage of this compared to using UHF is that the receiver and the transmitter is smaller. The disadvantage is that the operating distance is limited and that the frequency is shared with other WIFI devices.
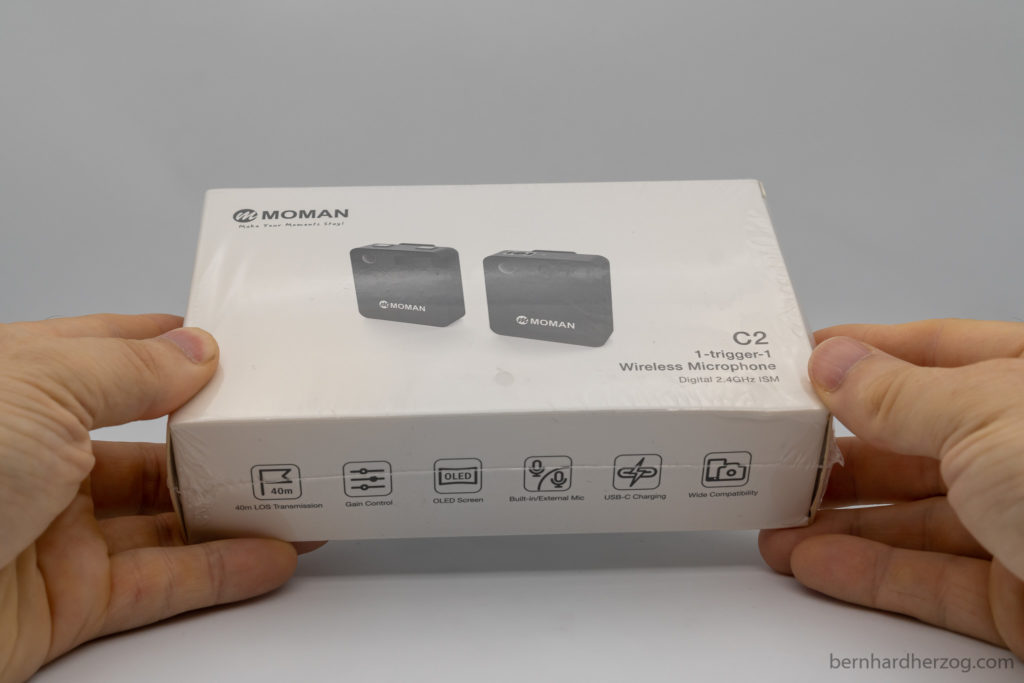
The Moman C2 has an operating distance of 40m when there is a clear line of sight (the transmitter facing the receiver) and 20m when there are obstacles in between.
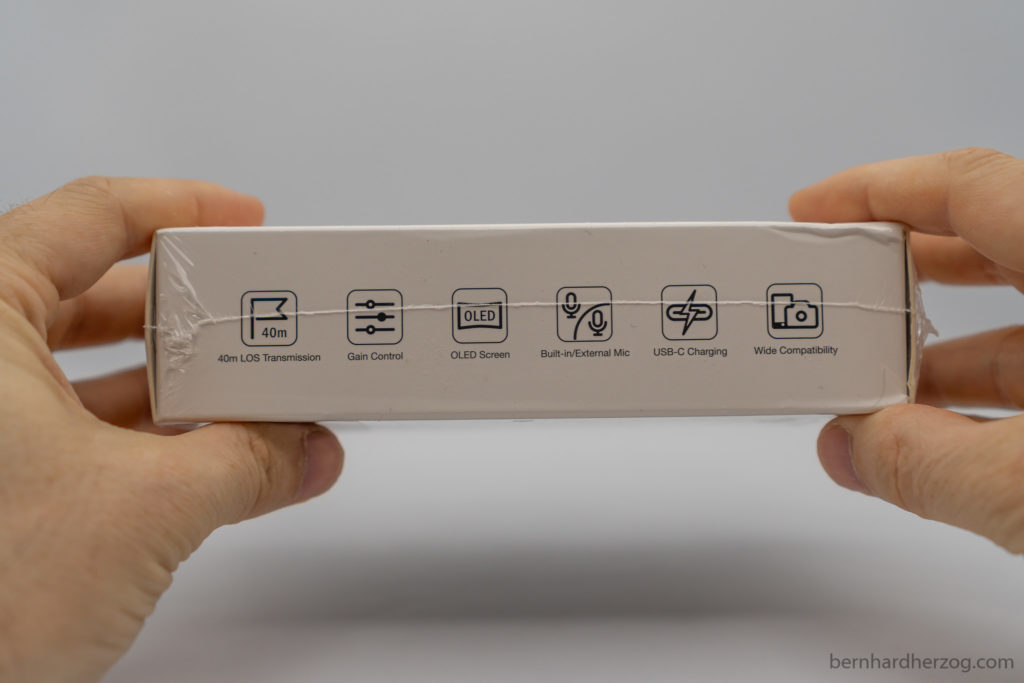
Because I cannot think of any use case for me where I would have to put the microphone really far away this is not a real problem for me. Only situation maybe would be when filming a Yoga class (I will test this later).
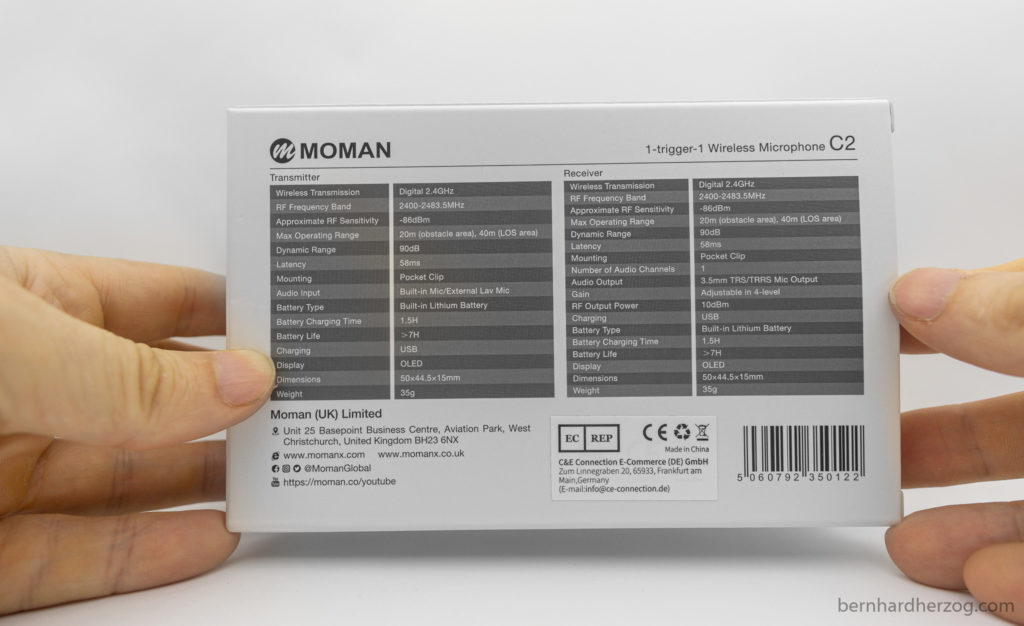
Unboxing
The Moman C2 comes in a nice protective hard case.
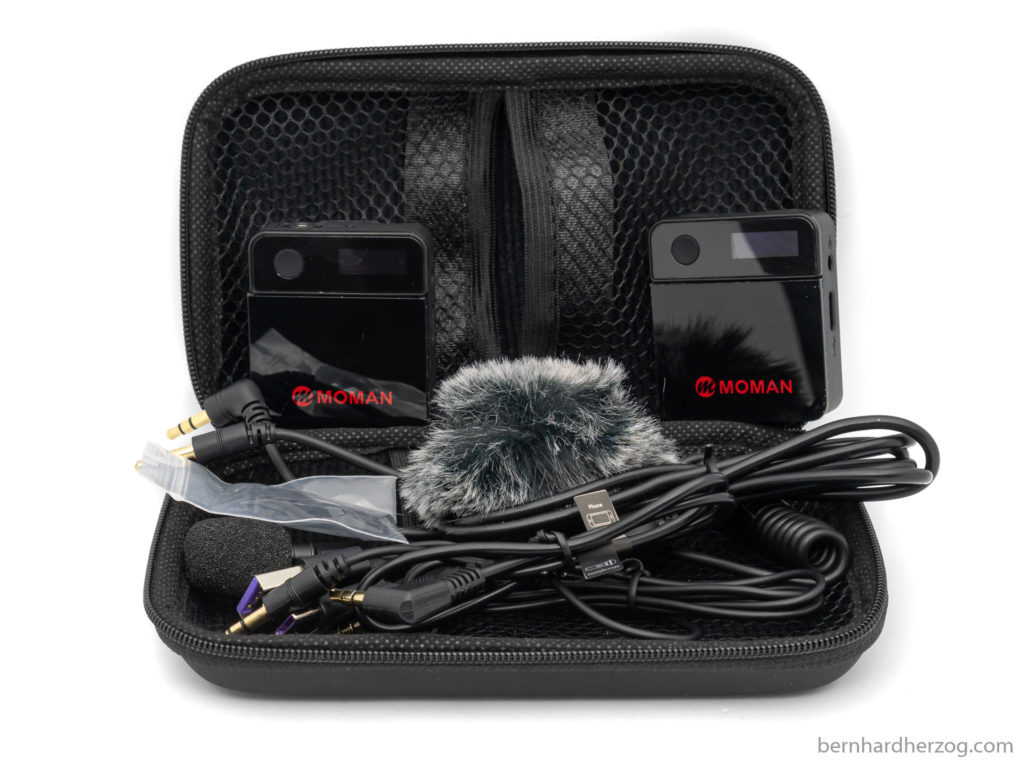
Here you can see what’s inside:
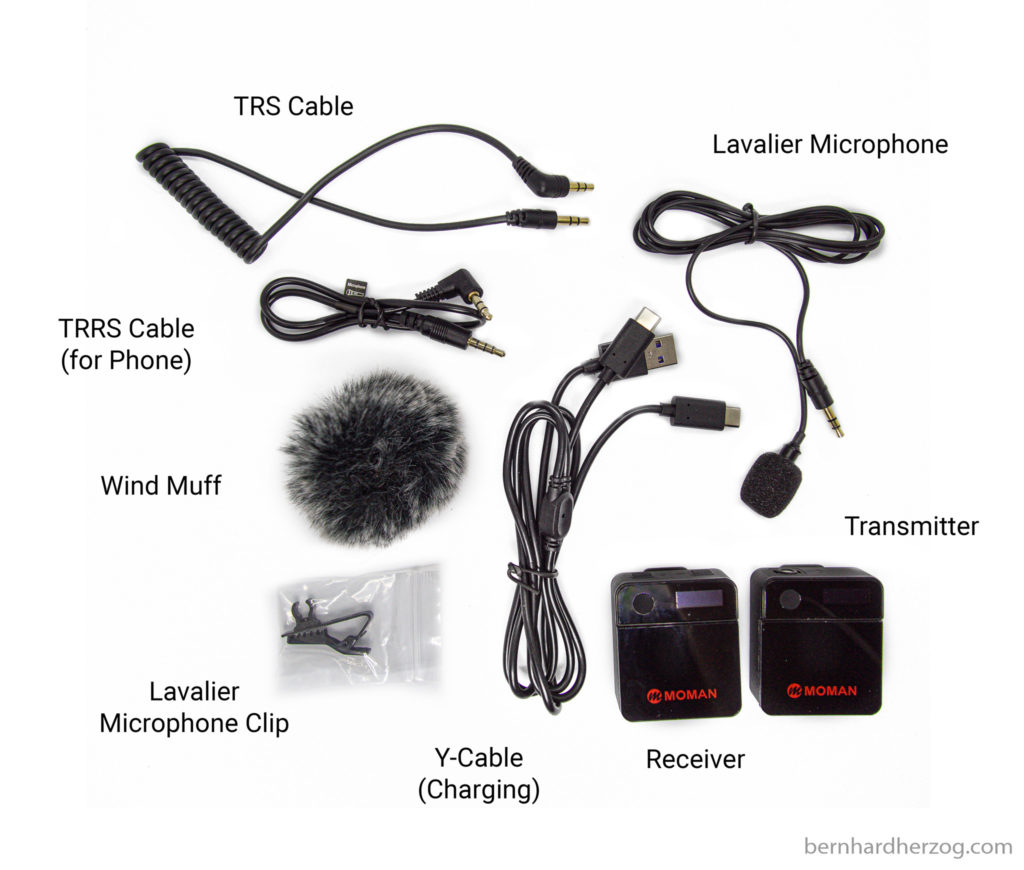
The transmitter already includes a microphone, so the lavalier microphone is optional but you can use it because it is easier to hide.

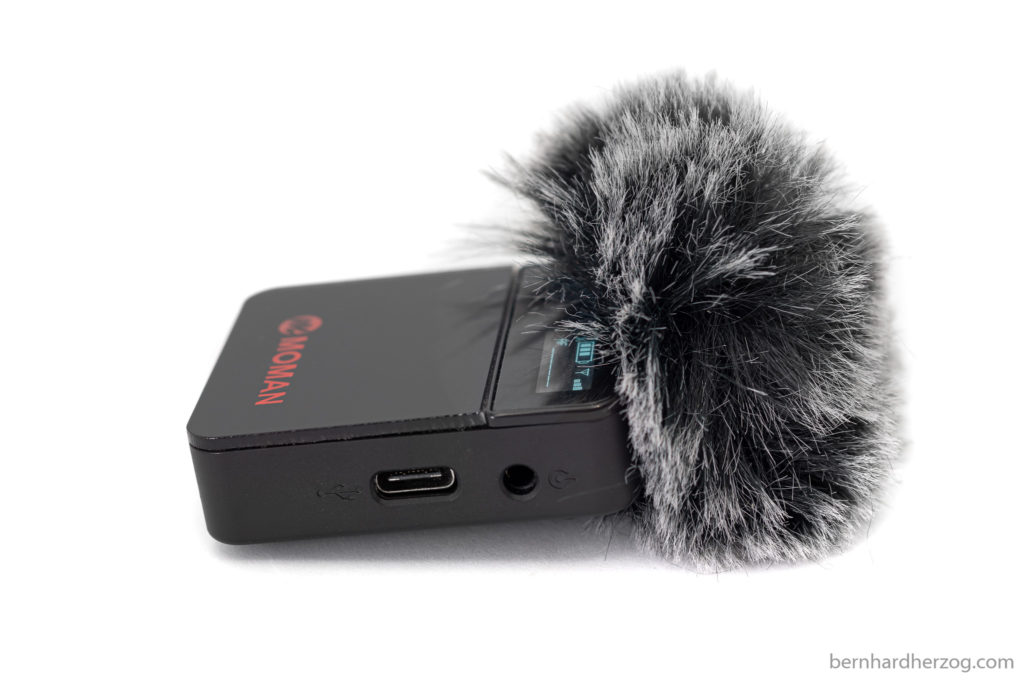
The Wind Muff can be clipped on the transmitter (very similar to the Rode Wireless Go).
There is also a small User Manual.
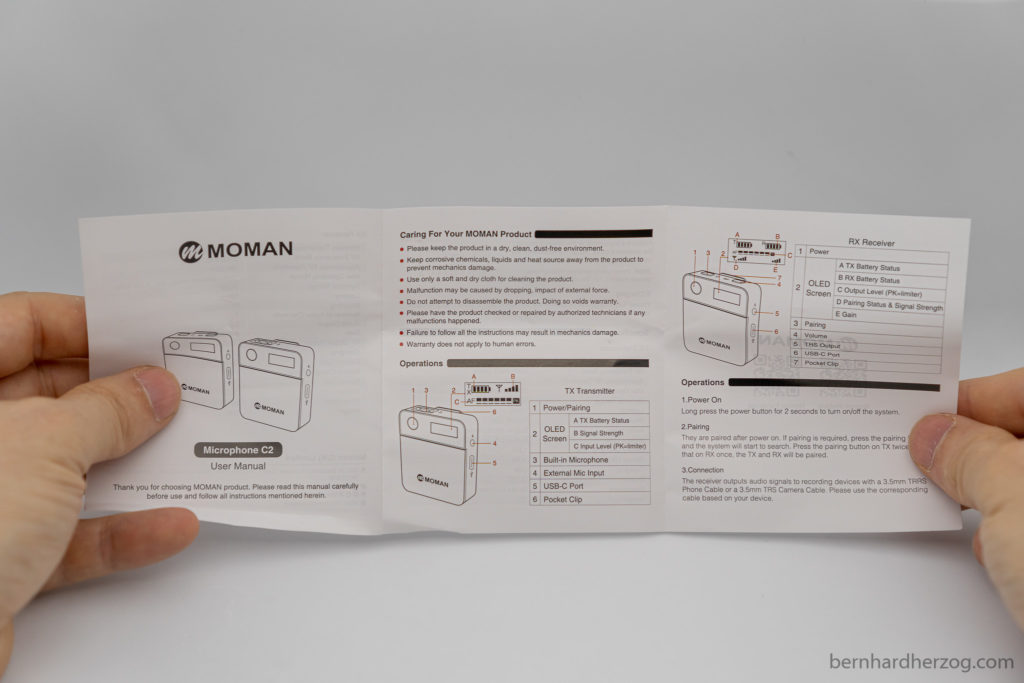
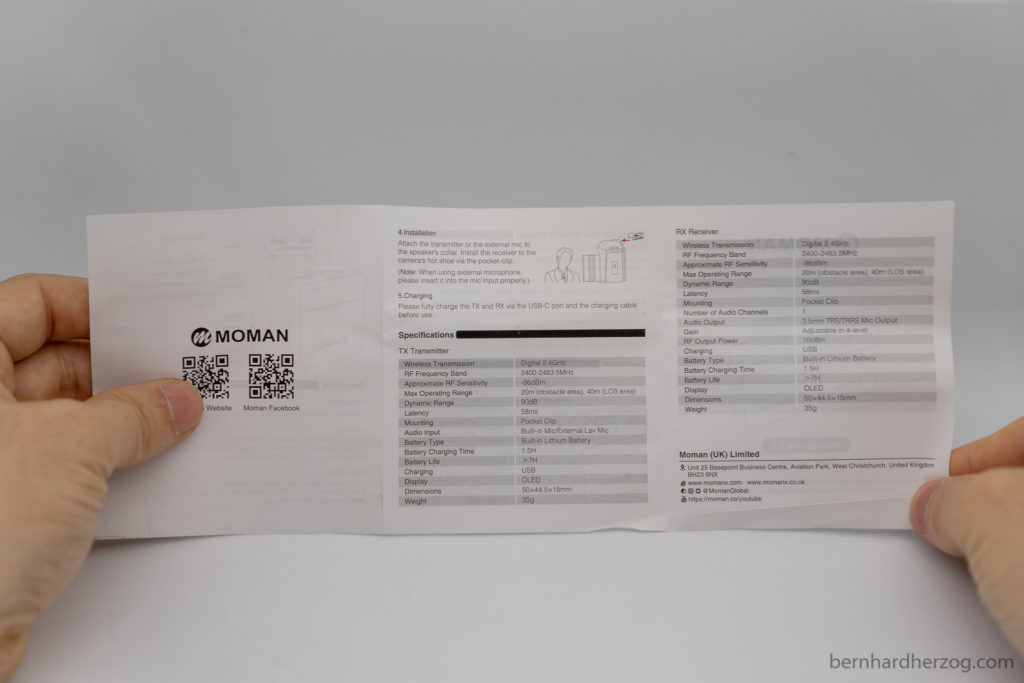
The package contains everything that is needed to get started.
Moman C2 @ amazon.com Moman C2 @ amazon.de Moman C2 @ amazon.fr Artillery Genius 3D Printer (Banggood) Furry Deadcat / Wind Muff + Foam Cover (for interview adapter) @ amazon.com
First test with a Gimbal
For the first test we filmed outside using a Gimbal in windy conditions. I could never balance a camera and a big microphone on my very small and lightweight Gimbal, but for the Moman receiver I came up with this smart idea:
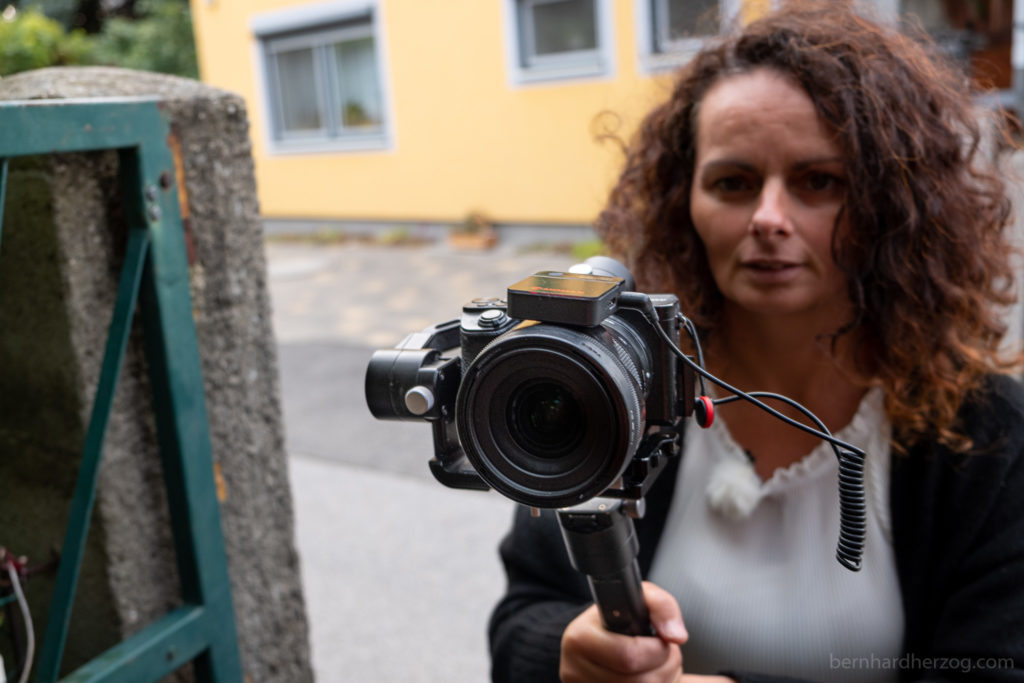
I basically clipped the receiver to the lens hood (because I had not enough clearance for the Gimbal motor behind the camera).
The Wind muff on the transmitter was very effective to reduce the wind noise.
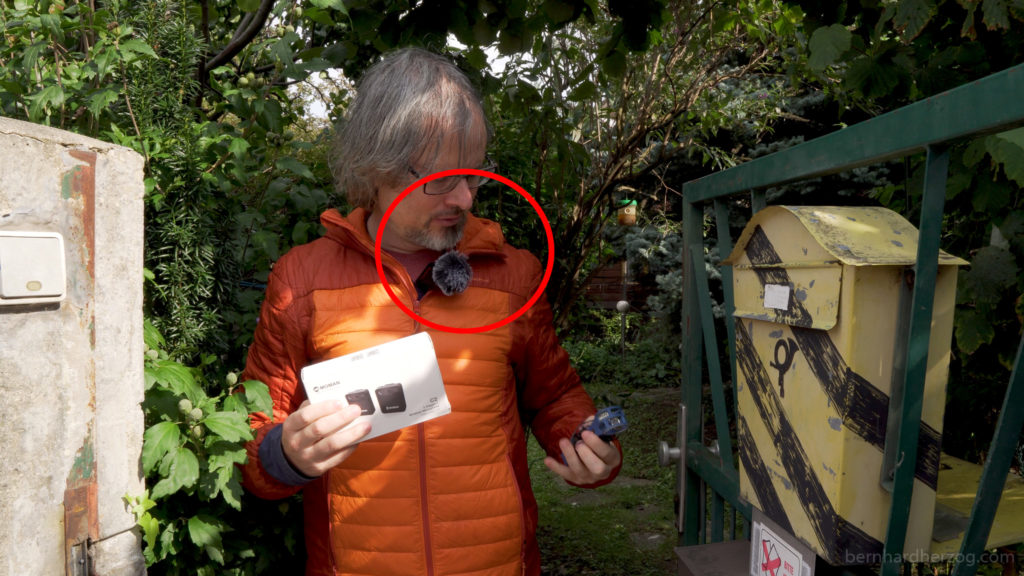
First I put the audio gain on my Sony a6500 to 10 and the dB setting on the receiver was on the lowest setting.
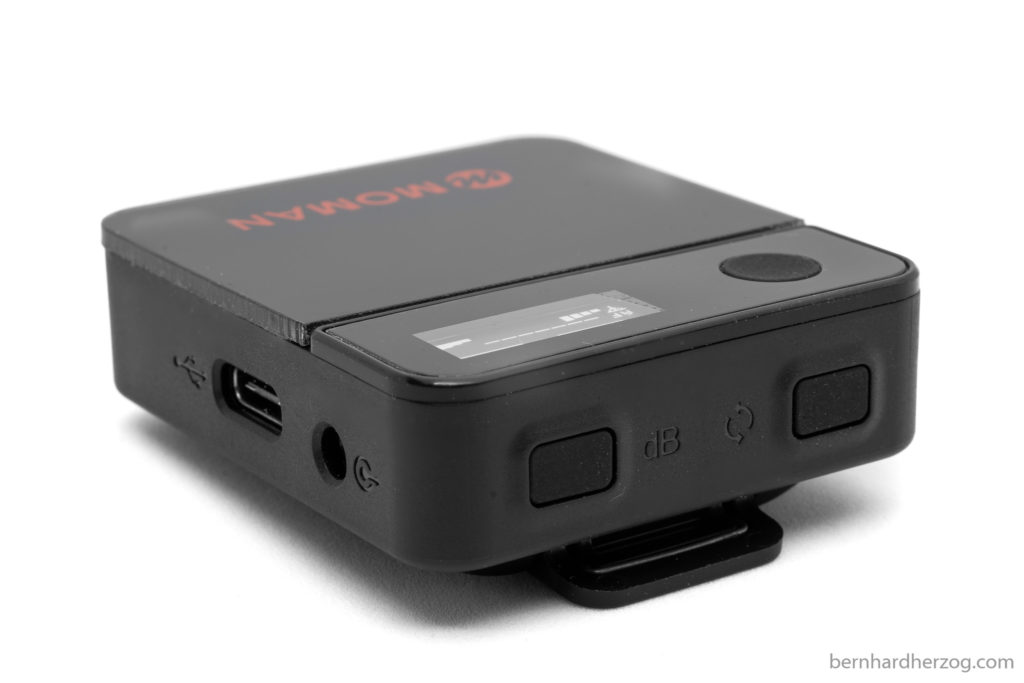
But with this setting I had some peaking in the audio because I had the microphone really close esp. when I was looking down and talking at the same time.
So we had to repeat the shoot on the next day and this time I set the audio gain in the Sony camera to 5.
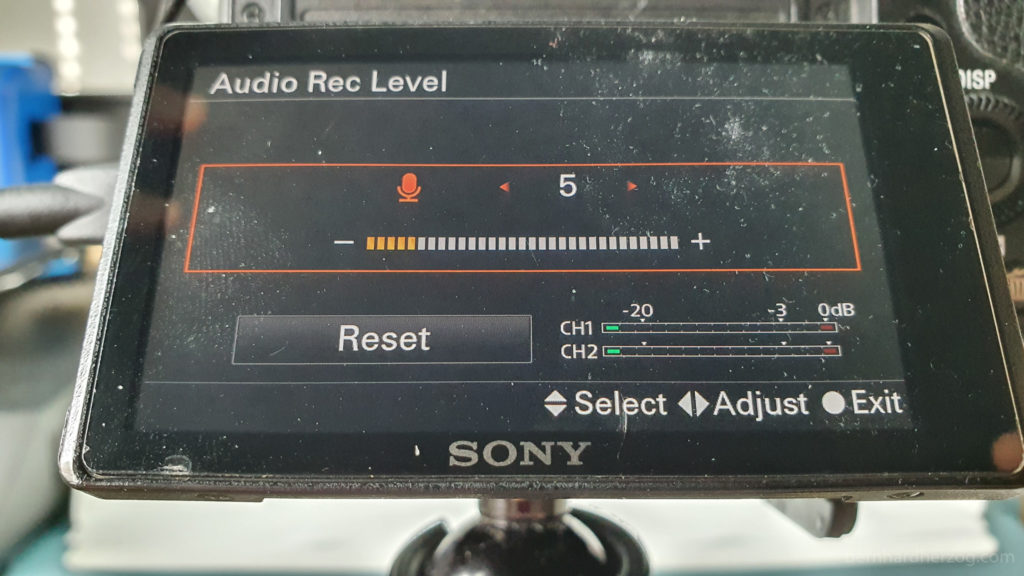
Now the audio was not peaking. So this is the best setting for me, I could use 10 but then I would need to be really careful about keeping a distance to the microphone.
Real World Test: Virtual Yoga Class (using a Smartphone)
Because of the pandemic online video conferences are a thing, for example Zoom calls. I had the idea to do an online Yoga class as a real world test.
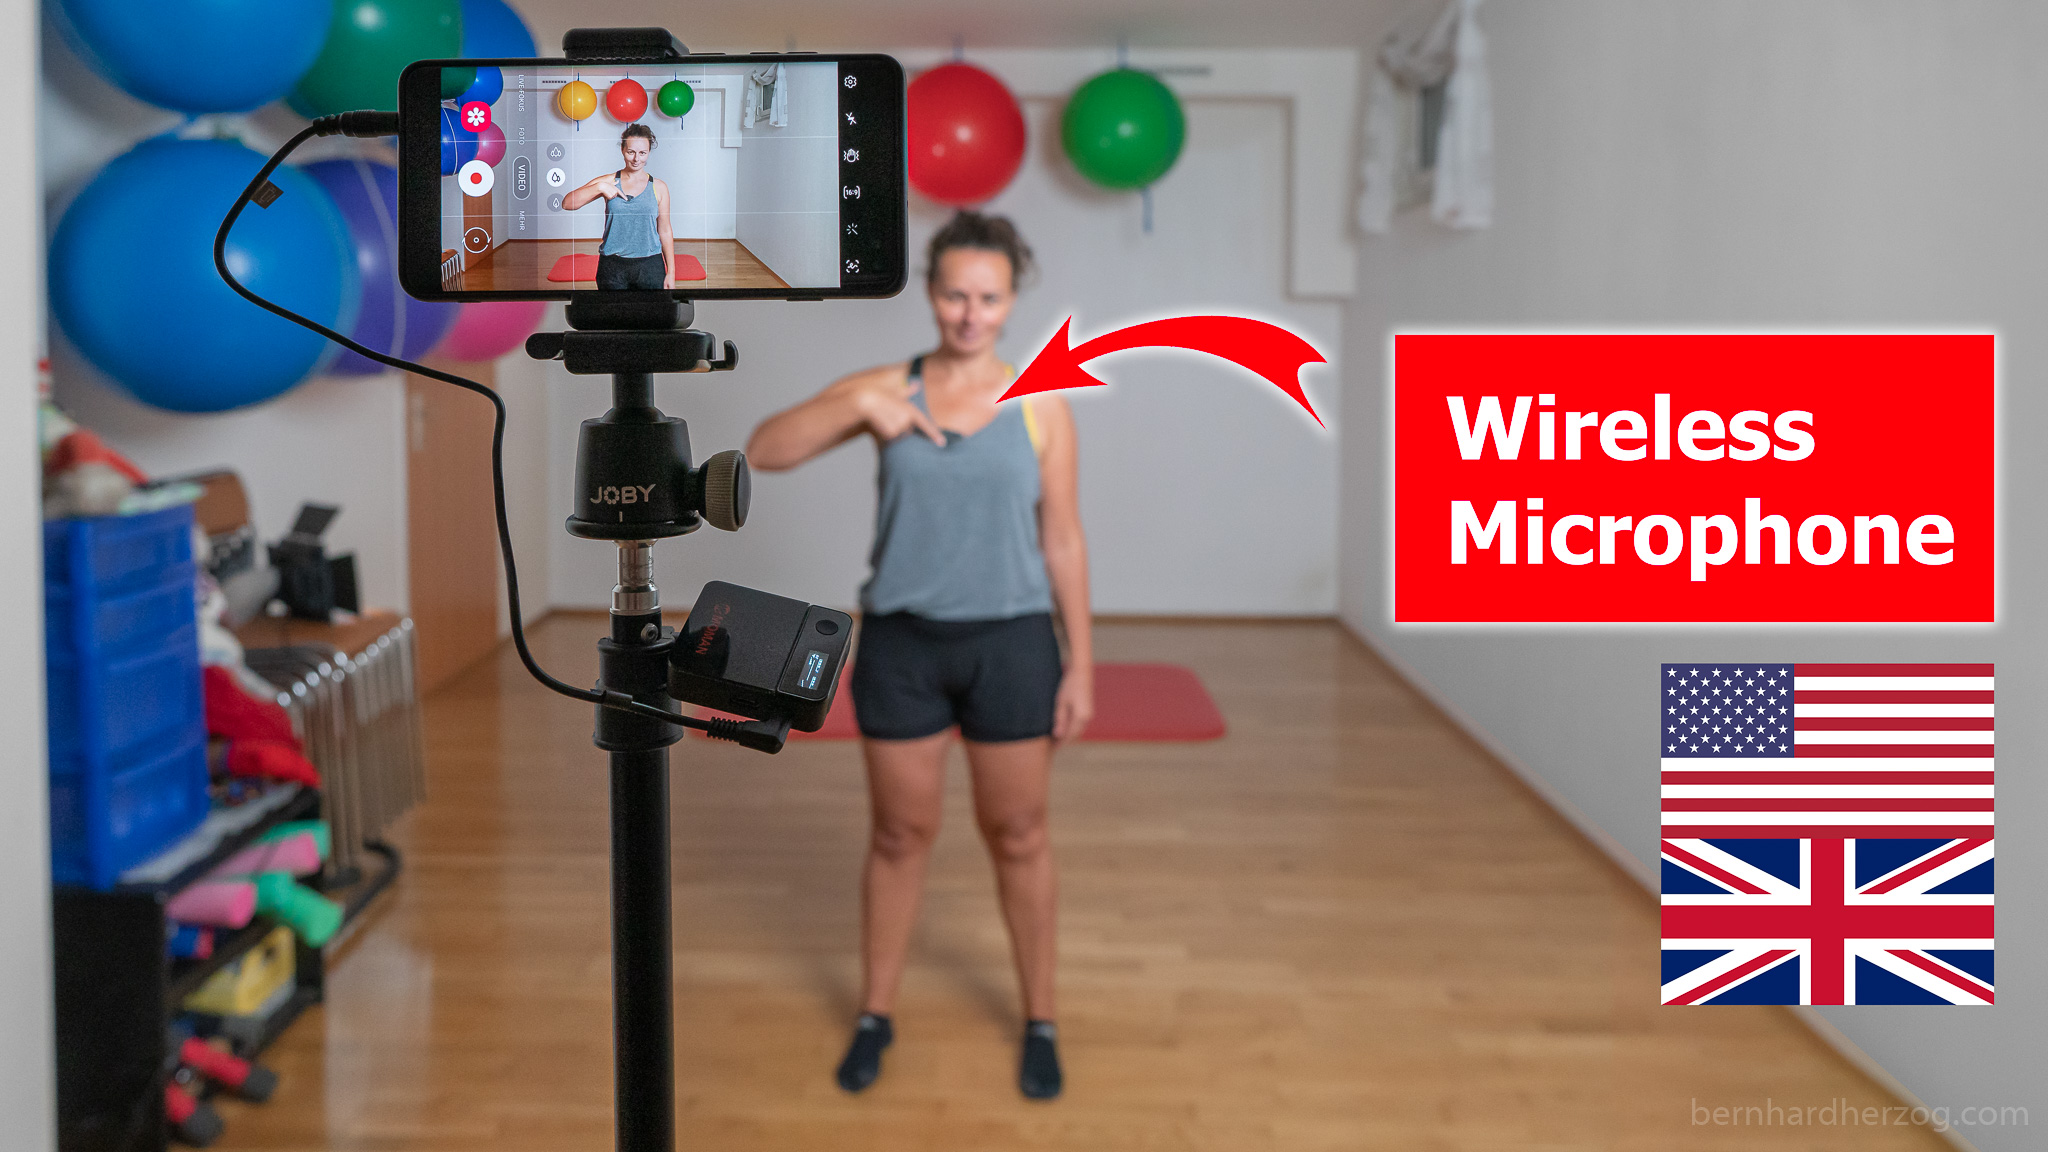
We filmed using a Samsung S10+ (I did not have the adapter for the iPhone).
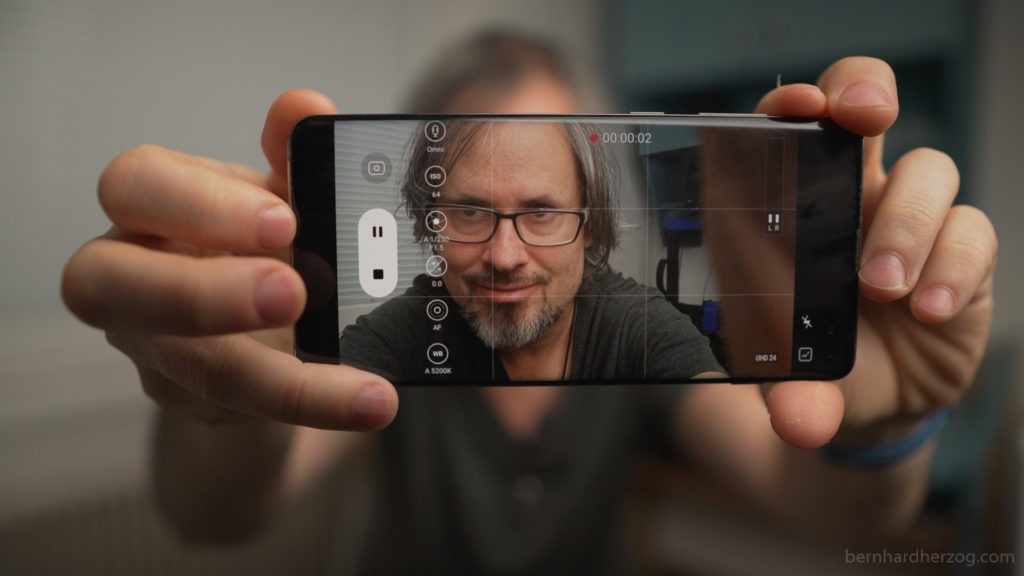
Of course it would also be possible to use a Laptop or connect a DSLR to a Laptop for optimal quality.
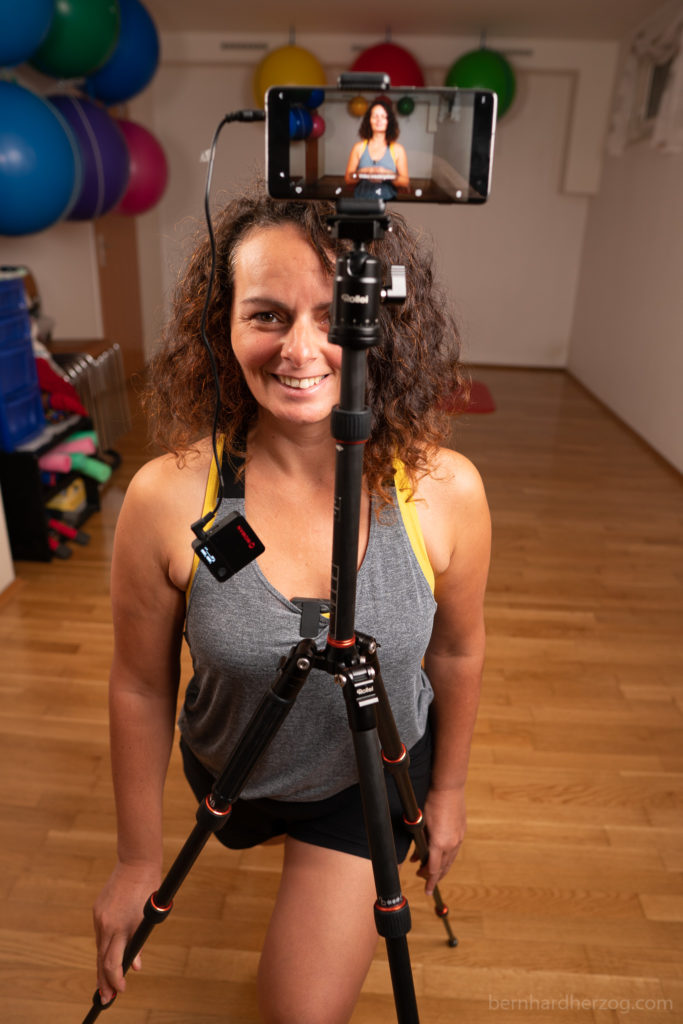
The microphone piece can be clipped to the shirt or under the shirt on the sports bra.

This setup worked very well. The room had a lot of echo (wooden floor, plain walls) but using the wireless microphone the echo could be effectively reduced. Patricia was easier to understand esp. when doing the exercises more far away from the smartphone camera.
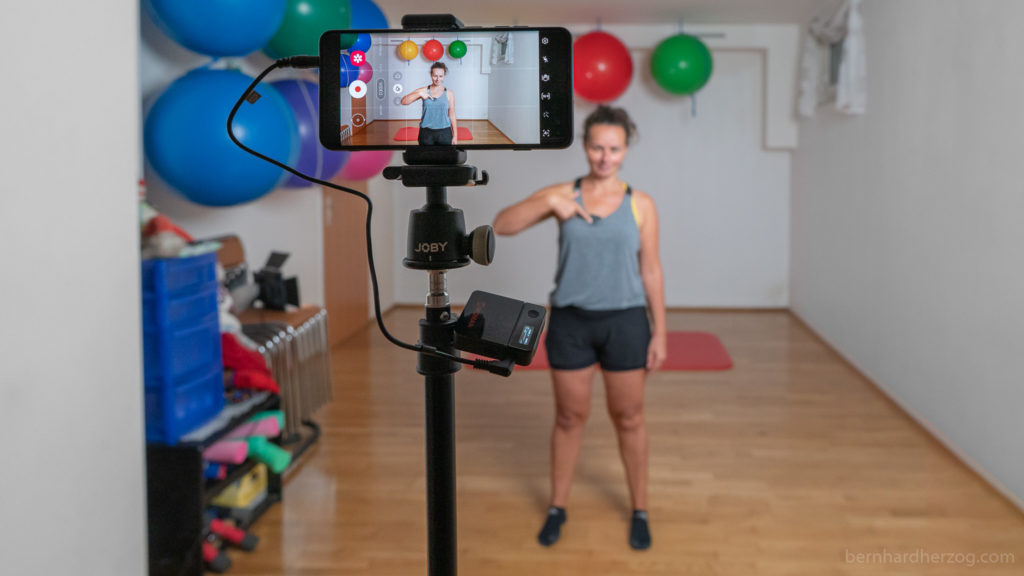
One finding was that because of the breathing during the exercise it would have been better to use the wind muff.
We did not have any dropouts, the signal was always strong.
Distance Test
Next we did a distance test outside.

I had 3d printed an adapter to convert the receiver into an interview microphone.
I also mounted a foam pop filter and deadcat to reduce the wind noise. On that day it was very windy and this worked very well to cut out all wind noise.
When facing the camera the microphone worked without a dropout. Even more than the 40m that are specified for Line-Of-Sight, it worked until ca. 110m (maybe even further but we could not test it). When facing away from the camera (to simulate having the receiver piece in the back pocket which I would not recommend) the first dropout was at 30m. This is still within the limit of 20m that were specified.
So this test was really successful I think. But just one note: When using the wireless microphone system inside with lots of WIFI devices the signal can already dropout when just going into another room, i.e. when there are walls between. But I could not think of a situation when this would be necessary for filming someone.
3D printing an Interview adapter
For the distance test I printed the microphone adapter to convert it into an interview microphone using my 3d printer, the Artillery Genius.
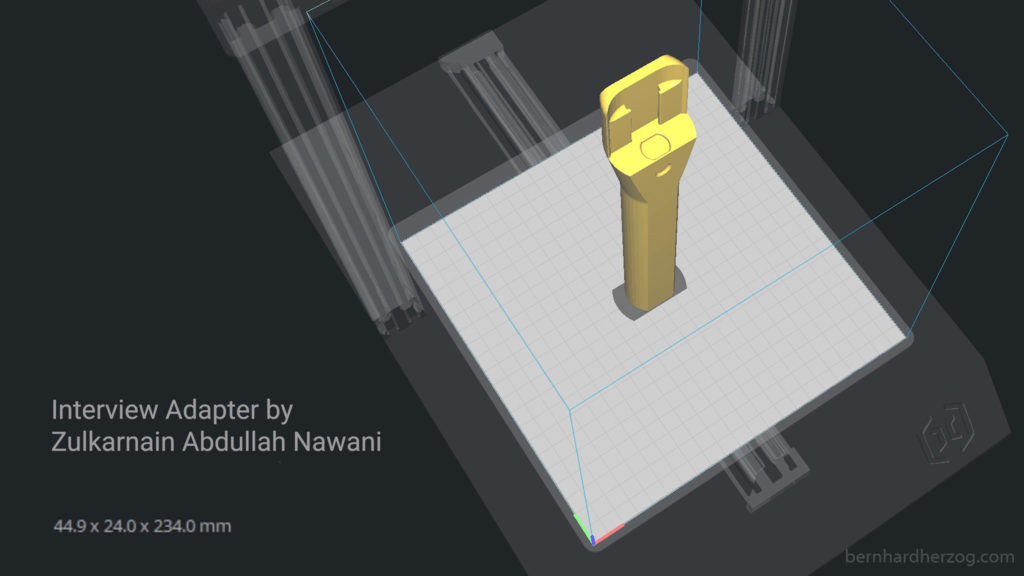
I printed the microphone in 2 parts, because it was much easier and I could test the upper part first:
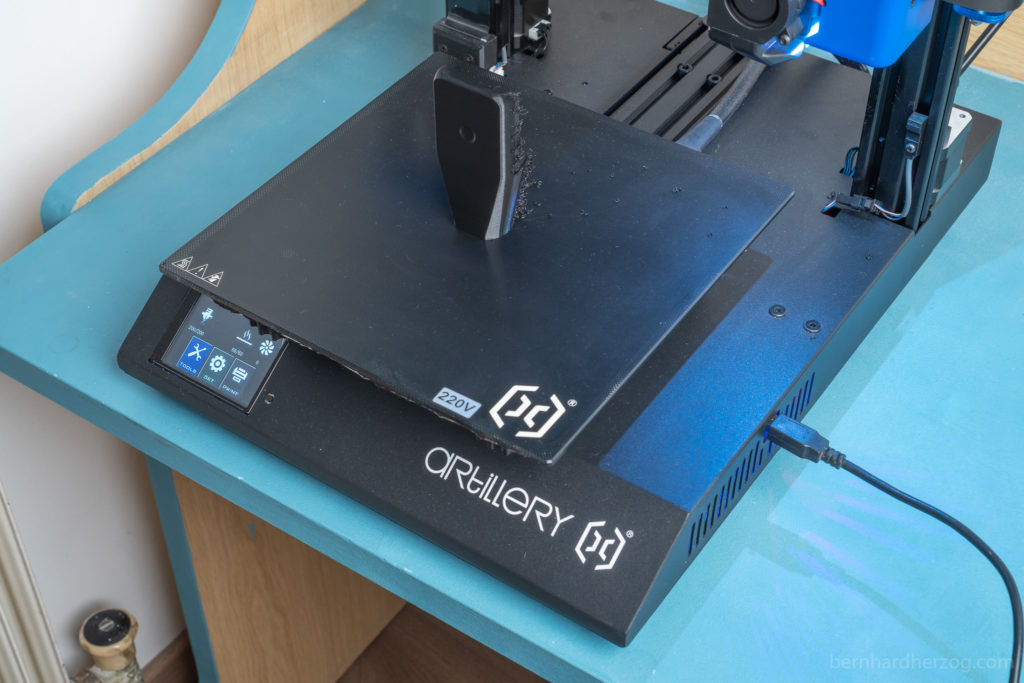

Afterwards I glued the parts together:
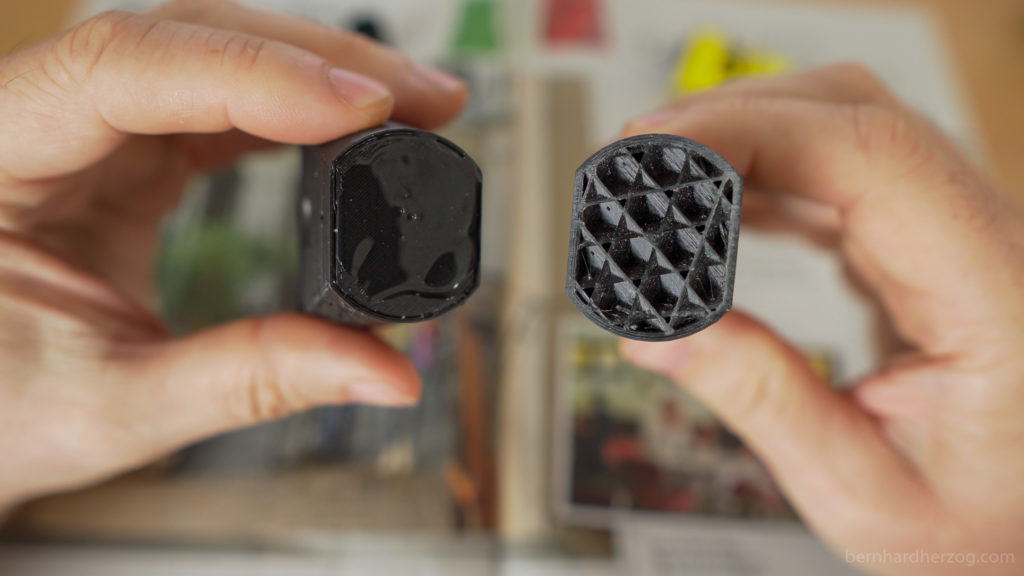
You can download the 3d model from Thingiverse: click here
Compared to Rode Wireless Go
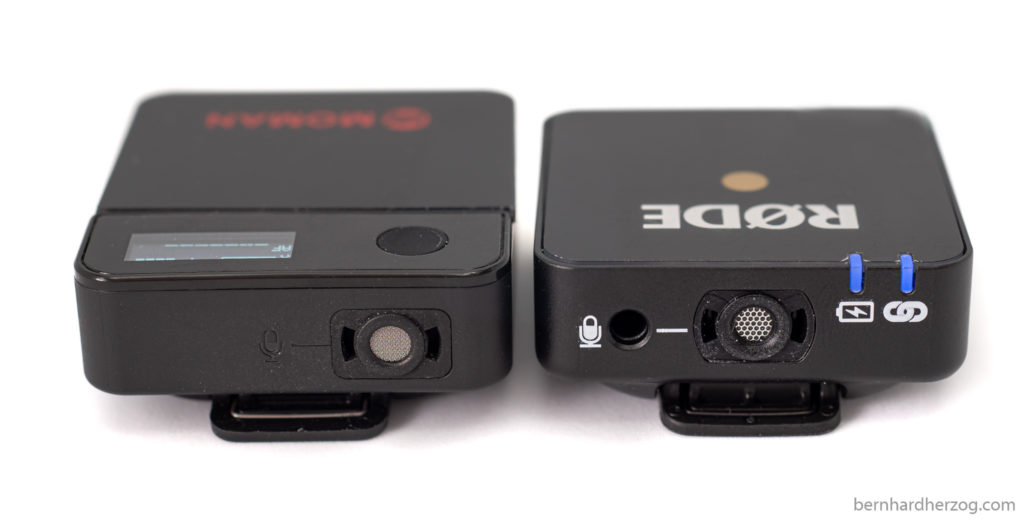
The Moman C2 measures 50 mm * 44.5 mm * 15 mm and the Rode Wireless Go transmitter 44 mm × 45.3 mm × 18.5 mm. So the Moman C2 is almost as small which is quite a feat considering that the Rode Wireless Go used to be the smallest wireless system in the world.
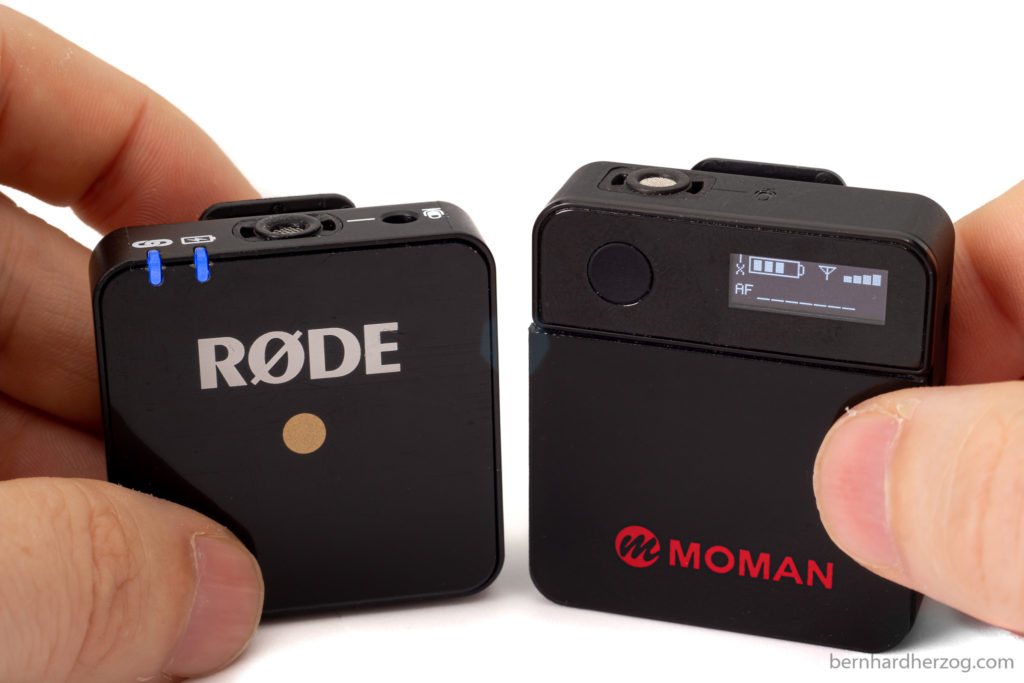
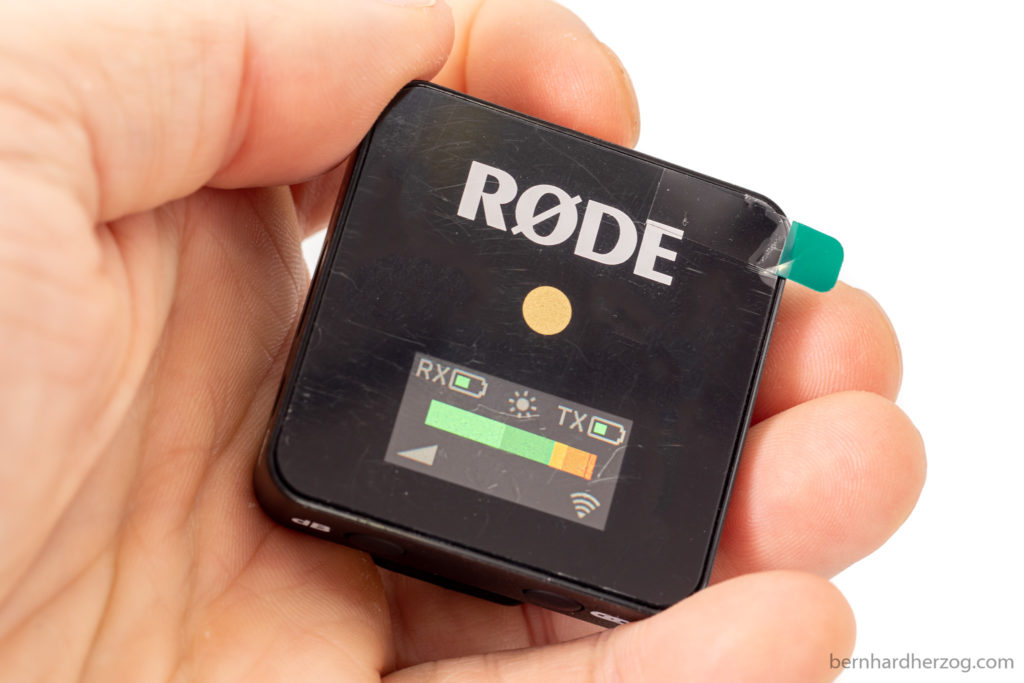
The Moman has an OLED display both on the transmitter and the receiver, the Rode just an LCD on the receiver which is not so good to read in sunlight. So with the Rode you always have to go to the camera to check if it is working.
The Rode Wireless Go does come with just a small soft case and most of the accessories are extra buys and very expensive, so this is definitely a win for the Moman C2.
An advantage of the Rode Wireless Go is that the audio meter is more sensitive, with the Moman C2 you have to tap on the microphone to see an effect. But for testing if everything is working this is enough and you usually have the audio meter on the camera anyways.
Both microphones sound almost the same, only differences are that the Moman is a little bit louder and the Rode has more mids. But it is easy to lower the mids on the Rode or raise the mids on the Moman.
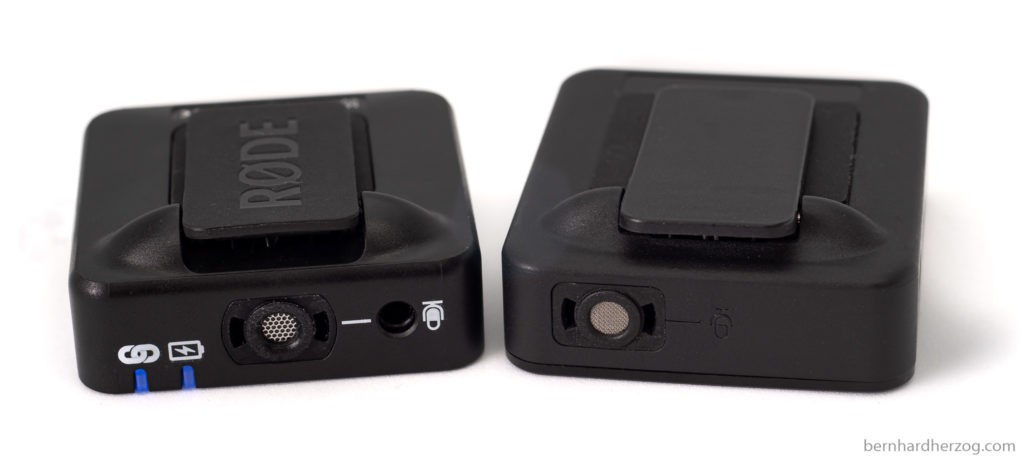
I like that the Moman has no branding on the clip and therefore it can be used on commercial shoots (many people put tape on the wireless go to hide the logo).
The Moman being much cheaper I think it is a better deal right now.
Conclusion
What is my conclusion? The internal microphone of the transmitter sounds really great and I was surprised about that, because I thought I would need to connect an external lavalier microphone. Maybe the working time of 7 hours is a little bit exaggerated because that would not be possible with such a small unit.
The distance test was very successful, there were no audio dropouts in the specified range. In the real world test, the online Yoga class, there were also no dropouts in the audio.
It is important to not raise the output gain on both the receiver and on your camera too much to avoid the audio from peaking. When audio peaks it is impossible to recover, it will sound distorted even if you try to lower the volume later in editing.
It is like burnt highlights in photos and videos (pure white), it is impossible to recover this (maybe only to some extent when photographing in RAW).
I set the gain to 5 on my Sony camera (maybe 10 when being indoor and the microphone is not too close) and to the lowest dB-setting on the receiver.
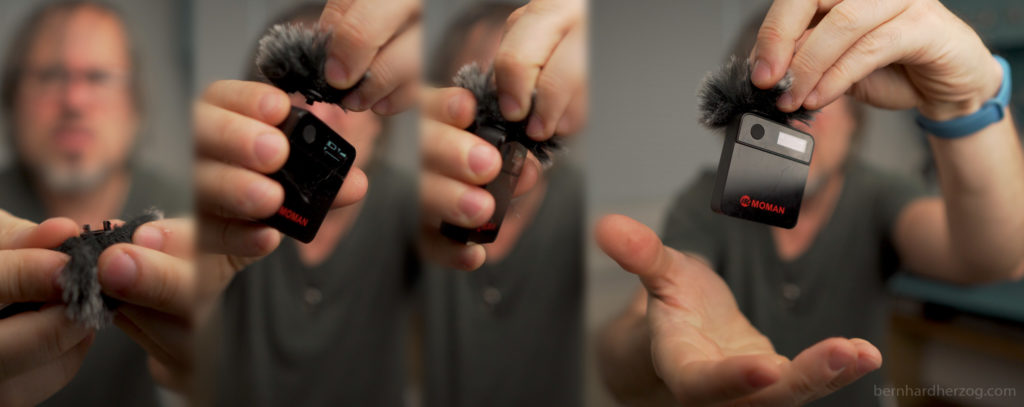
About the wind muff for the microphone piece (the transmitter): if you just stick it on it will not stay. You have to first grab the hairs so that the small connector pins are free and only then push it into the holes on the transmitter. Then wiggle it left to right so that it makes a good connection. Then it will hold on very well (it never fell off once during my test). Just be gentle not to pull out the hairs.
I plan to make another blog posts on 10 ways to use a wireless microphone, for example it also worked with my GoPro (using a 3d printed cage) and I also was able to mount it on my 3d printed teleprompter in my home studio. I have already finished it and you can find it here.
If you have any question please don’t hesitate to post in the comments. CU next time!
Moman C2 @ momanplay Moman C2 @ amazon.com Moman C2 @ amazon.de Moman C2 @ amazon.fr Artillery Genius 3D Printer (Banggood) Furry Deadcat / Wind Muff + Foam Cover (for interview adapter) @ amazon.com iPhone Adapter Cable @ amazon.com Splitter cable to have headphones and microphone separate on Smartphone @ amazon.com
Recommended camera equipment for photo, video & travelling (AMAZON):
Sony a6600
Sony a6400 (cheaper)
Sony a6100 (Budget-Option for 4K)
Sigma 16mm 1.4
Sony 35mm 1.8
Samyang 12mm 2.0
Feelworld Master MA7
Smaller monitor
Rode VideoMicro
Rode Wiress Go II
Mini Tripod
Travel Tripod
Small LED-Light
Light #1 (powerful)
Light #2 (Bi-Color)
Softbox for this light
Light tent/box
DJI Osmo Action
GoPro 9
GoPro MAX
Invisible Selfie Stick
Mavic Mini 2 drone
Mavic Air 2
for photo and video:
Fuji XT-4
Fuji Telezoom
Entry level camera (Canon)
*Affiliate Links. From everything you buy I will receive a small kickback that helps me maintain my channel. THANK YOU for your support!
This post is also available in Deutsch.

Leave a Reply