
Today I am testing a new monitor for 2019, the Feelworld Master MA6P. I was looking for a smaller monitor I can carry with me when I am shooting outside, for travel and that is also big enough for my home studio setup. I want to show you how I am using it. Please read on…
YouTube-Video
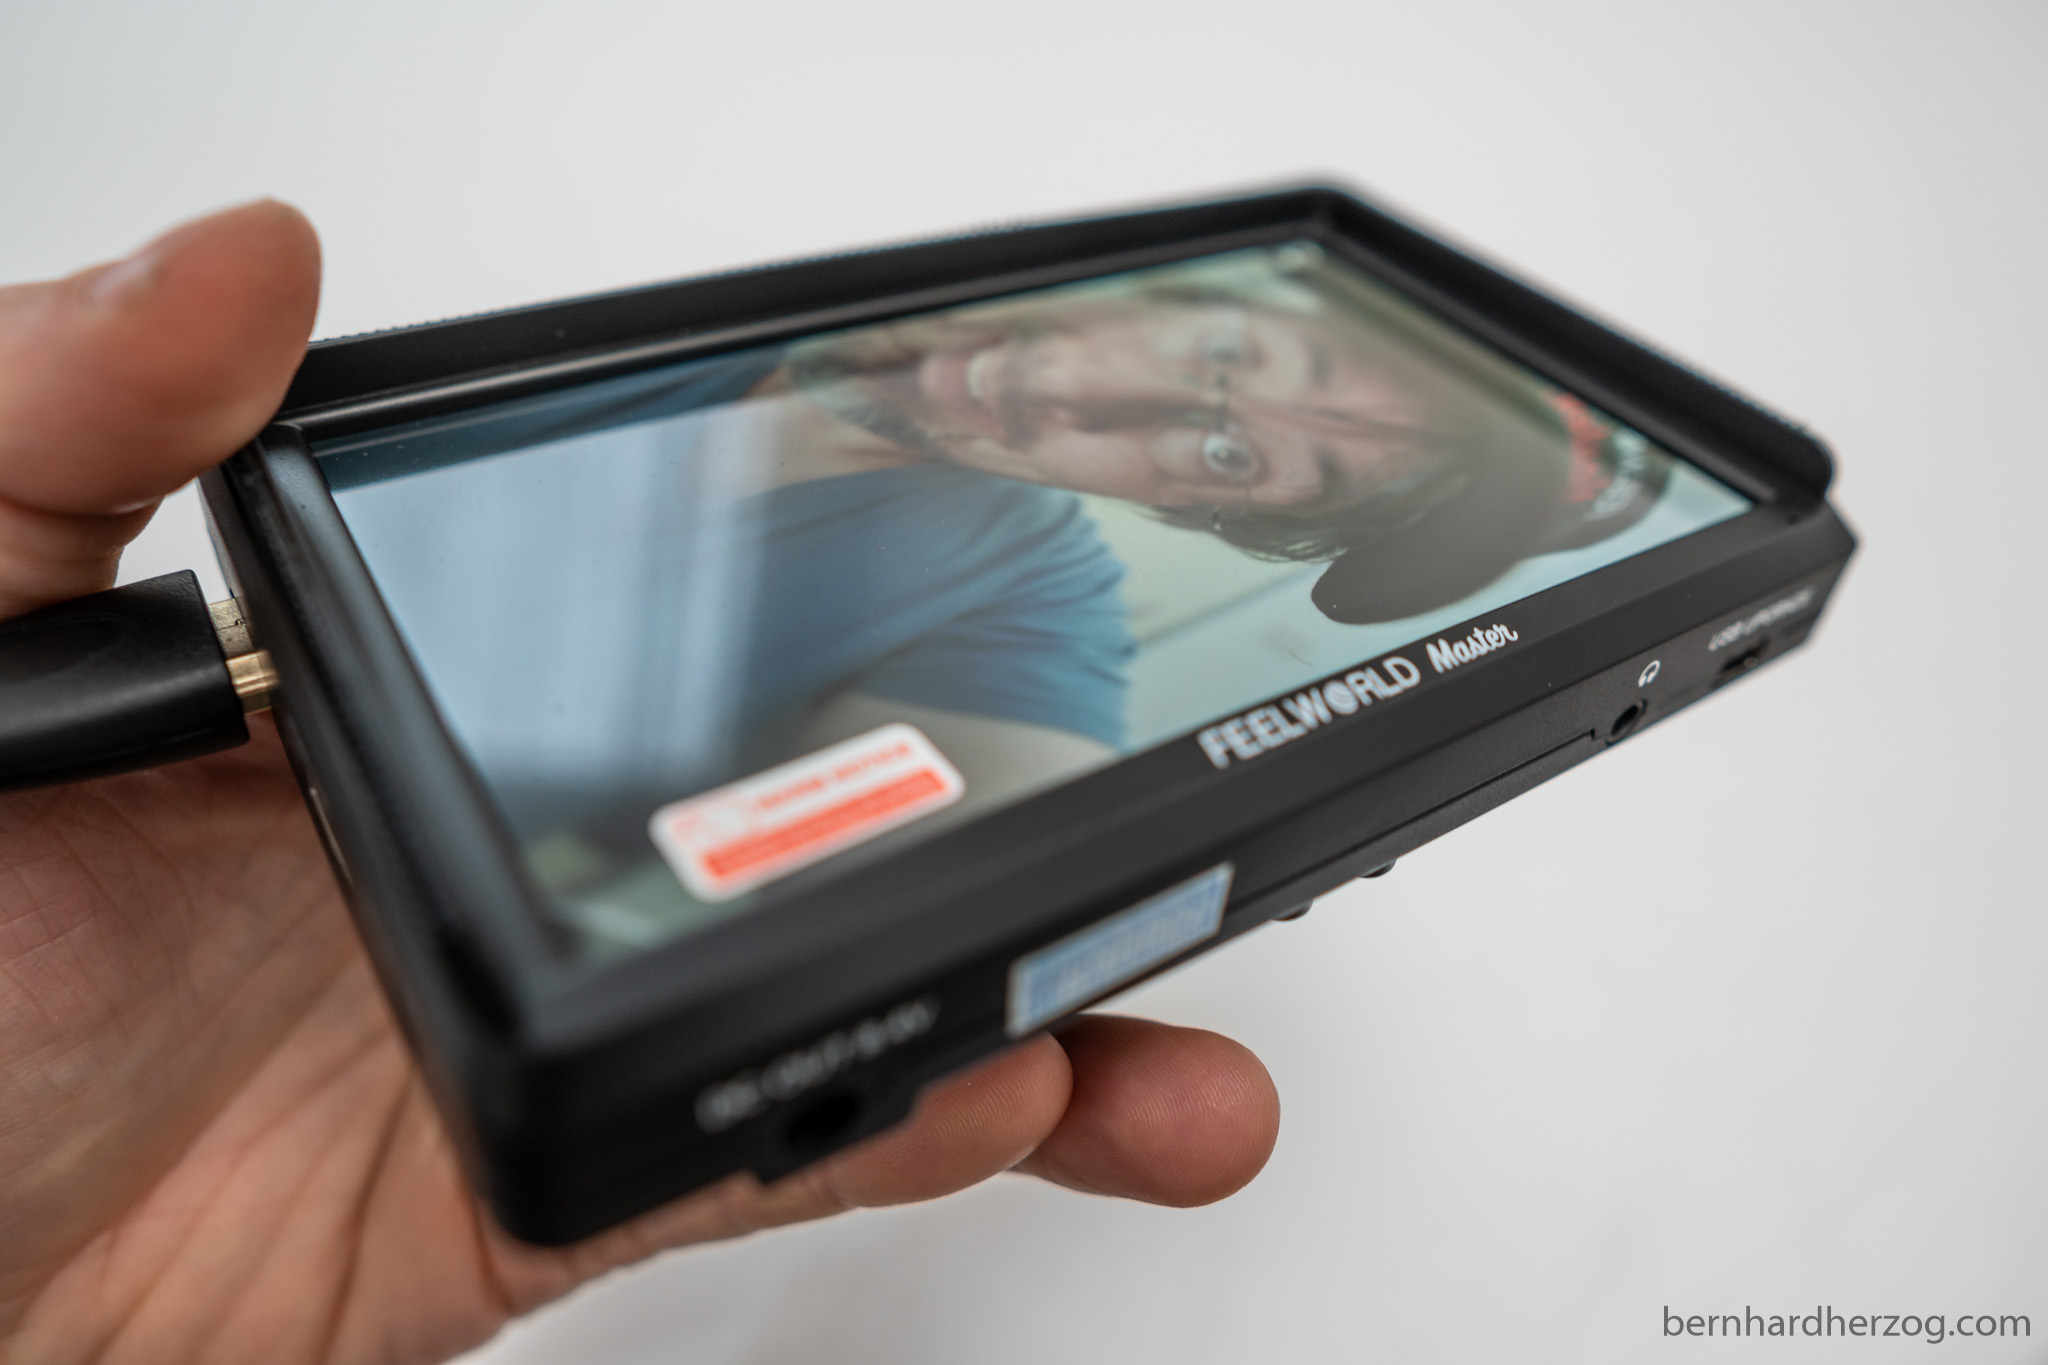
Feelworld Master MA6P
The Feelworld Master MA6P has a 5.5” Full HD screen. This is the perfect size if you have to carry the monitor when you are shooting outside and for travel, but also good for a home studio setup. (The cheaper MA6F has only an HD screen.)
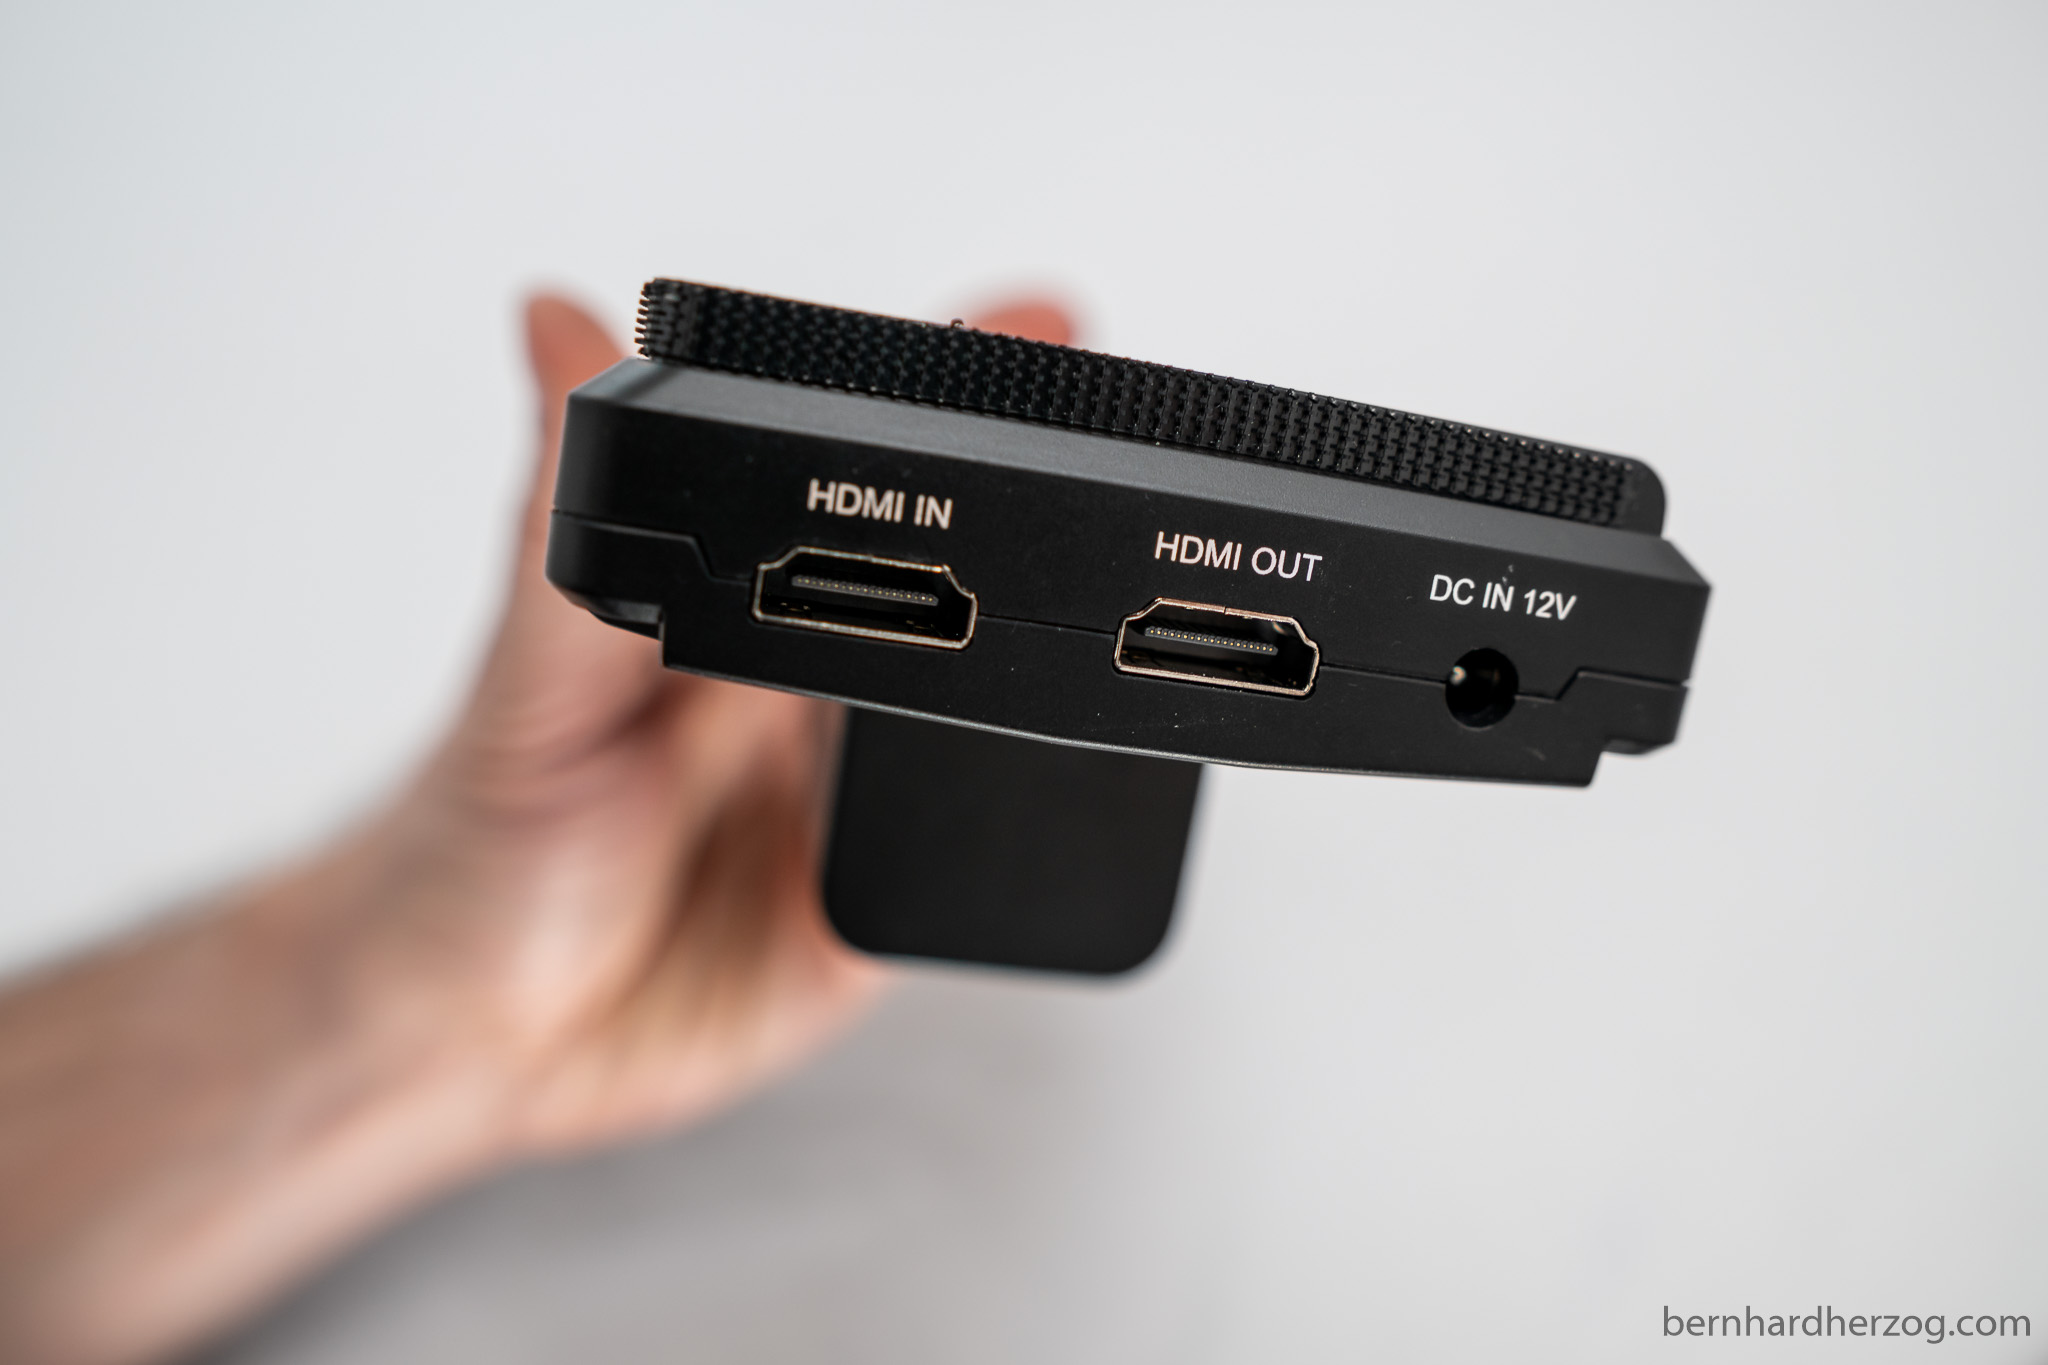
On the side is an HDMI port to connect the camera:
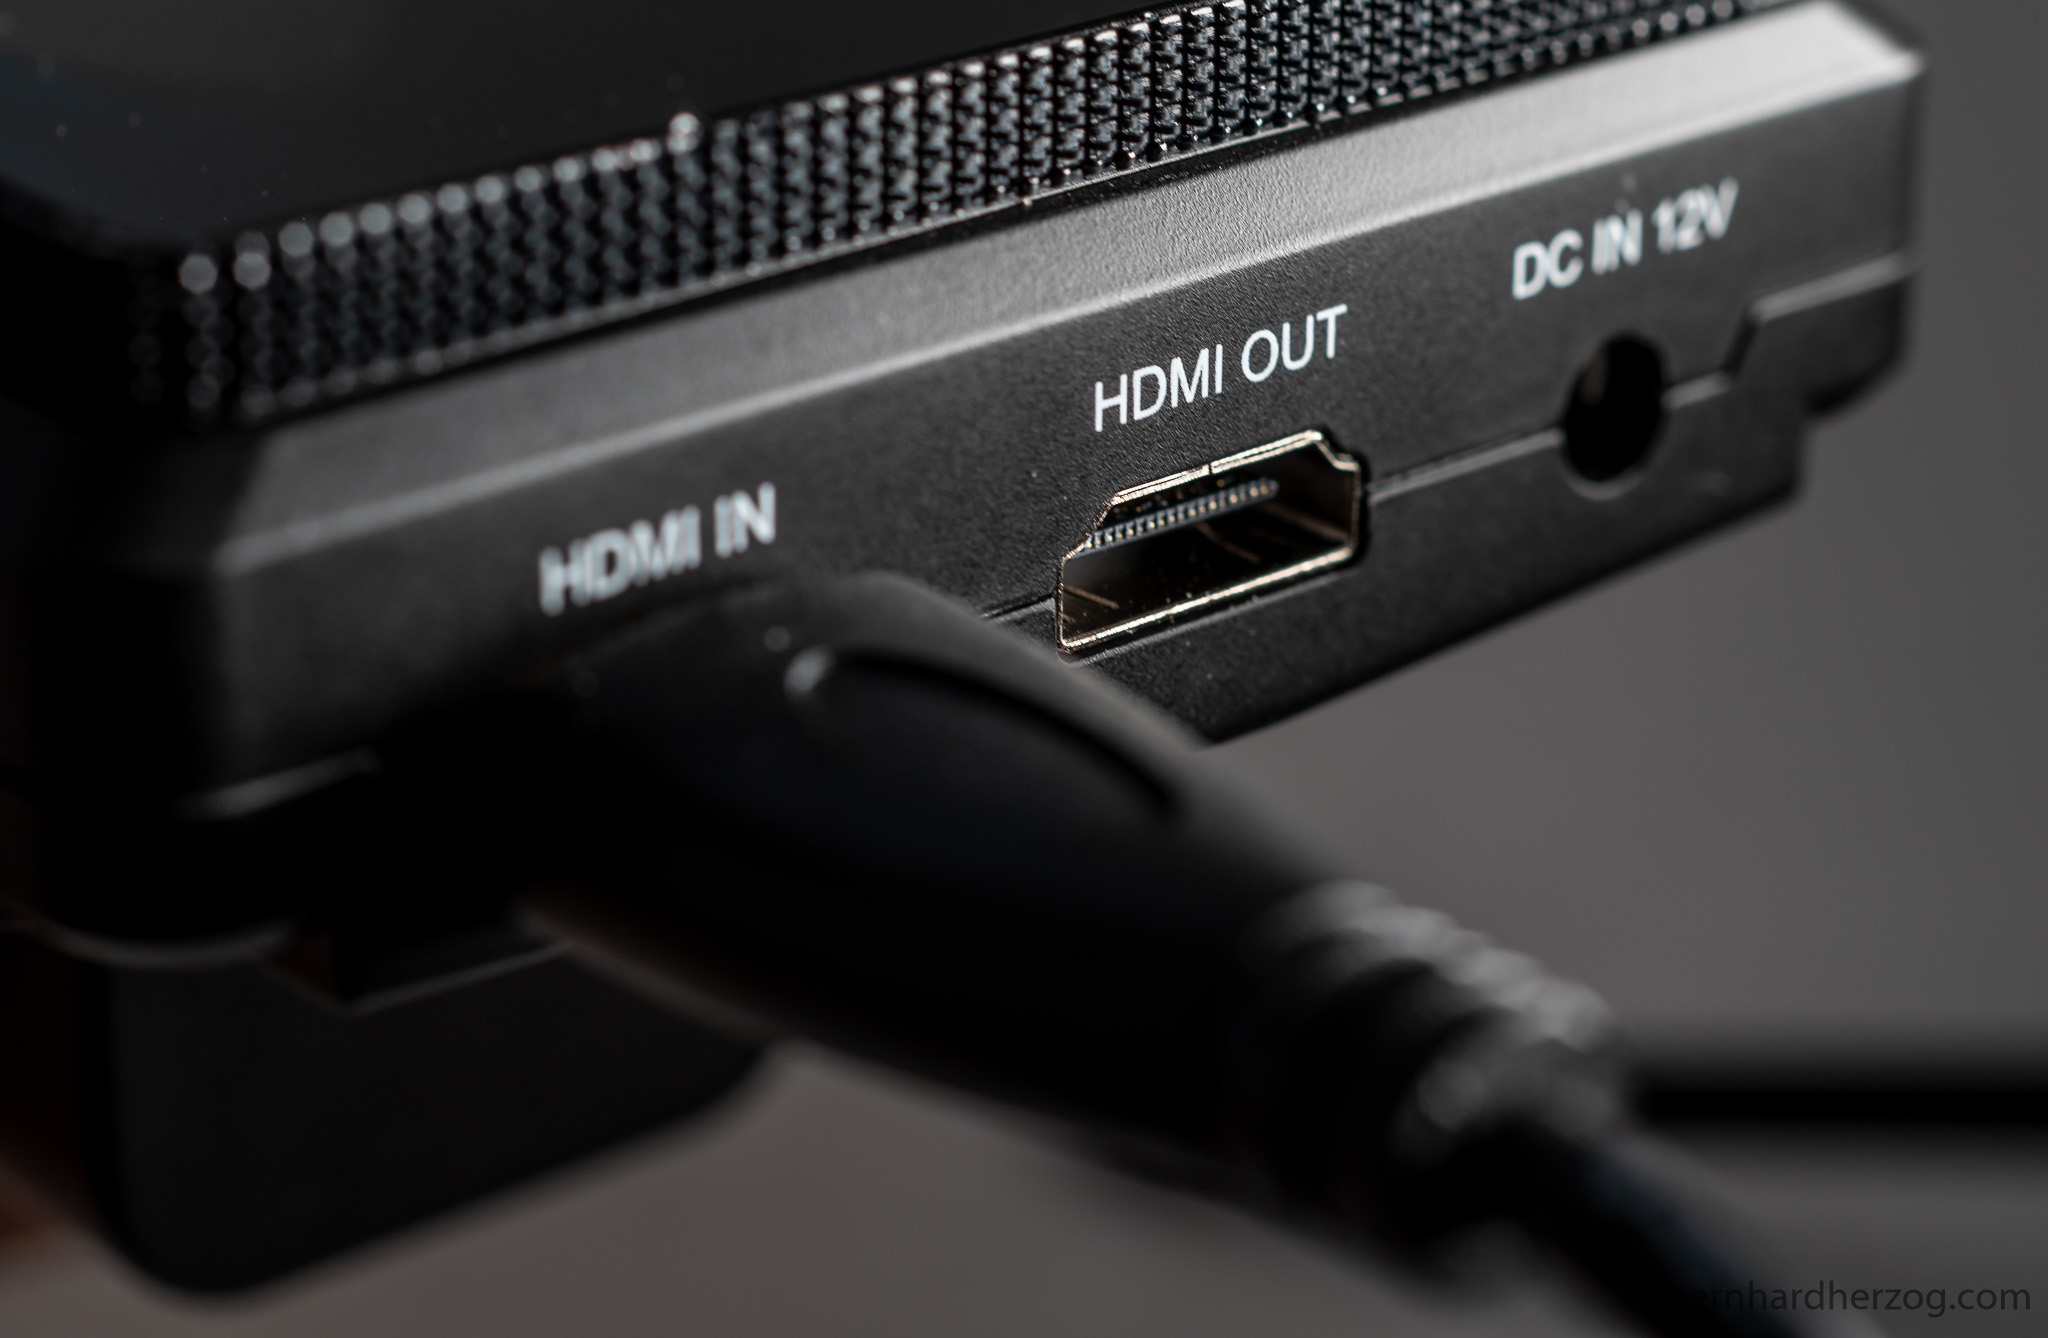
The monitor can be powered from the the DC port and using a Sony NP-Fxxx-style or Canon battery (not included).
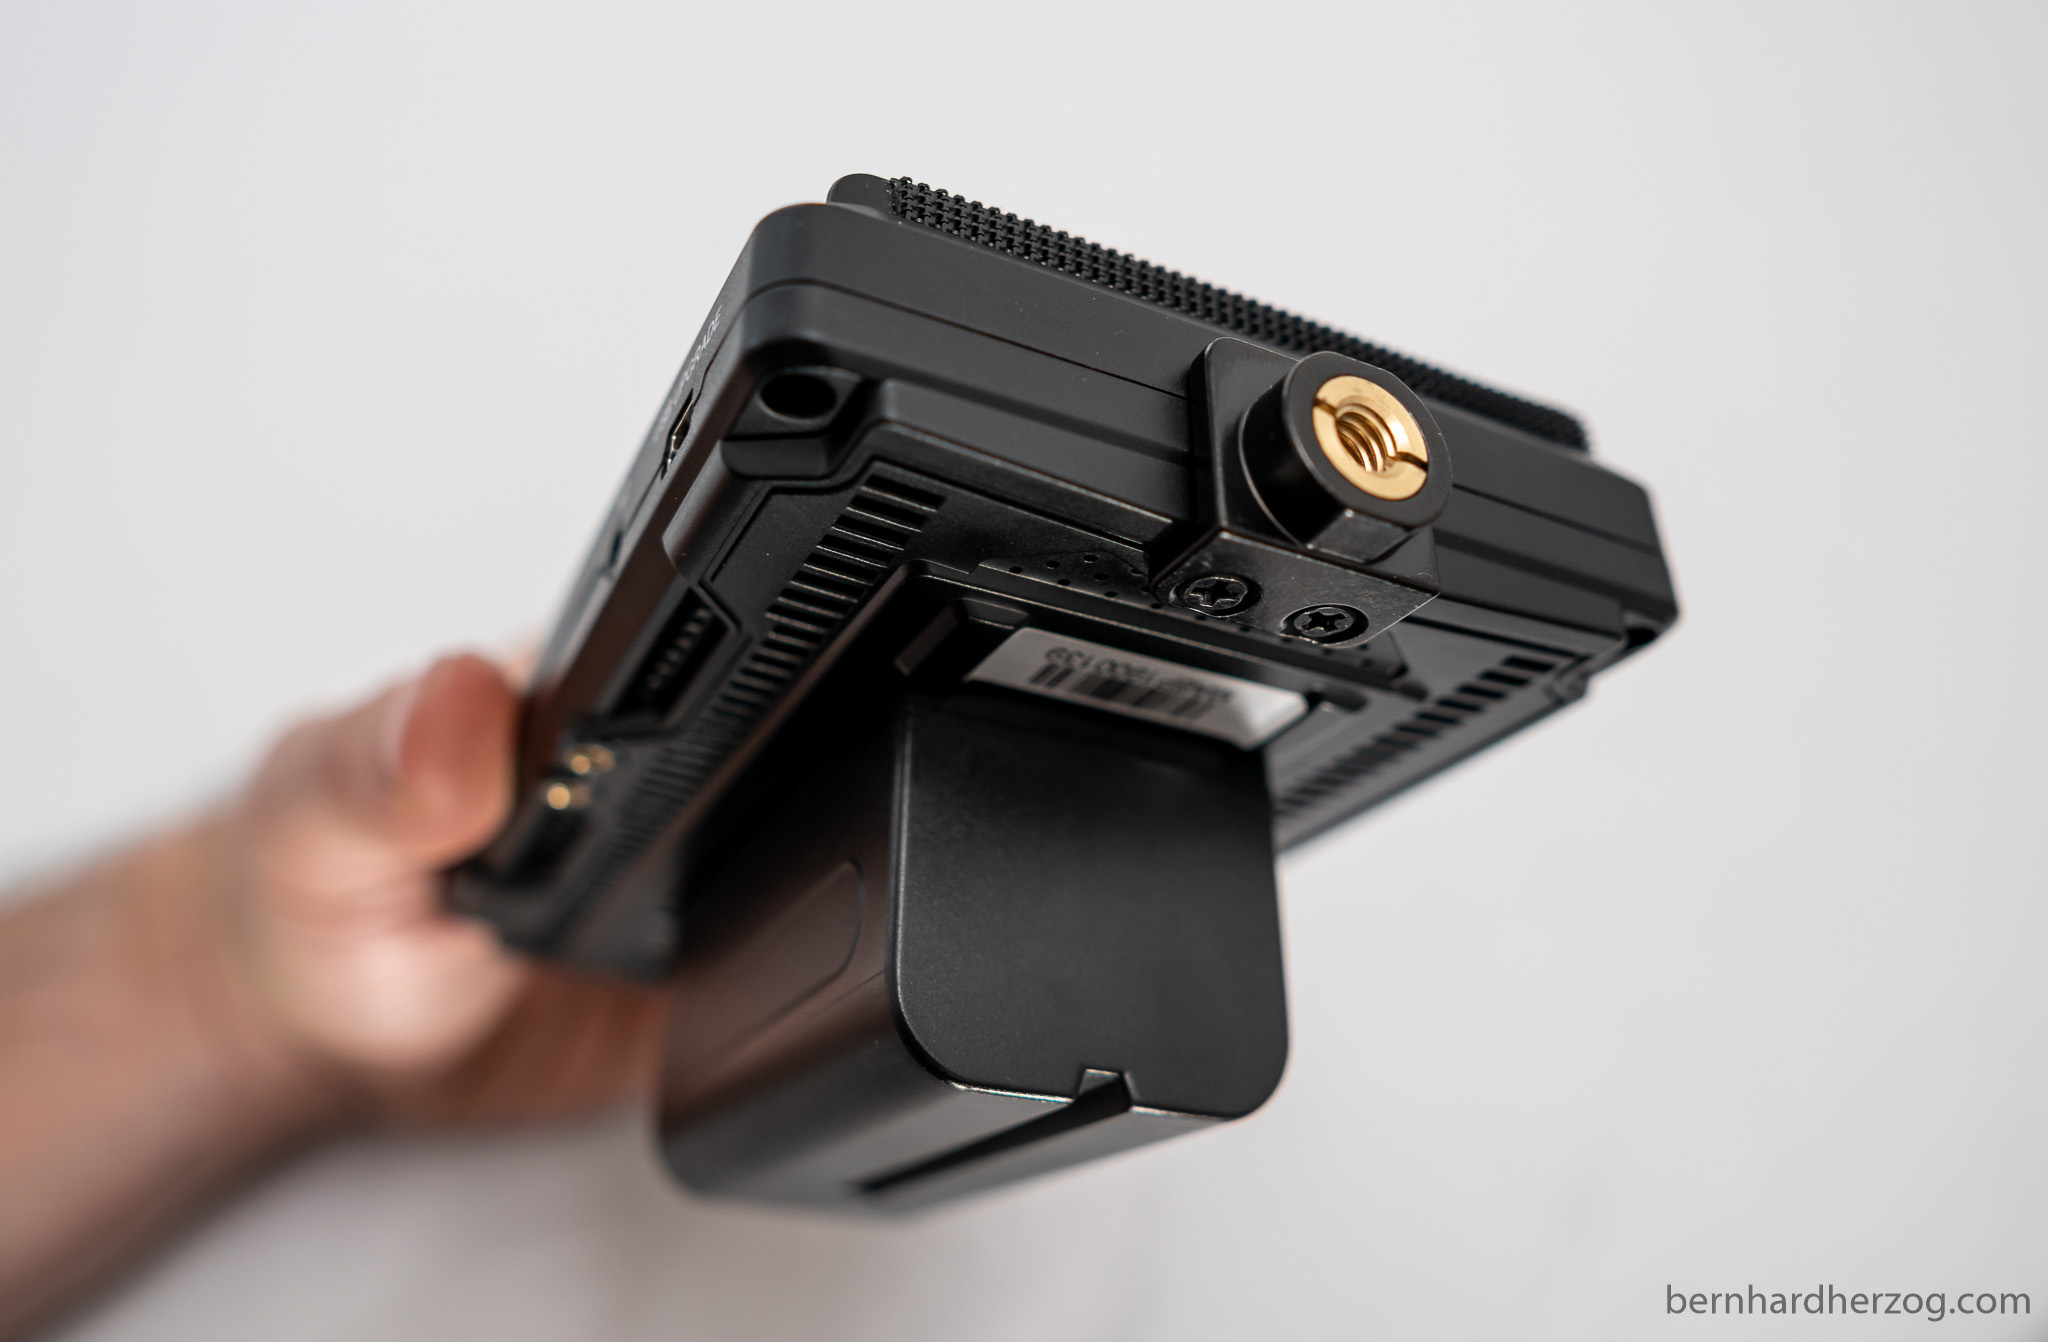
The thread for mounting the monitor to the included tilt arm is on the side but can be changed to be on the bottom.
The buttons to control the monitor are on the top:
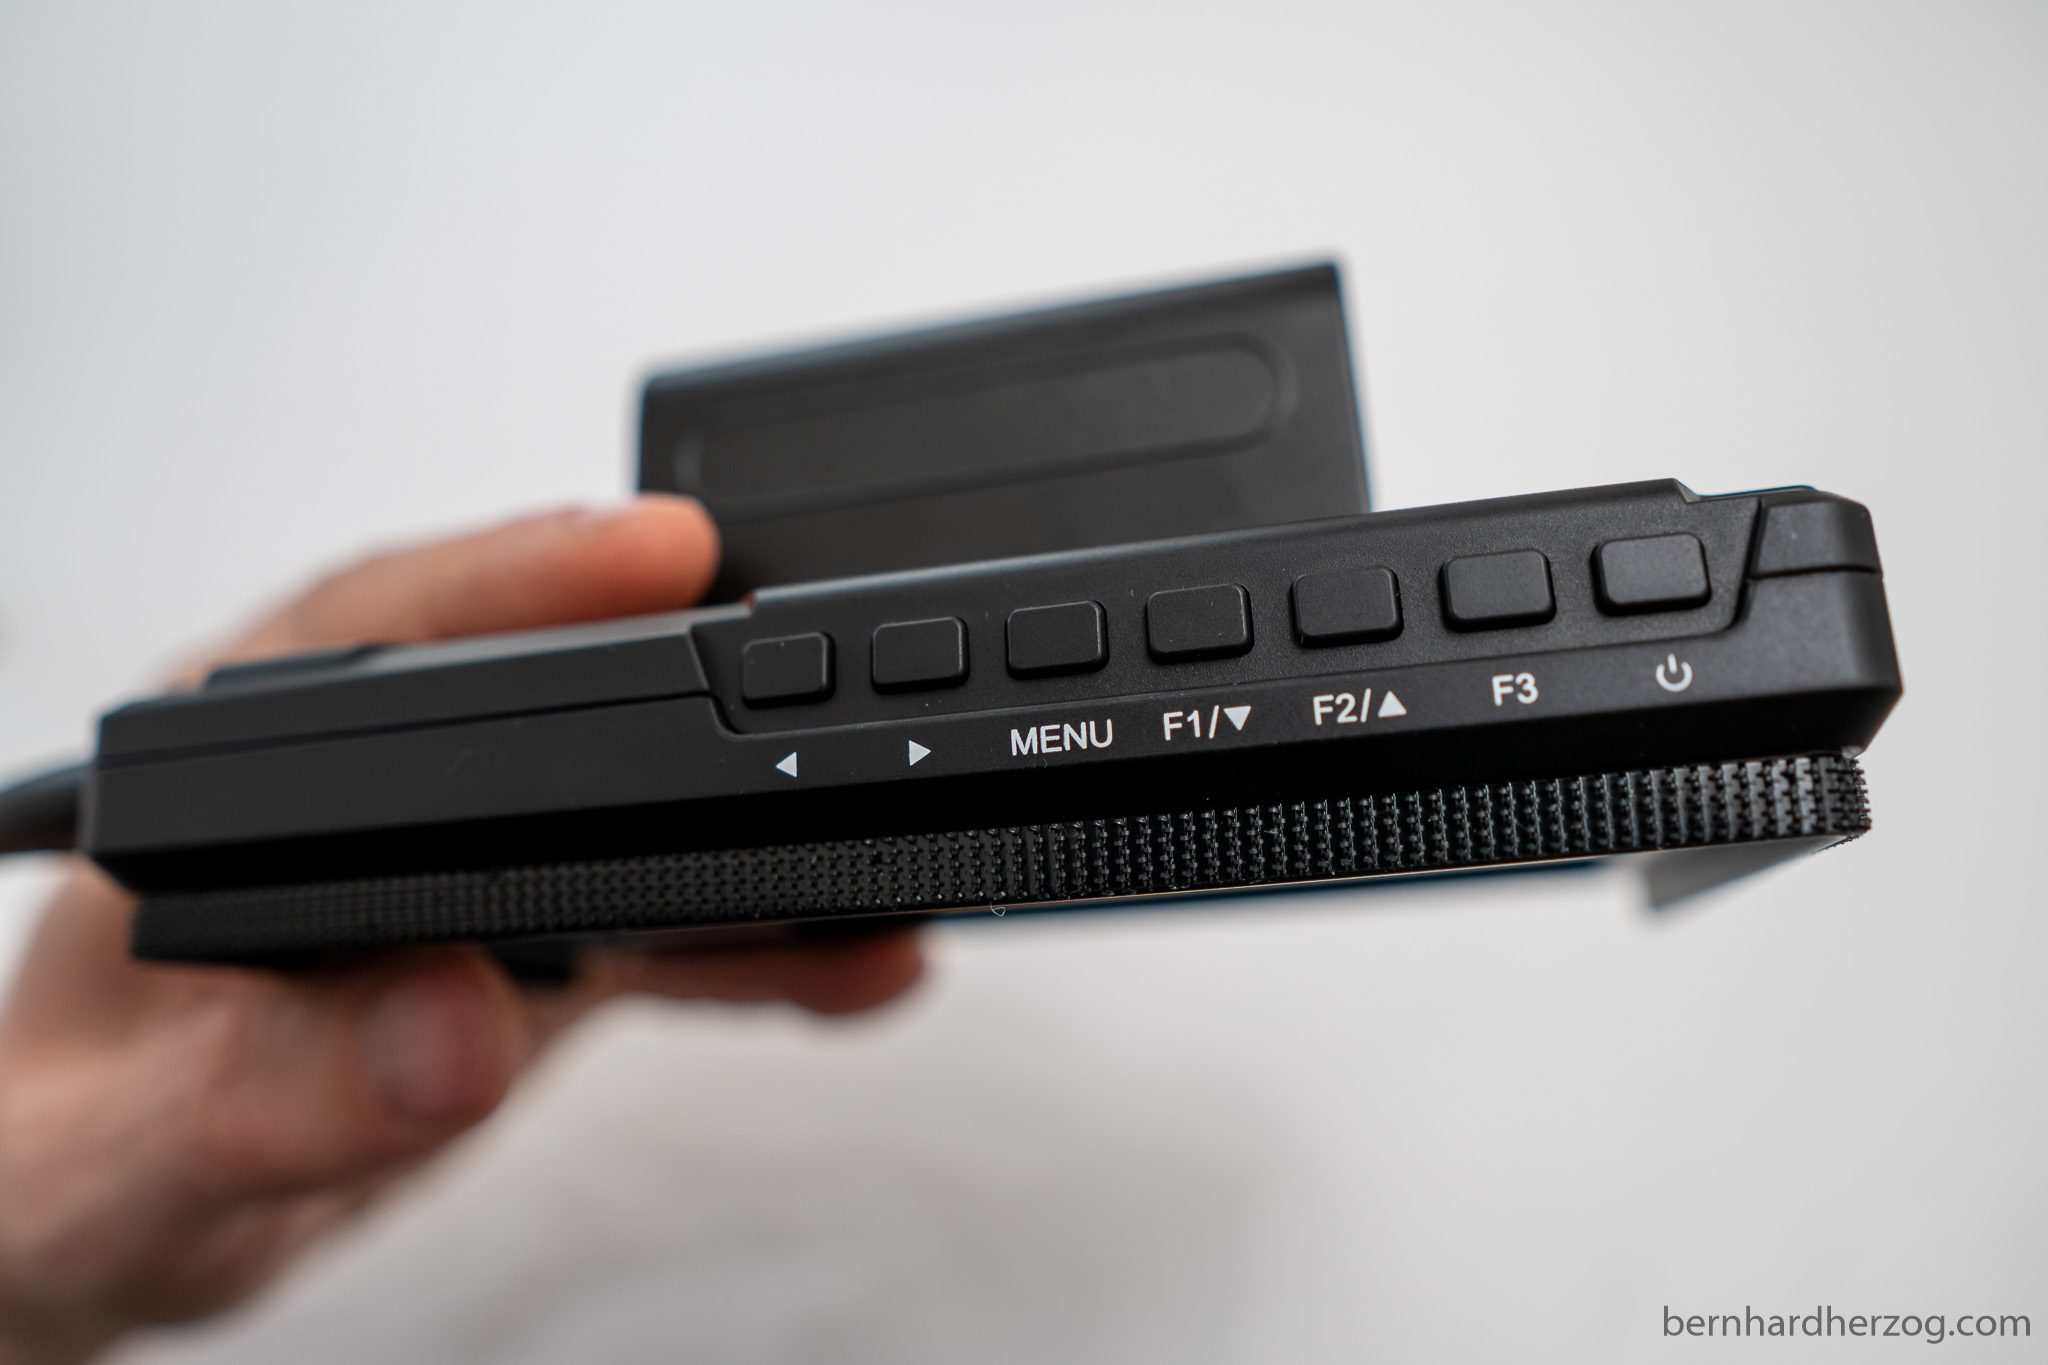
There are 3 function buttons to save the preferred functions which is nice.
On the bottom the monitor has a headphone jack and DC out for powering the camera (via a dummy battery):

Package contents
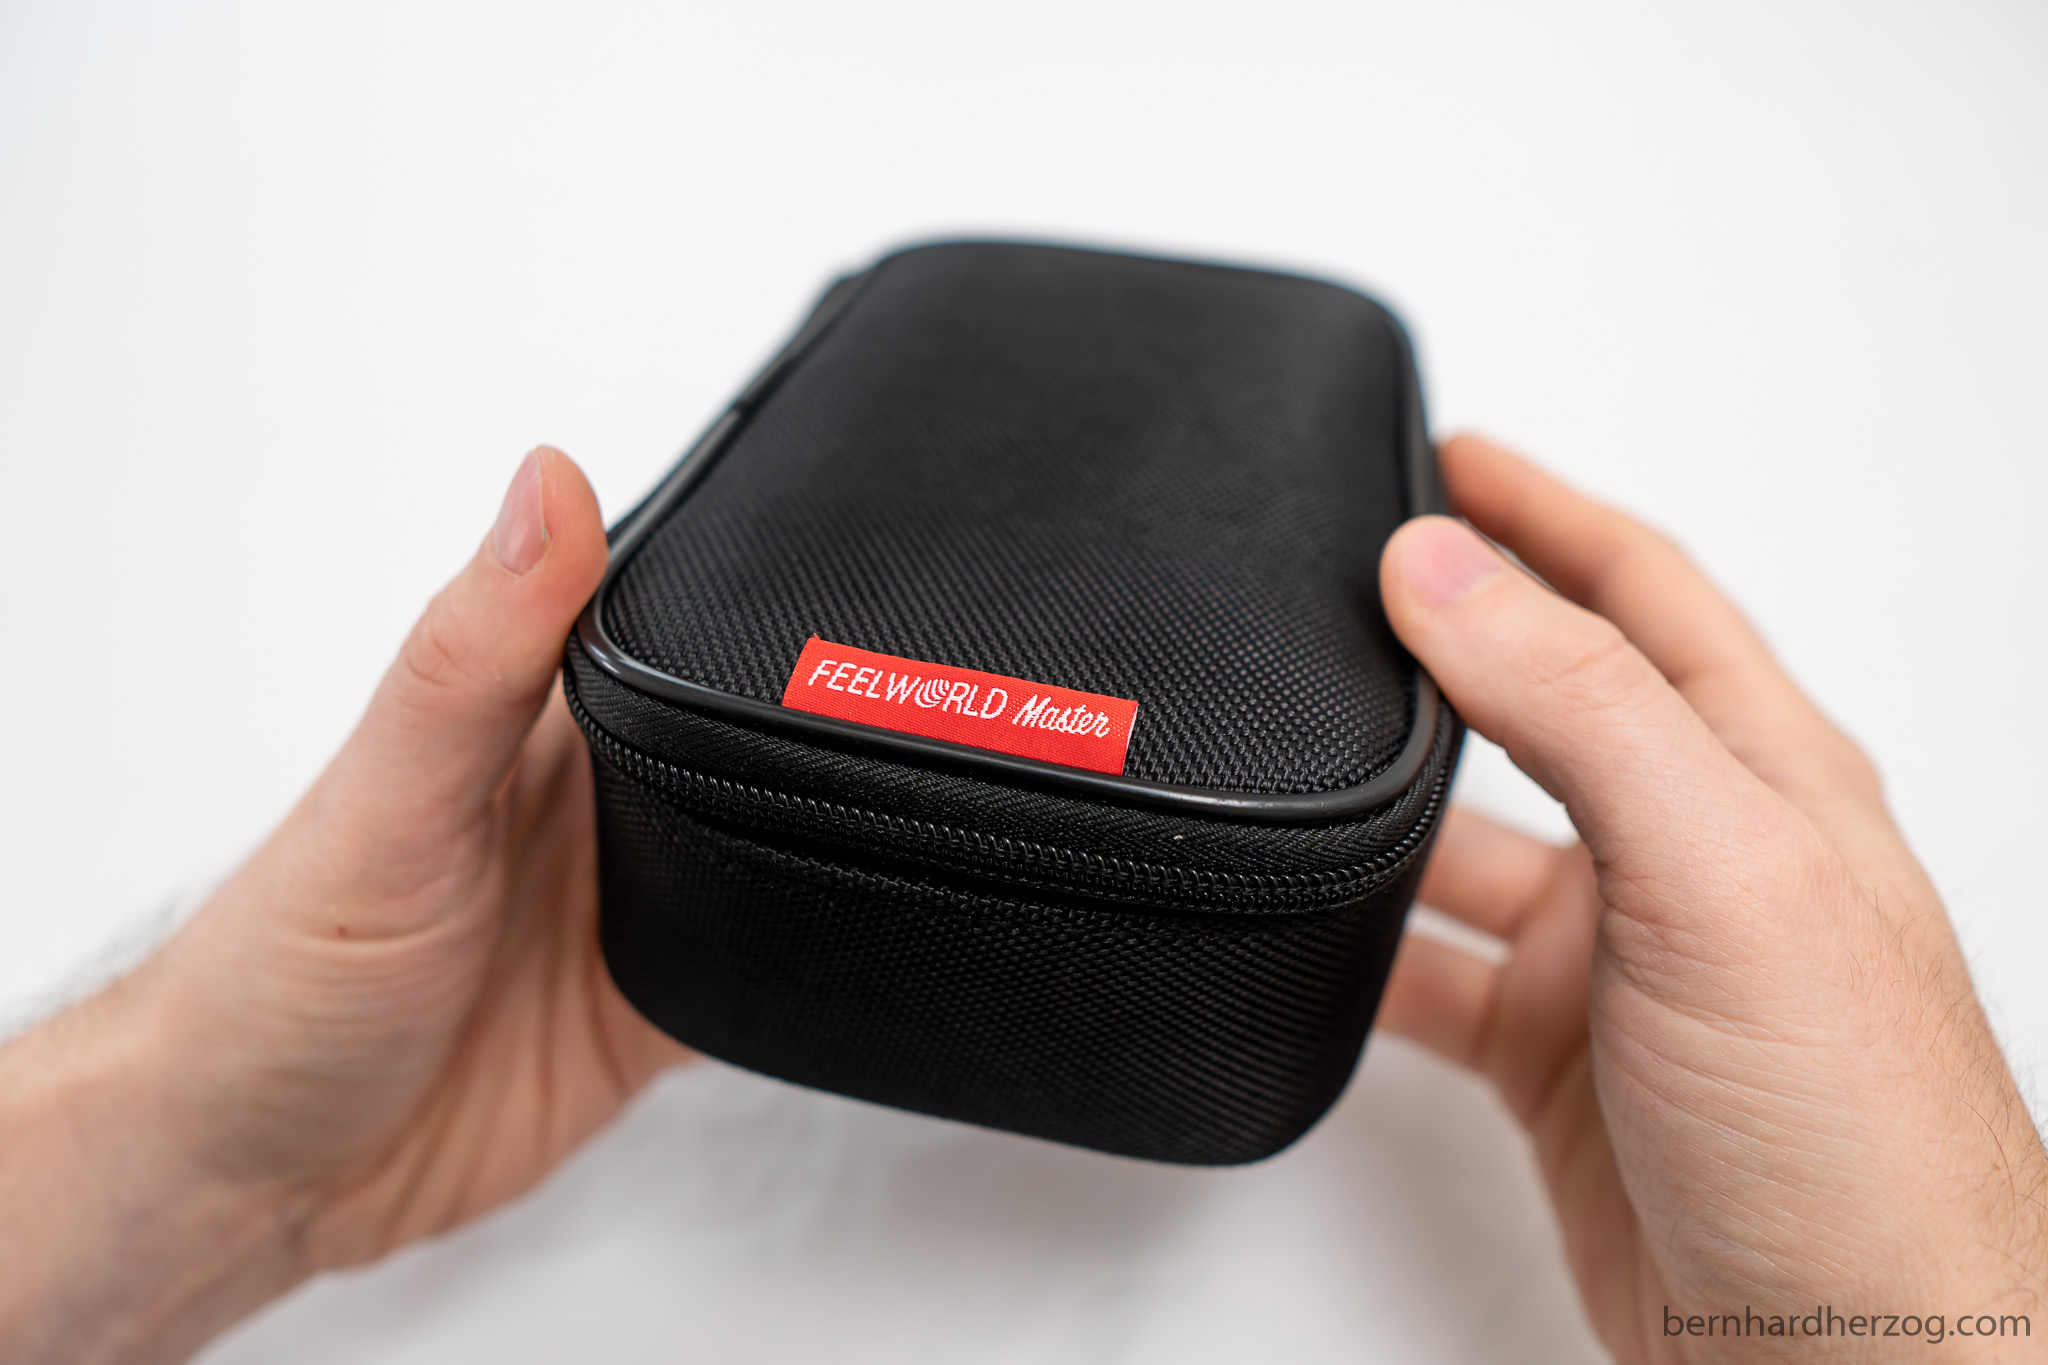
The monitor comes in this nice carrying pouch:
Beside the monitor the package contains two HDMI cables for connecting it to the camera, a tilt arm and a sunshade:

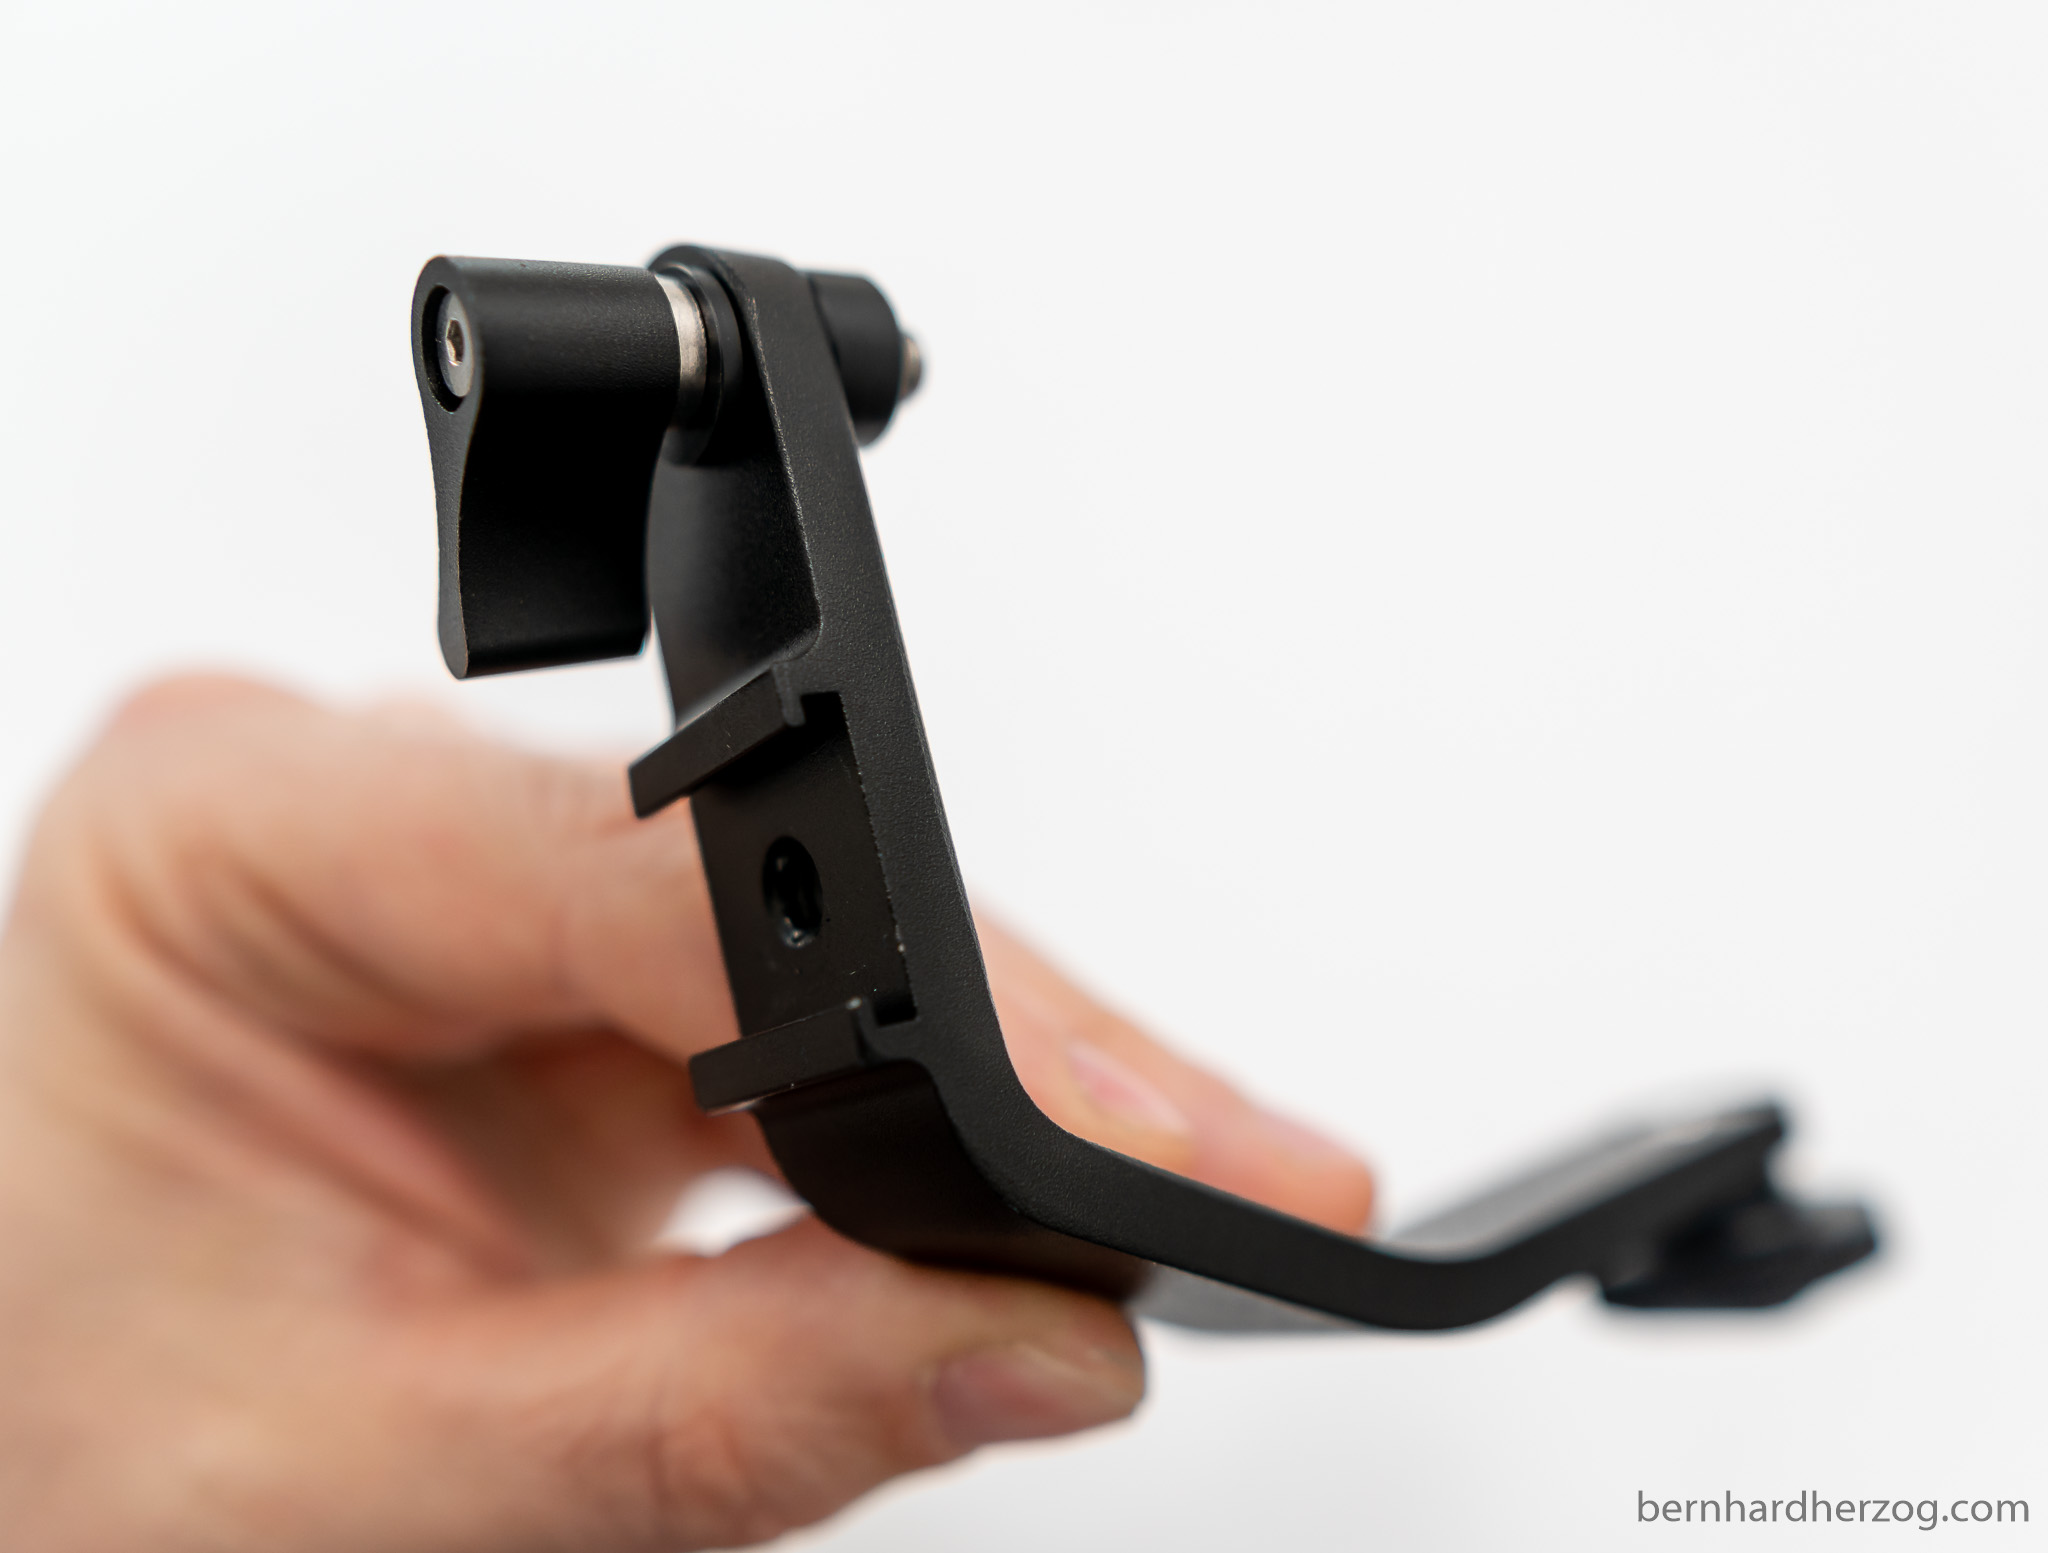
The tilt arm has a cold shoe mount for a microphone. This is very useful because usually the monitor already occupies the hot shoe of the camera.
The sunshade is vital for me because I plan to use the monitor outside.

The bracket where you put the sunshade is now integrated which is nice (it used to be separate on older monitors). It protects the screen as well.
Testing the Feelworld Master MA6P – 5 use cases
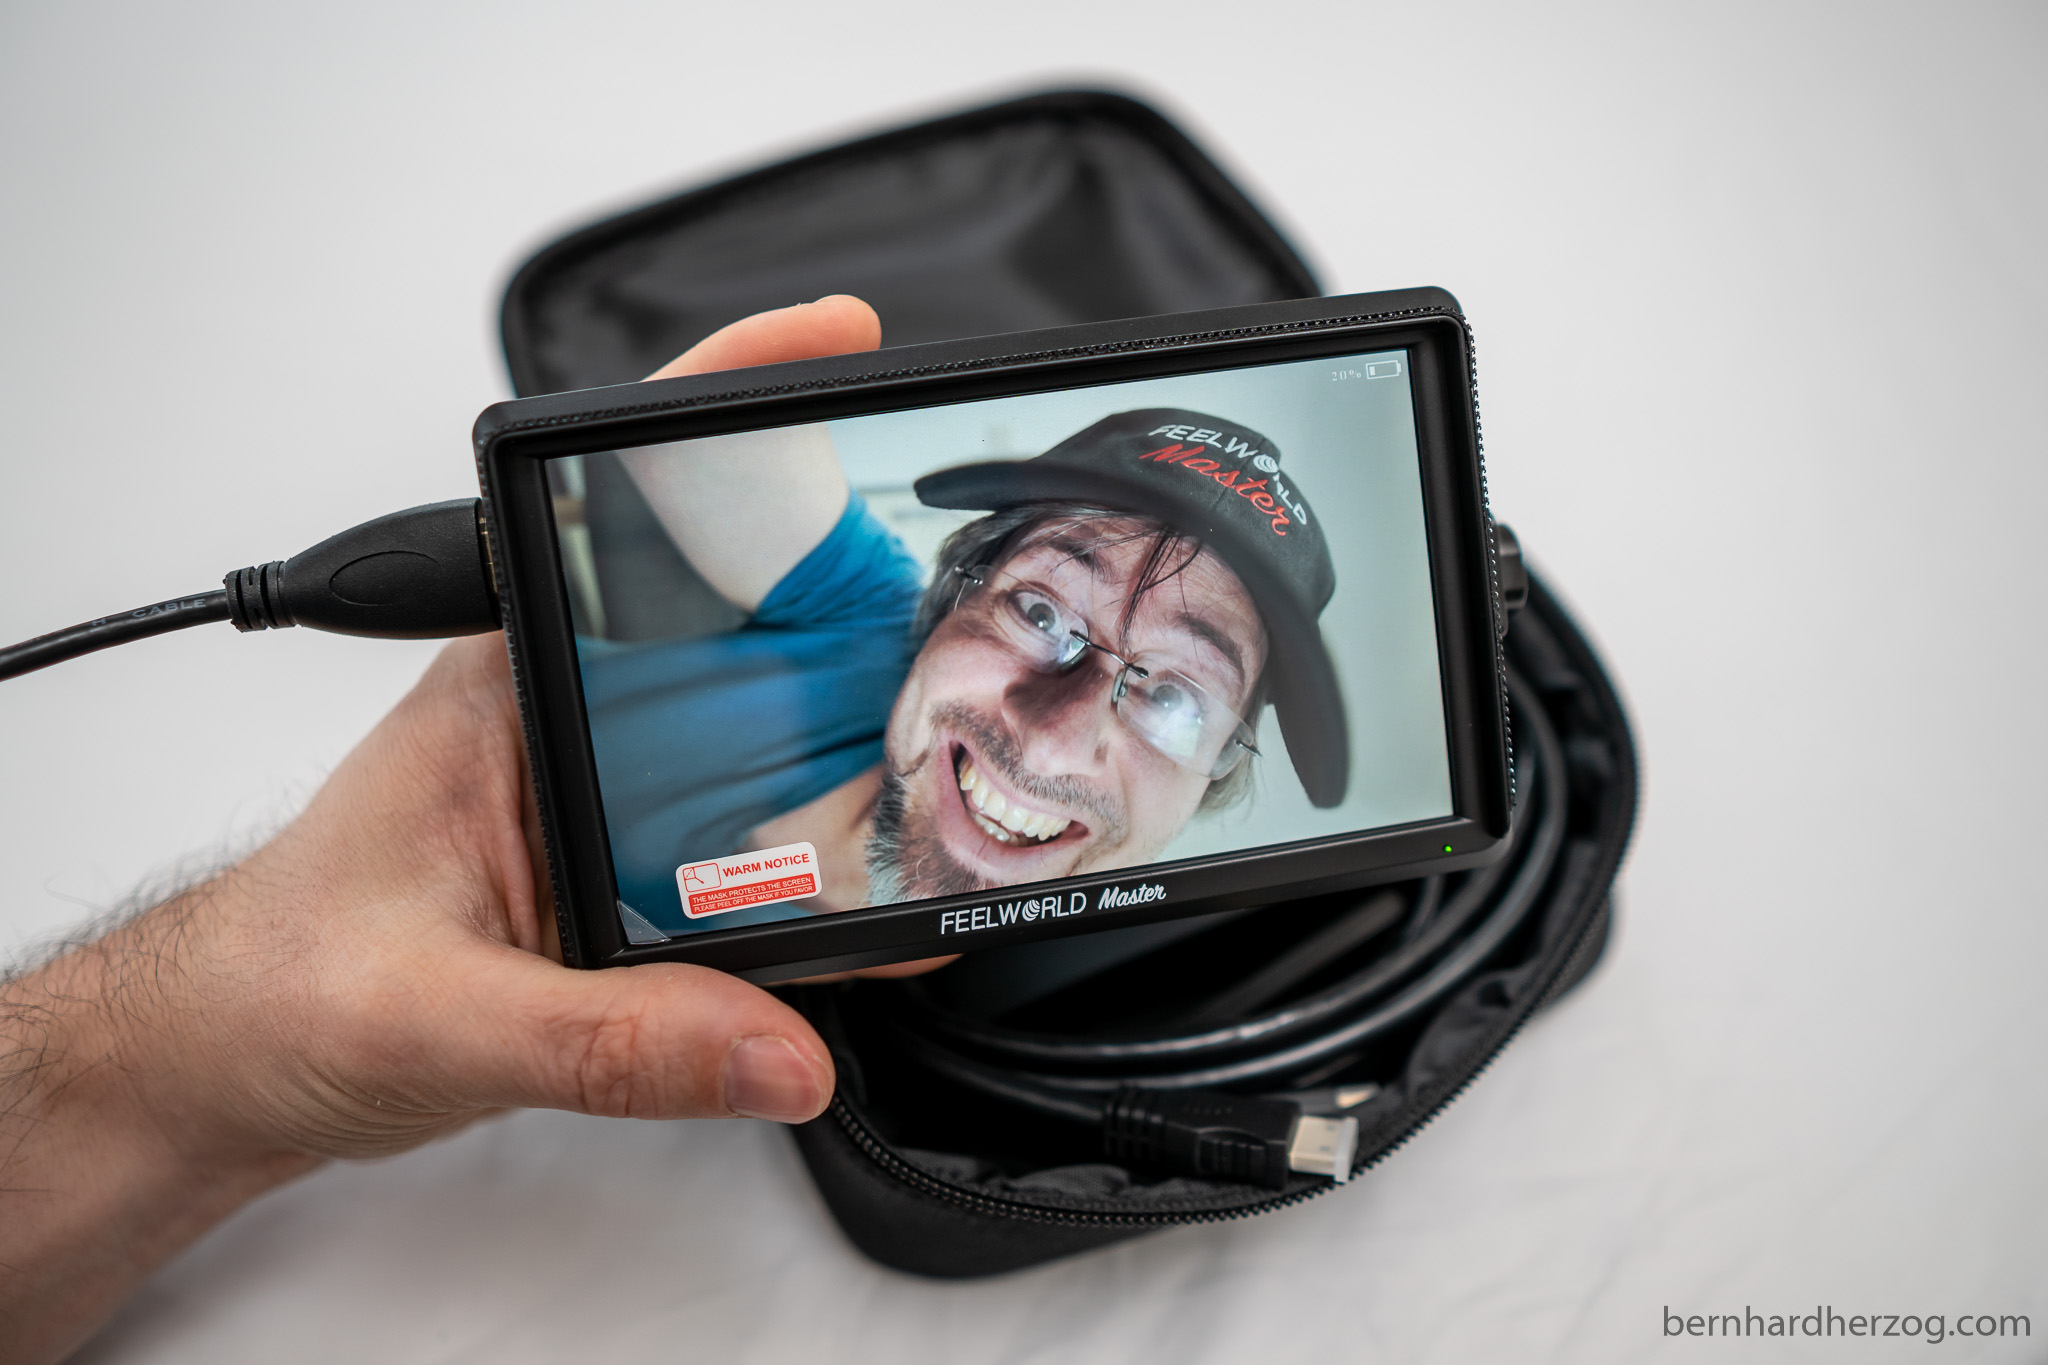
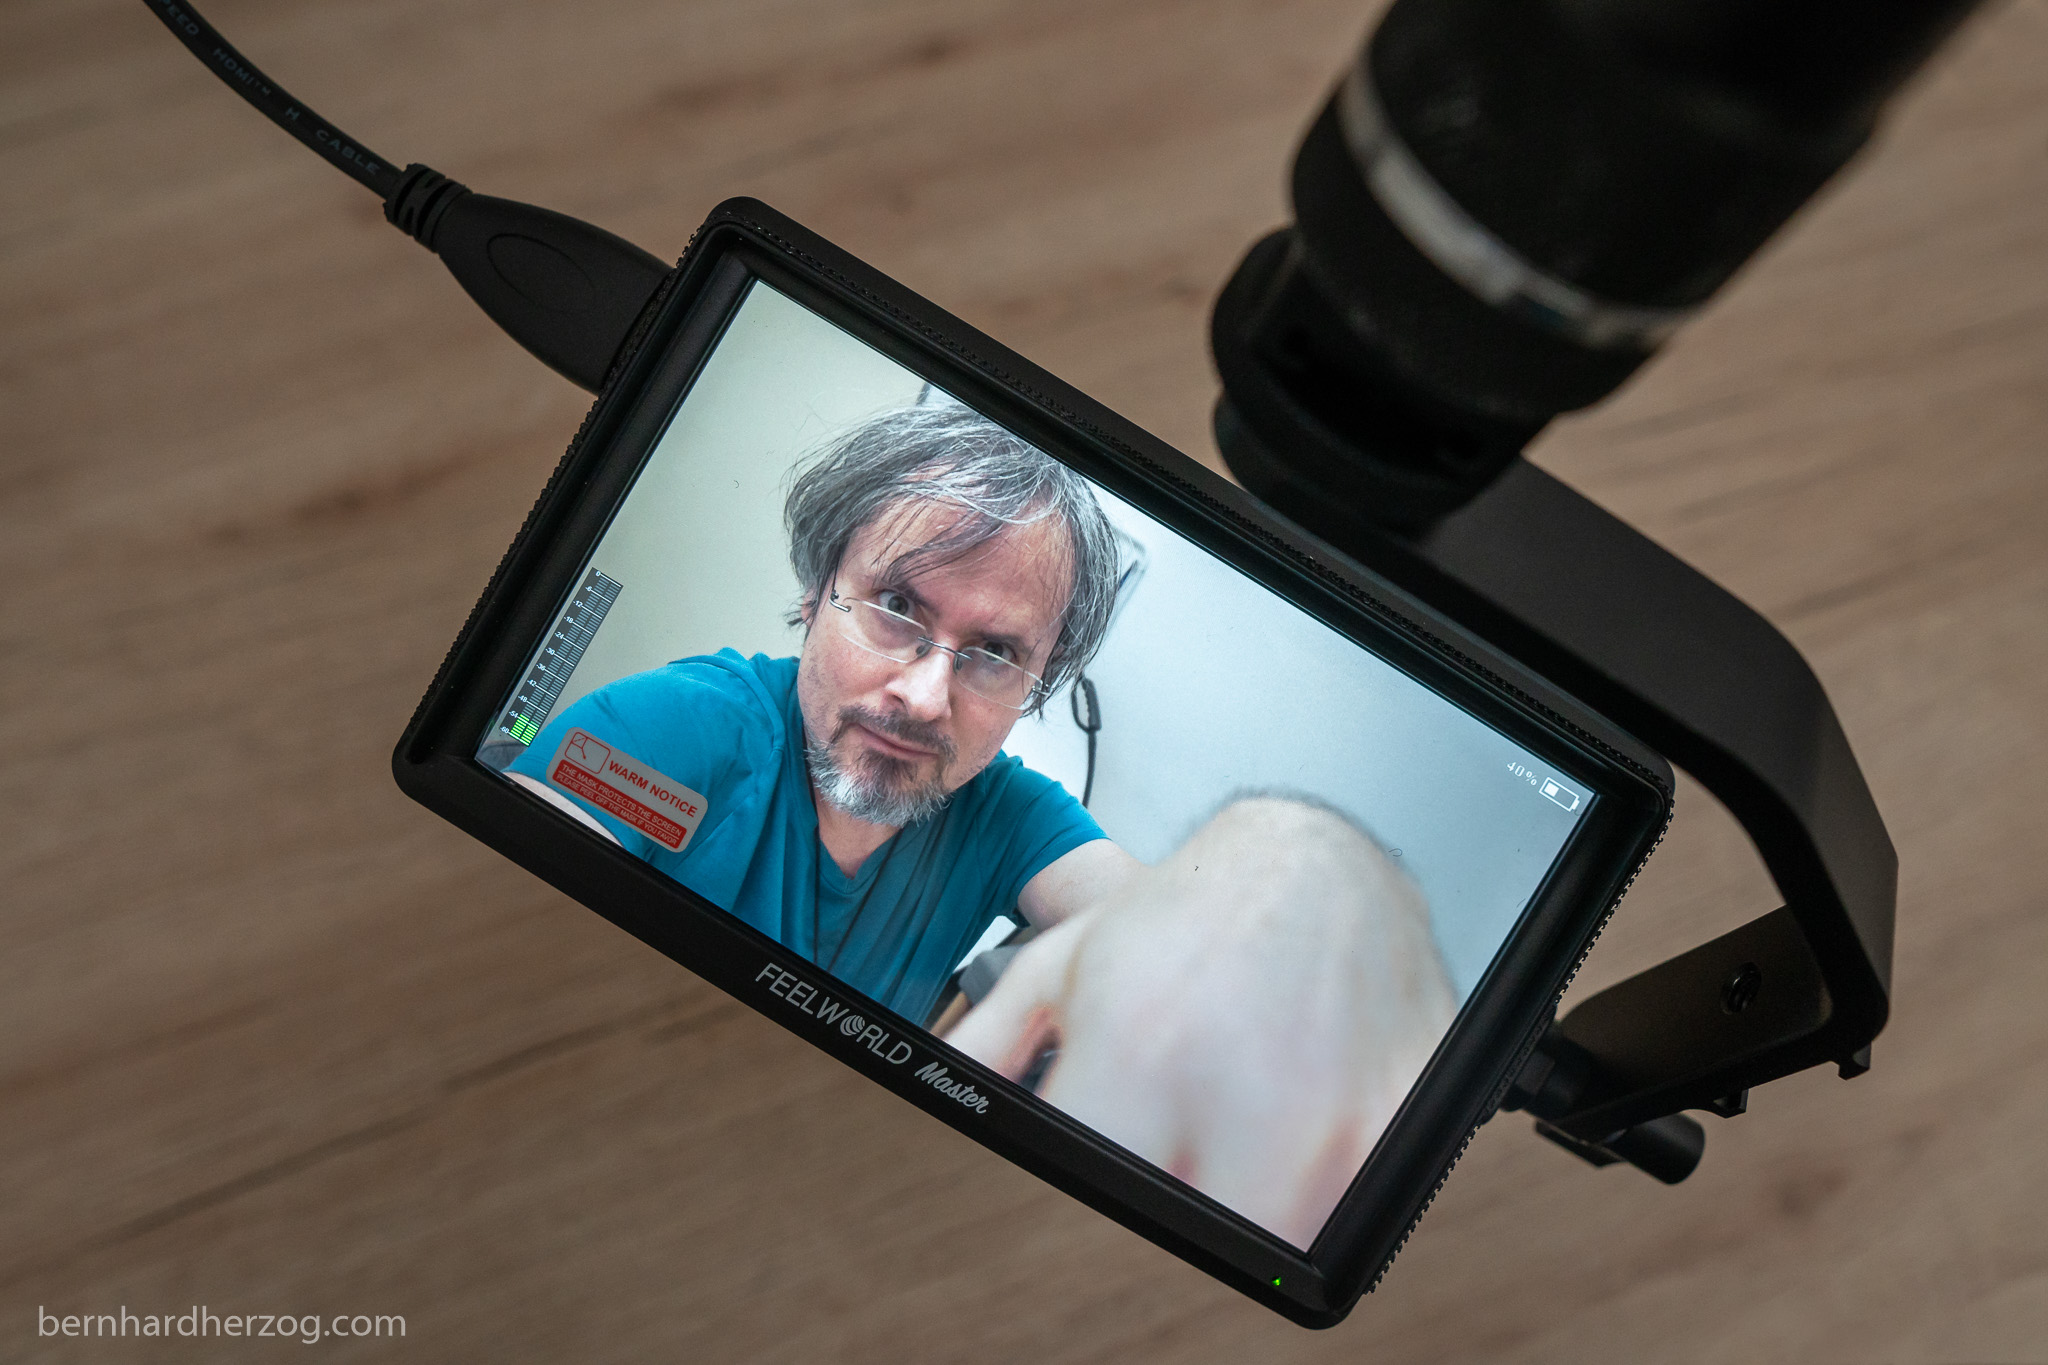
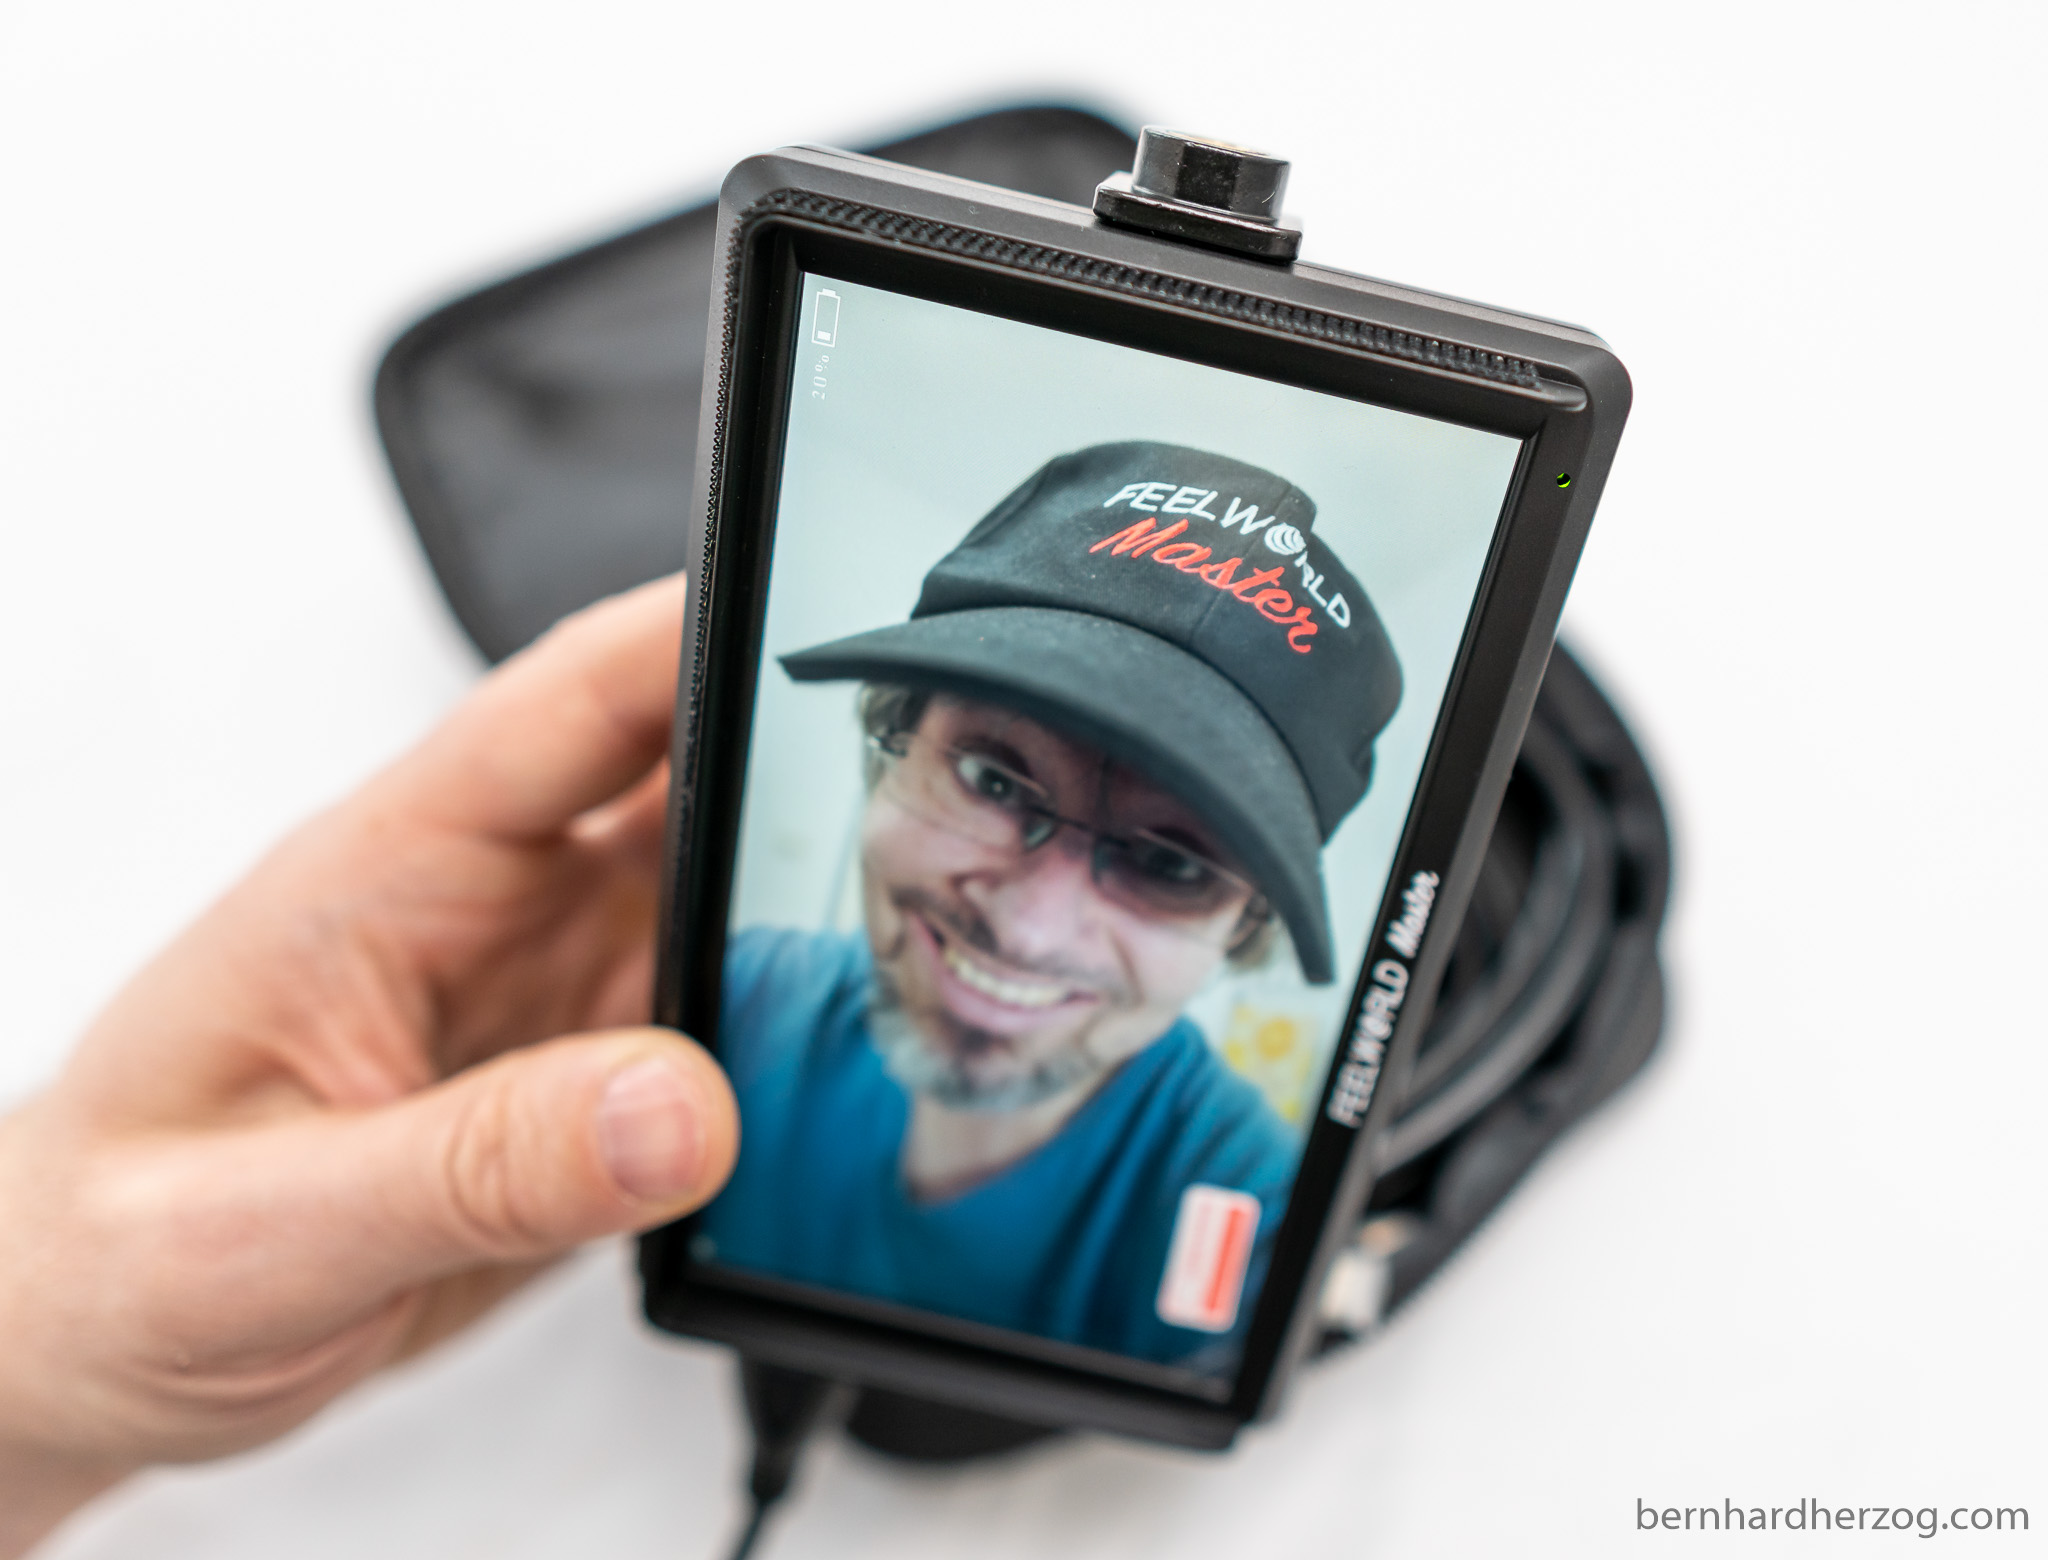
1. Filming myself
My main video camera, the Sony a6500 does not have a flip-up-screen. So I use the monitor. Without seeing myself it would be impossible to properly frame myself. (Before having a monitor I had to retake the scenes many times.)
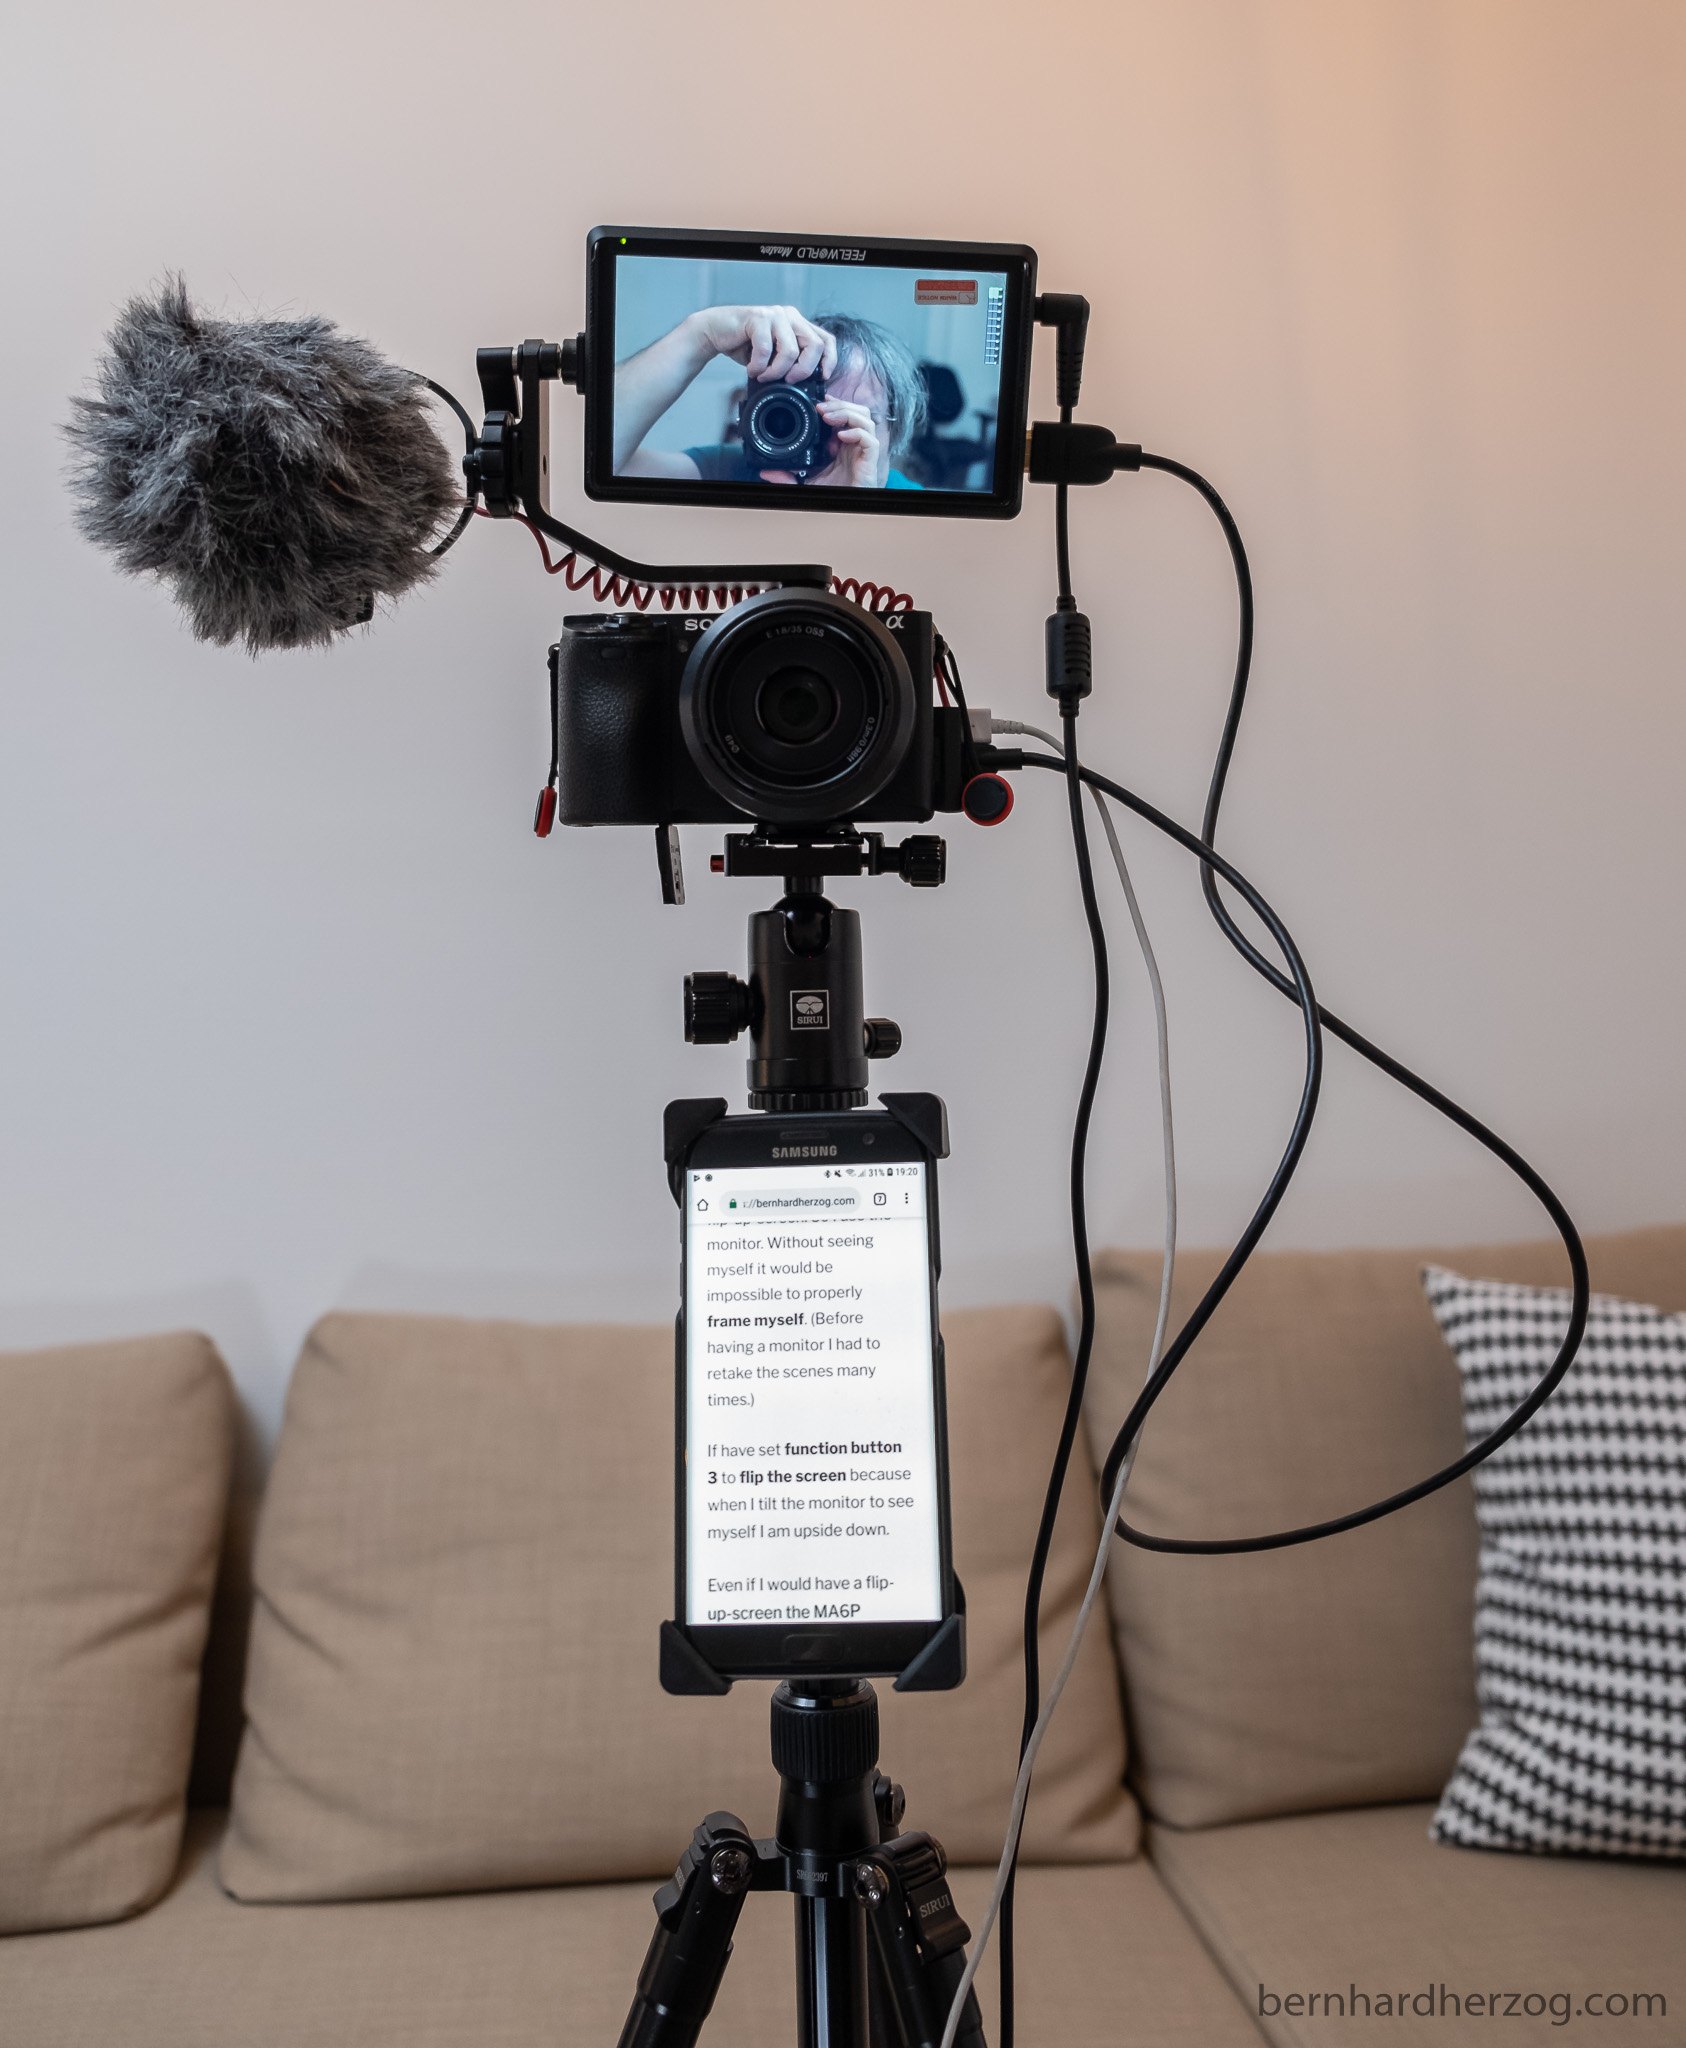

If have set function button 3 to flip the screen because when I tilt the monitor to see myself I am upside down.
Even if I would have a flip-up-screen the MA6P monitor would still be larger and of better quality compared to the camera screen which is just 3” (Sony).
2. On a gimbal
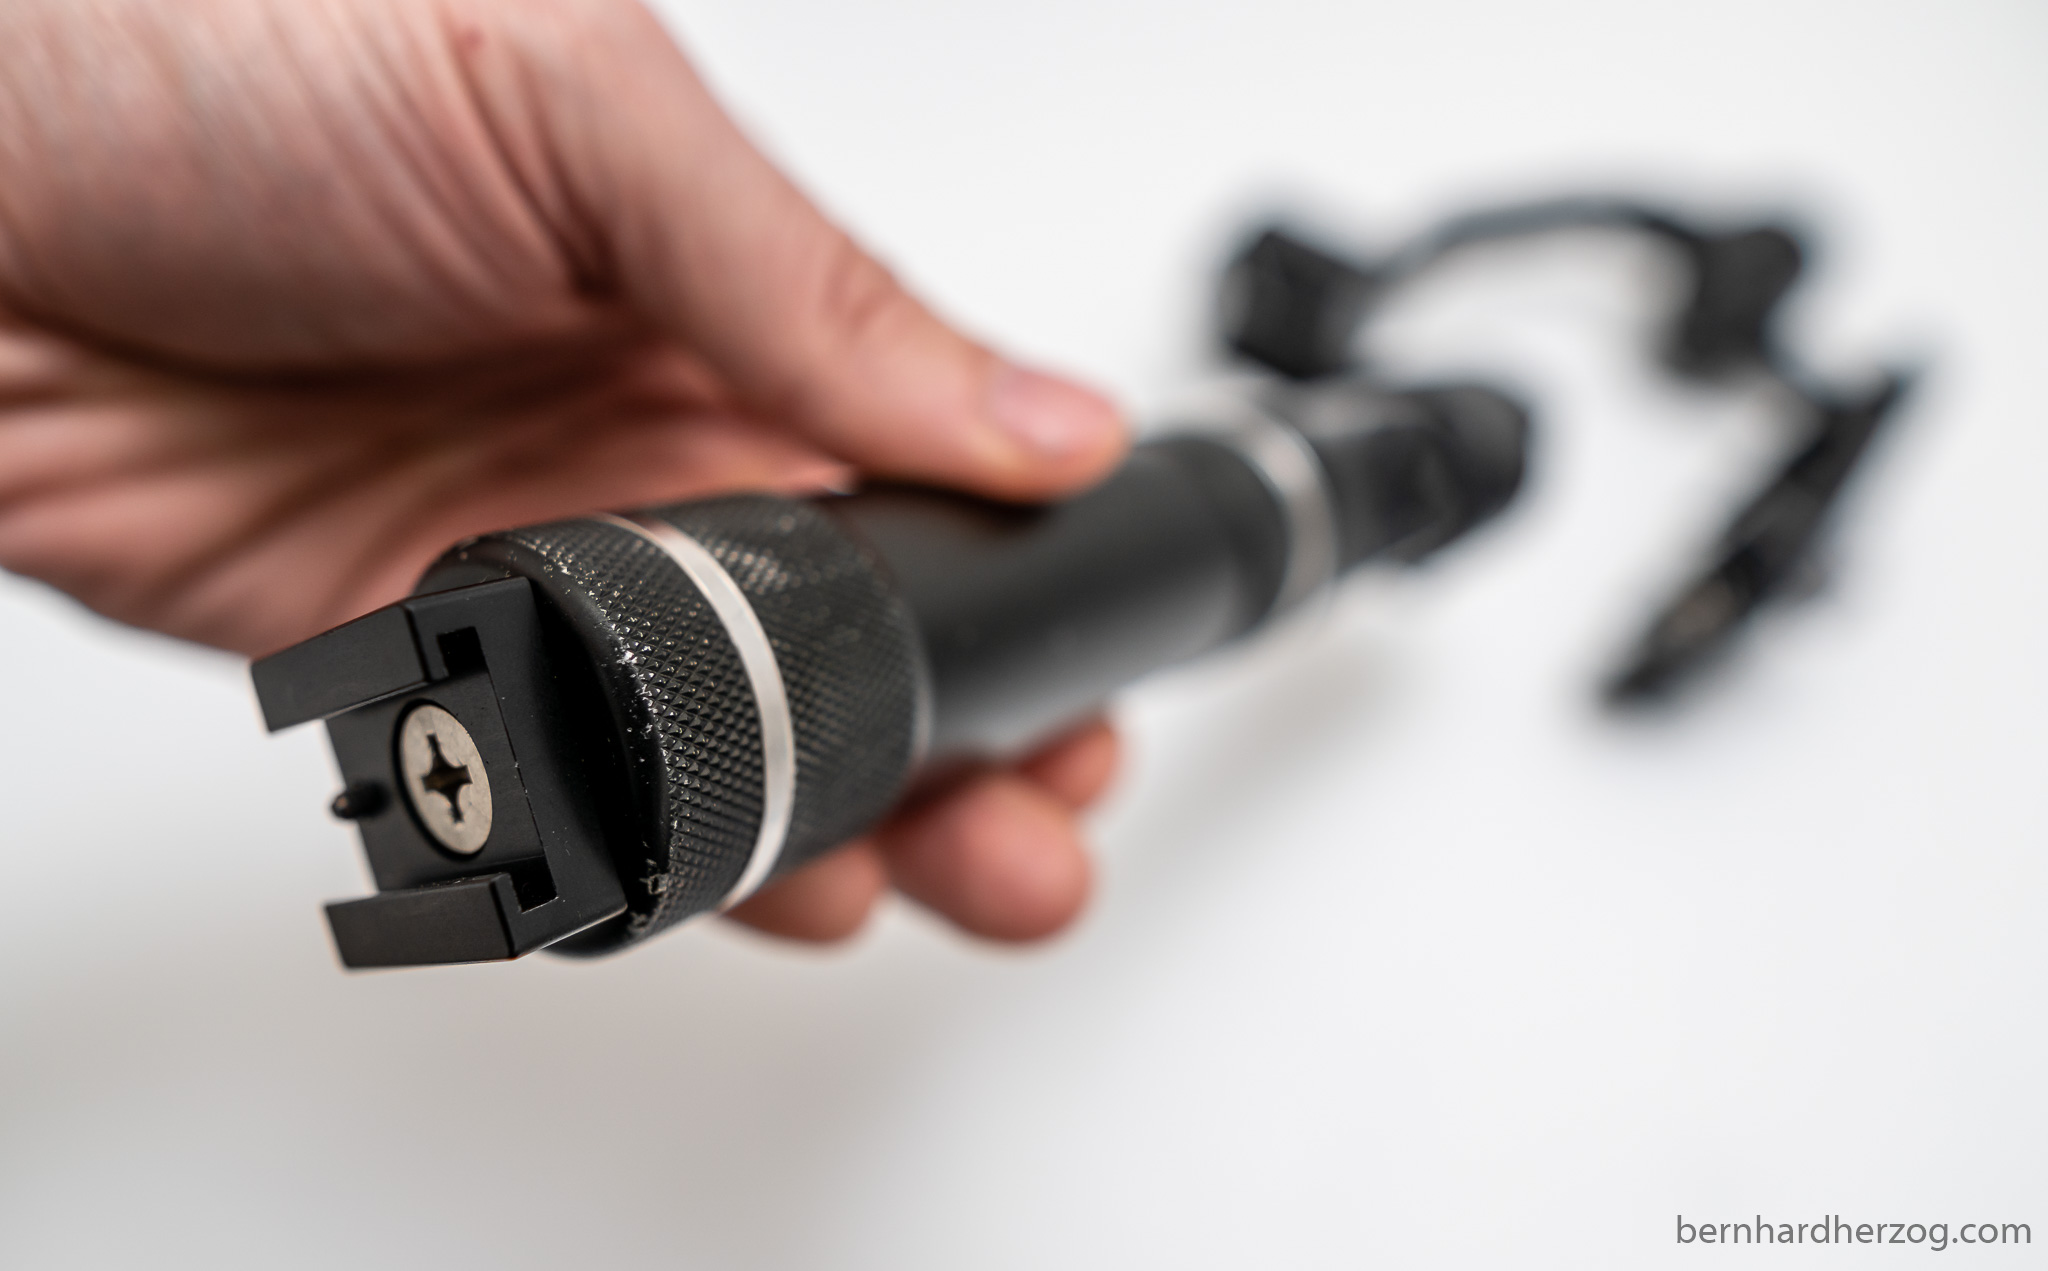
My preferred method to mount the monitor on a gimbal is to put it on the bottom.
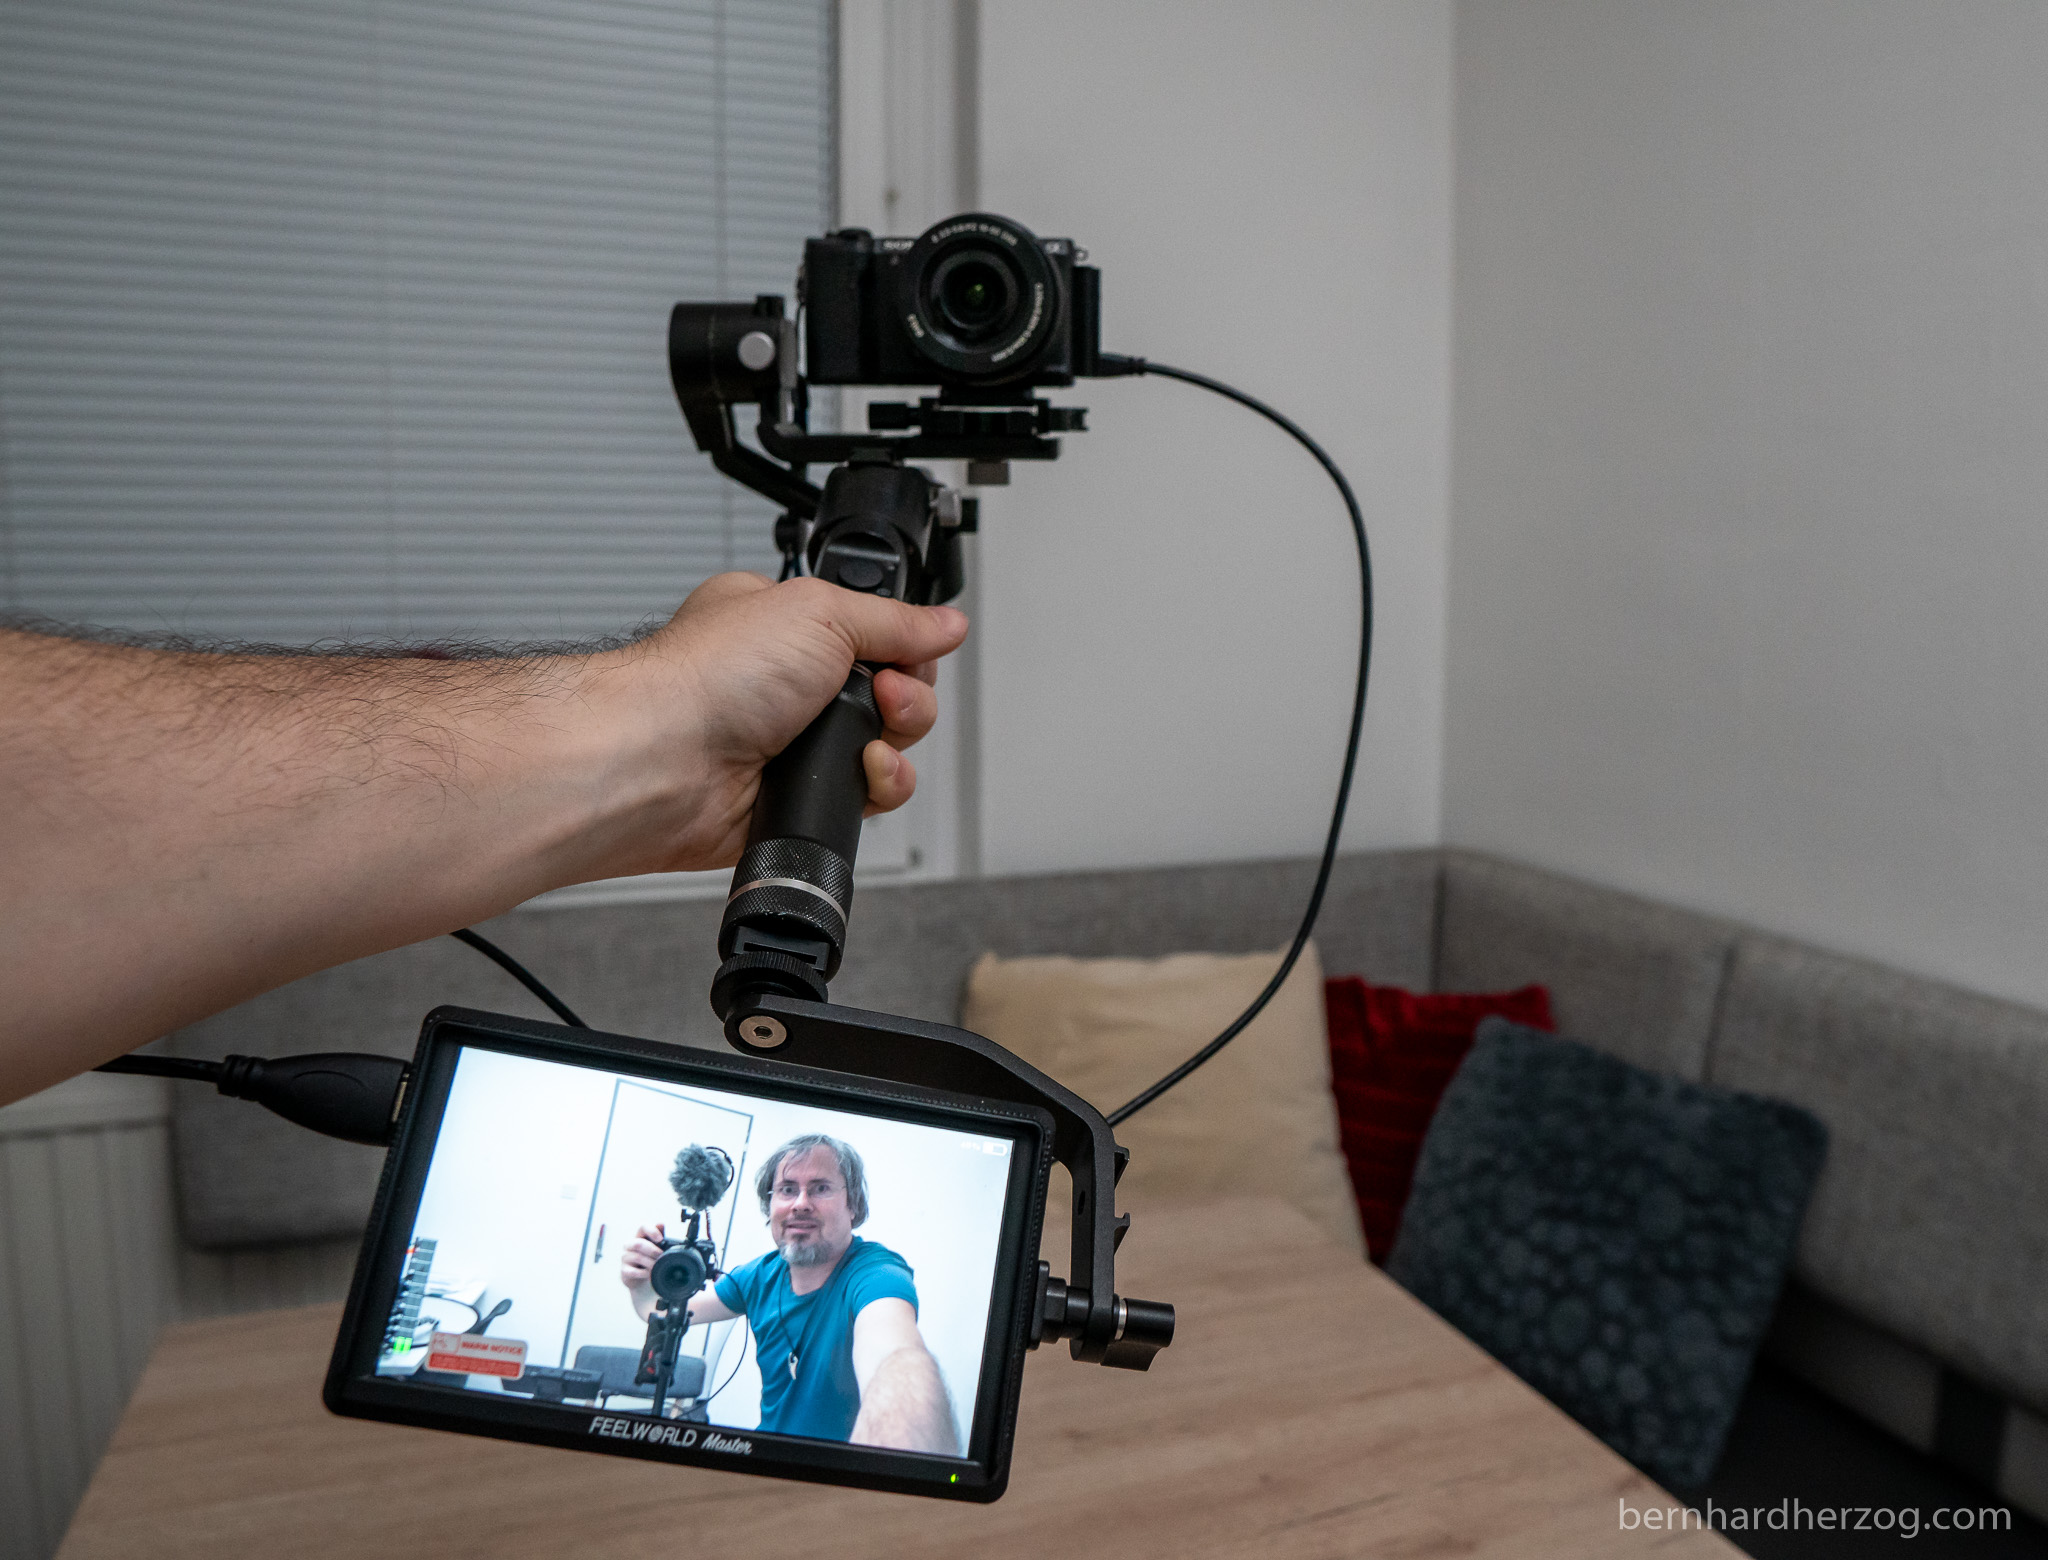
I have screwed a small cold shoe to the bottom of the gimbal. That way I can quickly mount the monitor.

See this older video for 3 other methods that I have used before using an older and heavier monitor:
The MA6P works very well on my gimbal because it is so small. I was really surprised how lightweight it is. It has a screen-to-body of 83% and weights just 175 grams (without battery). A big improvement to the monitors I have used in the past.
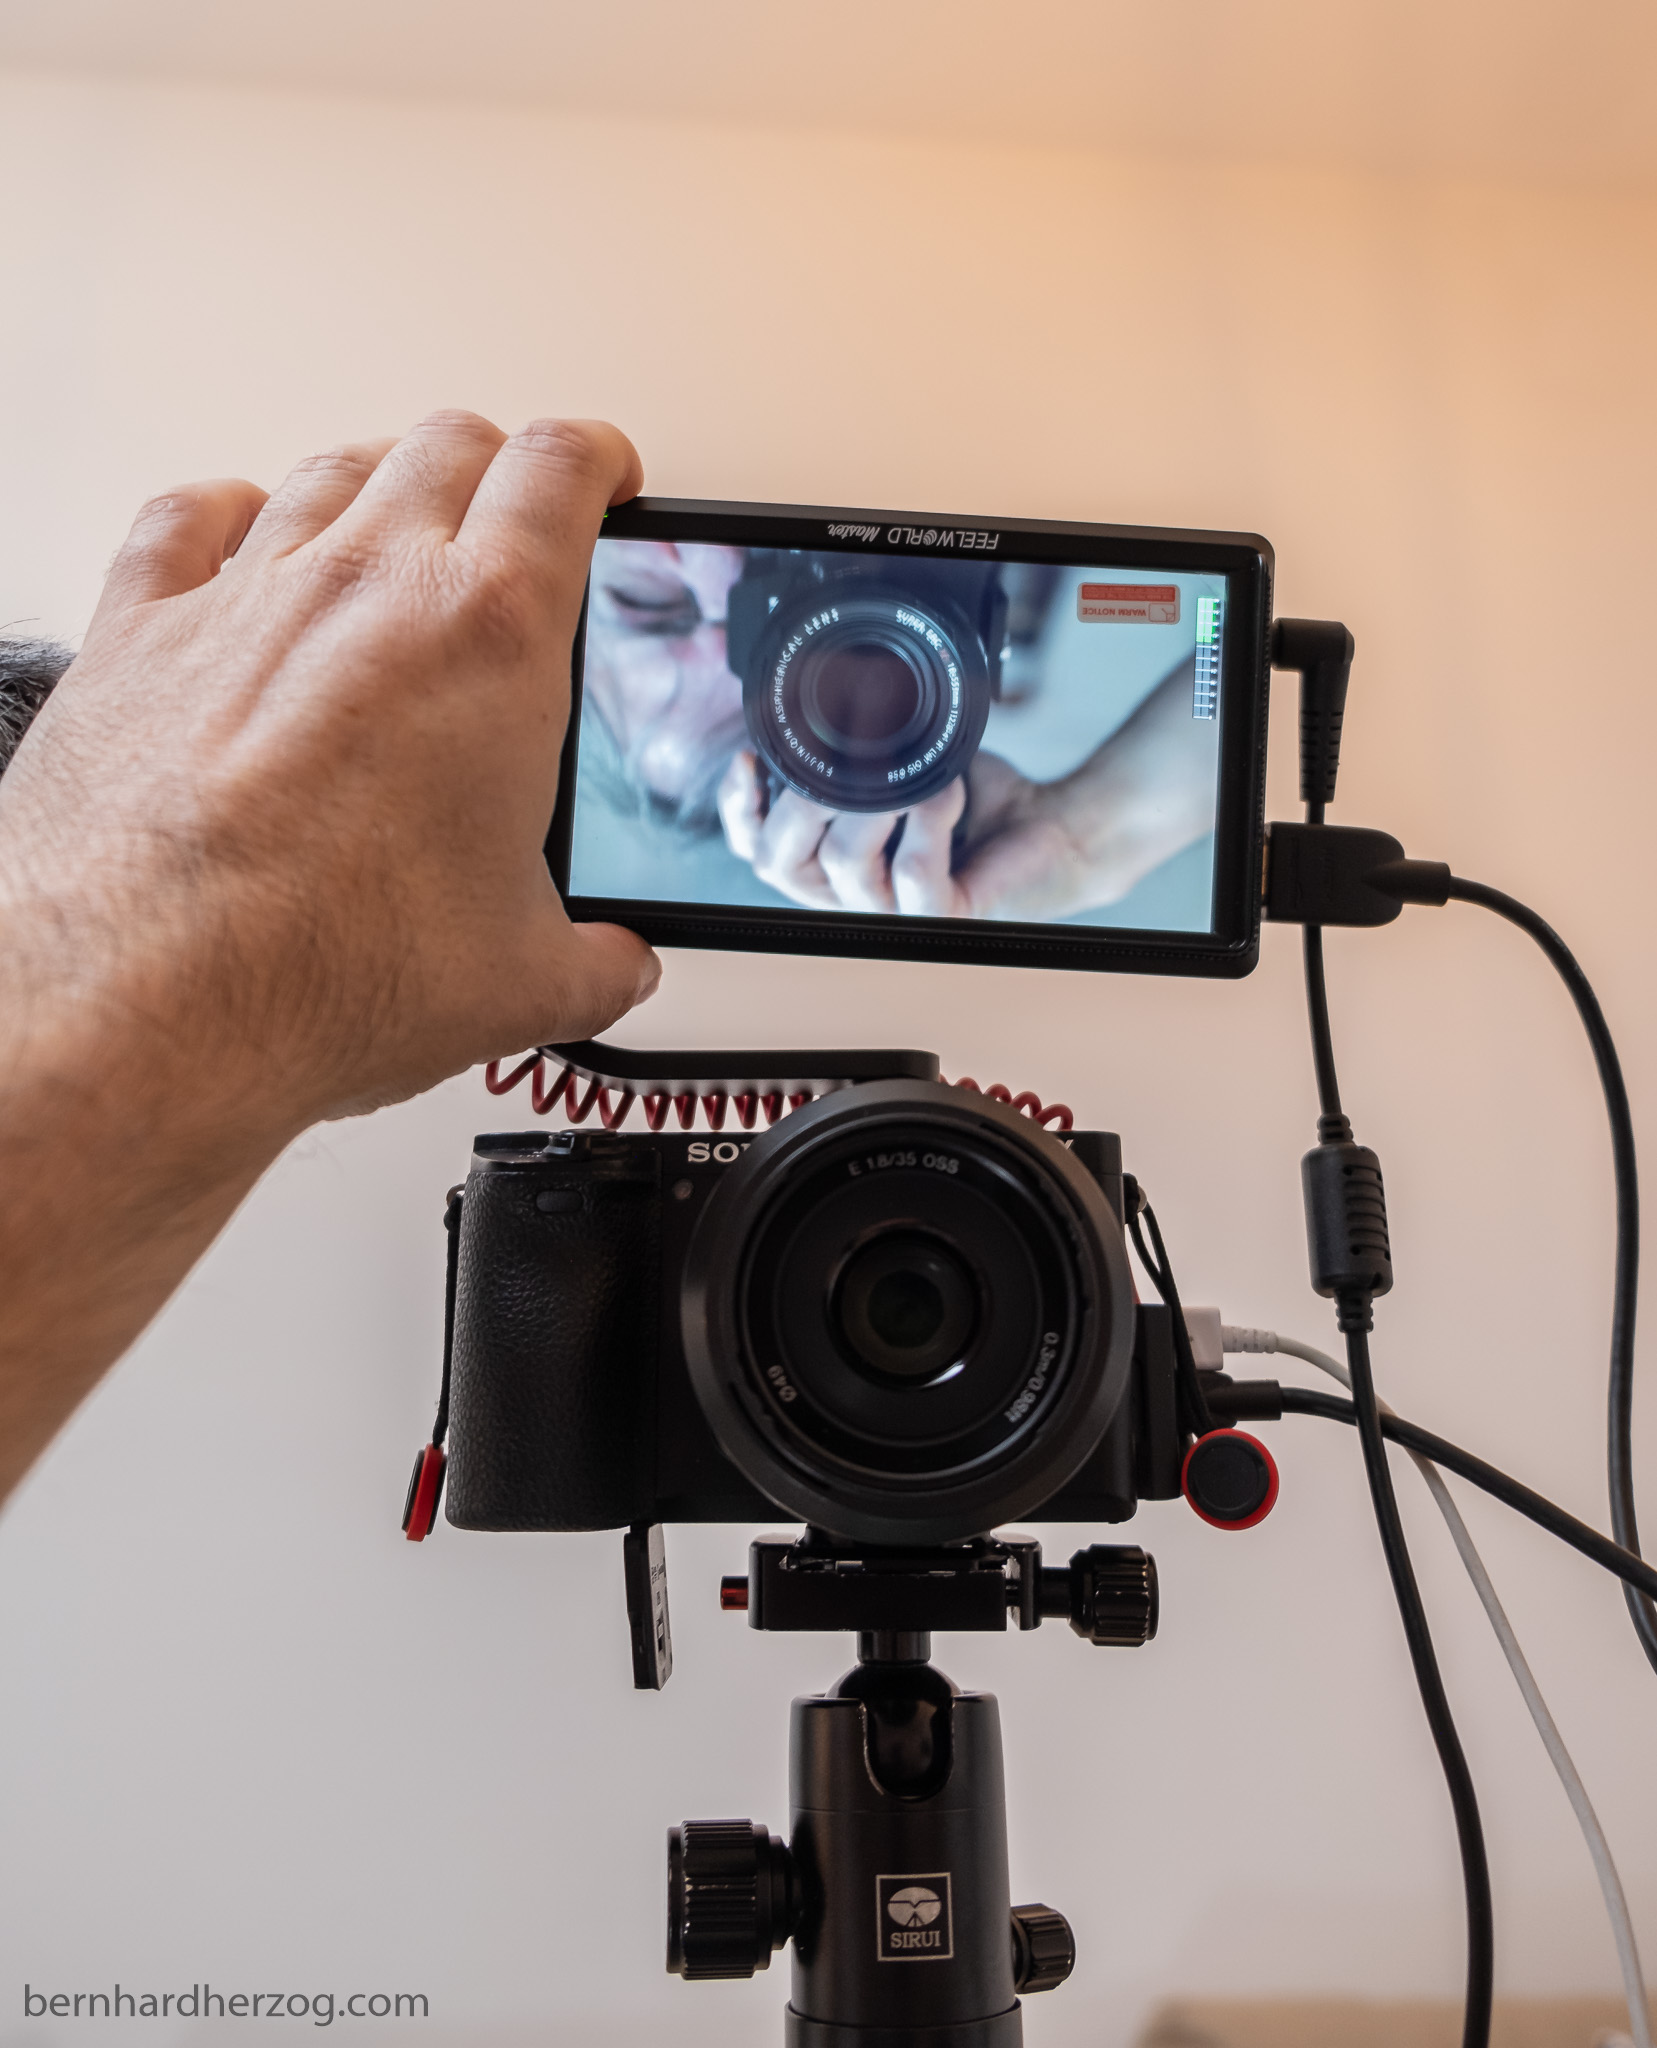
3. Macro photography
When photographing small objects it is very easy to miss focus (on the eye of an insect for example). If you are close, the area in focus is tiny. It is better to use manual focus anyways.
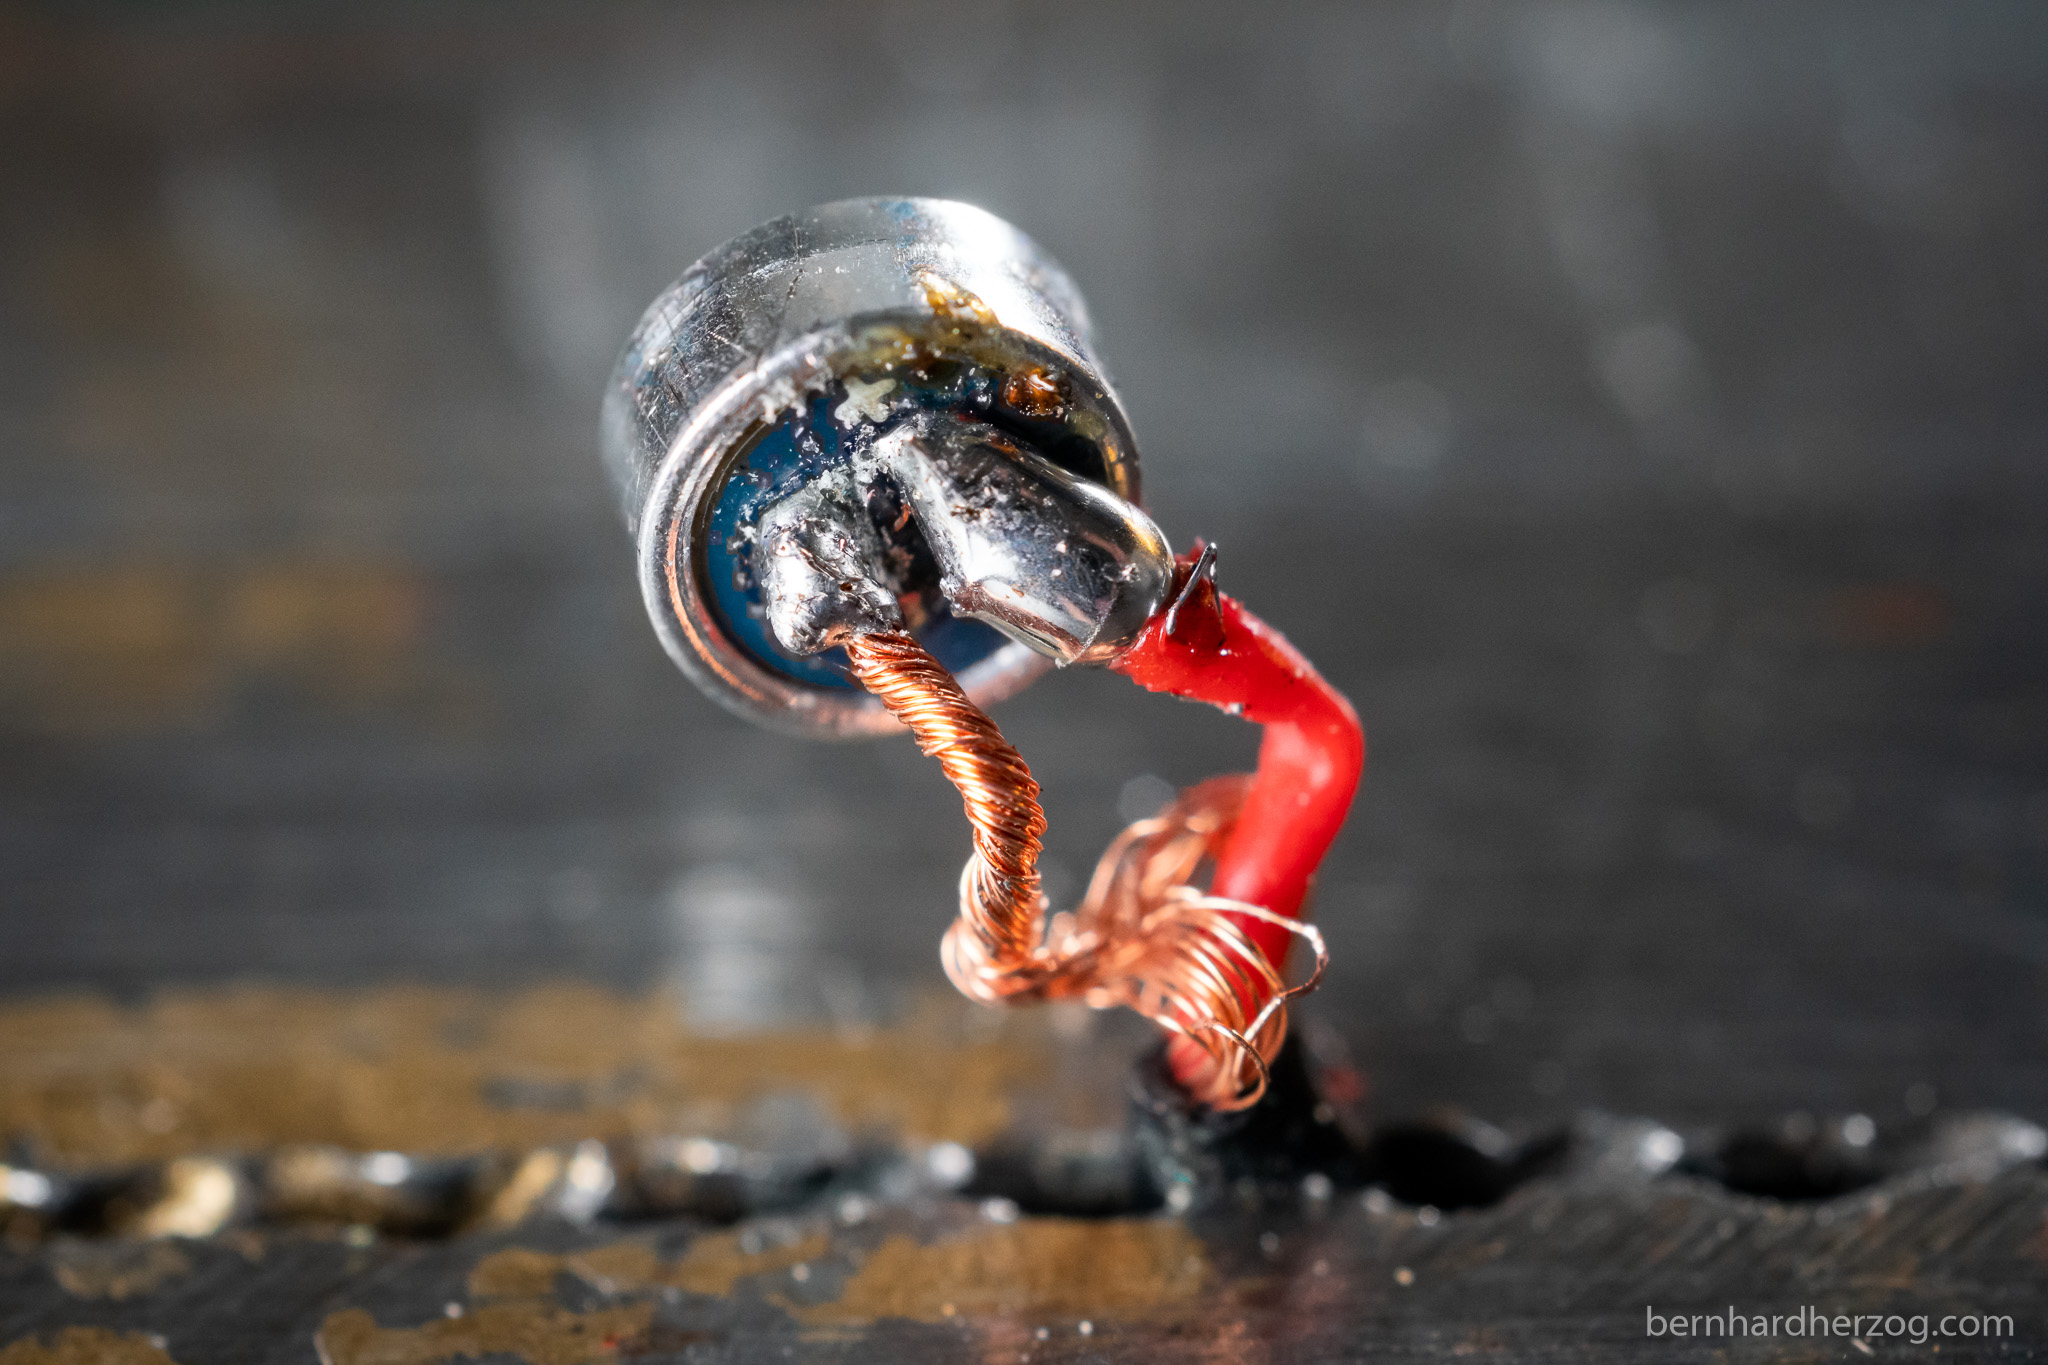
I use an external monitor to better see what is in focus. (You can read my article about macro photography here.)
I have set function button 1 to focus peaking to see exactly what is in focus. You can also use the zoom function but for me focus peaking is usually enough.
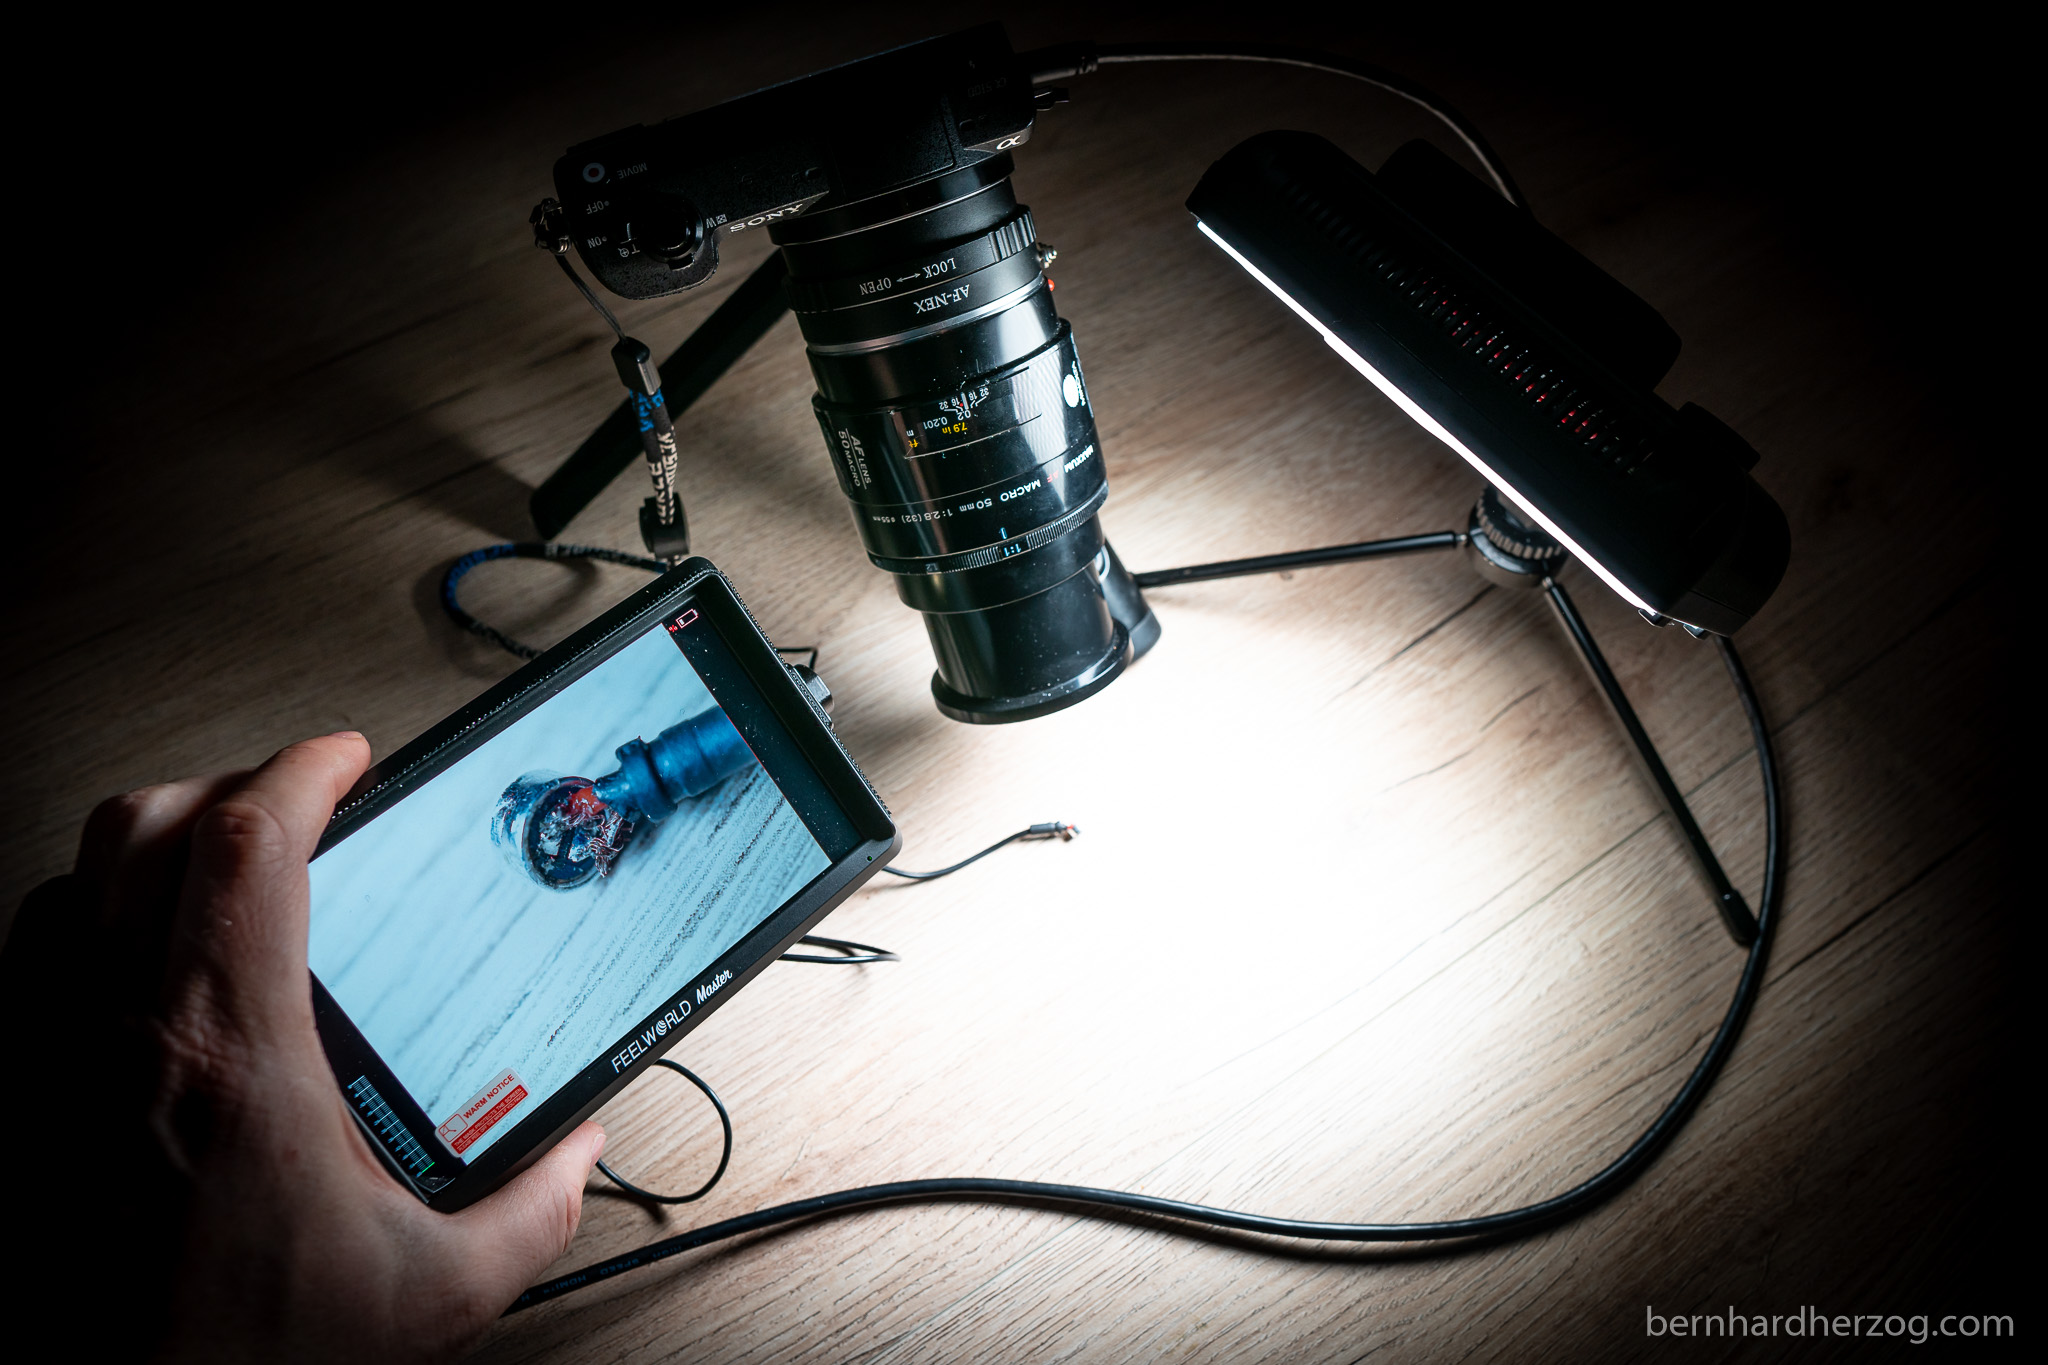
The monitor can help if you want to do focus stacking. Focus stacking means making a sequence of pictures while changing the focus and later combining those pictures in Photoshop into a single one with everything in focus.
Note: Some cameras have automatic focus stacking (Fuji XT-2). But you can try to do it manually as well.
I like that the MA6P is so small so I can use it outdoors when I want to photograph insects. If you do macro photography exclusively at home you could consider a bigger monitor, for example the MA7.
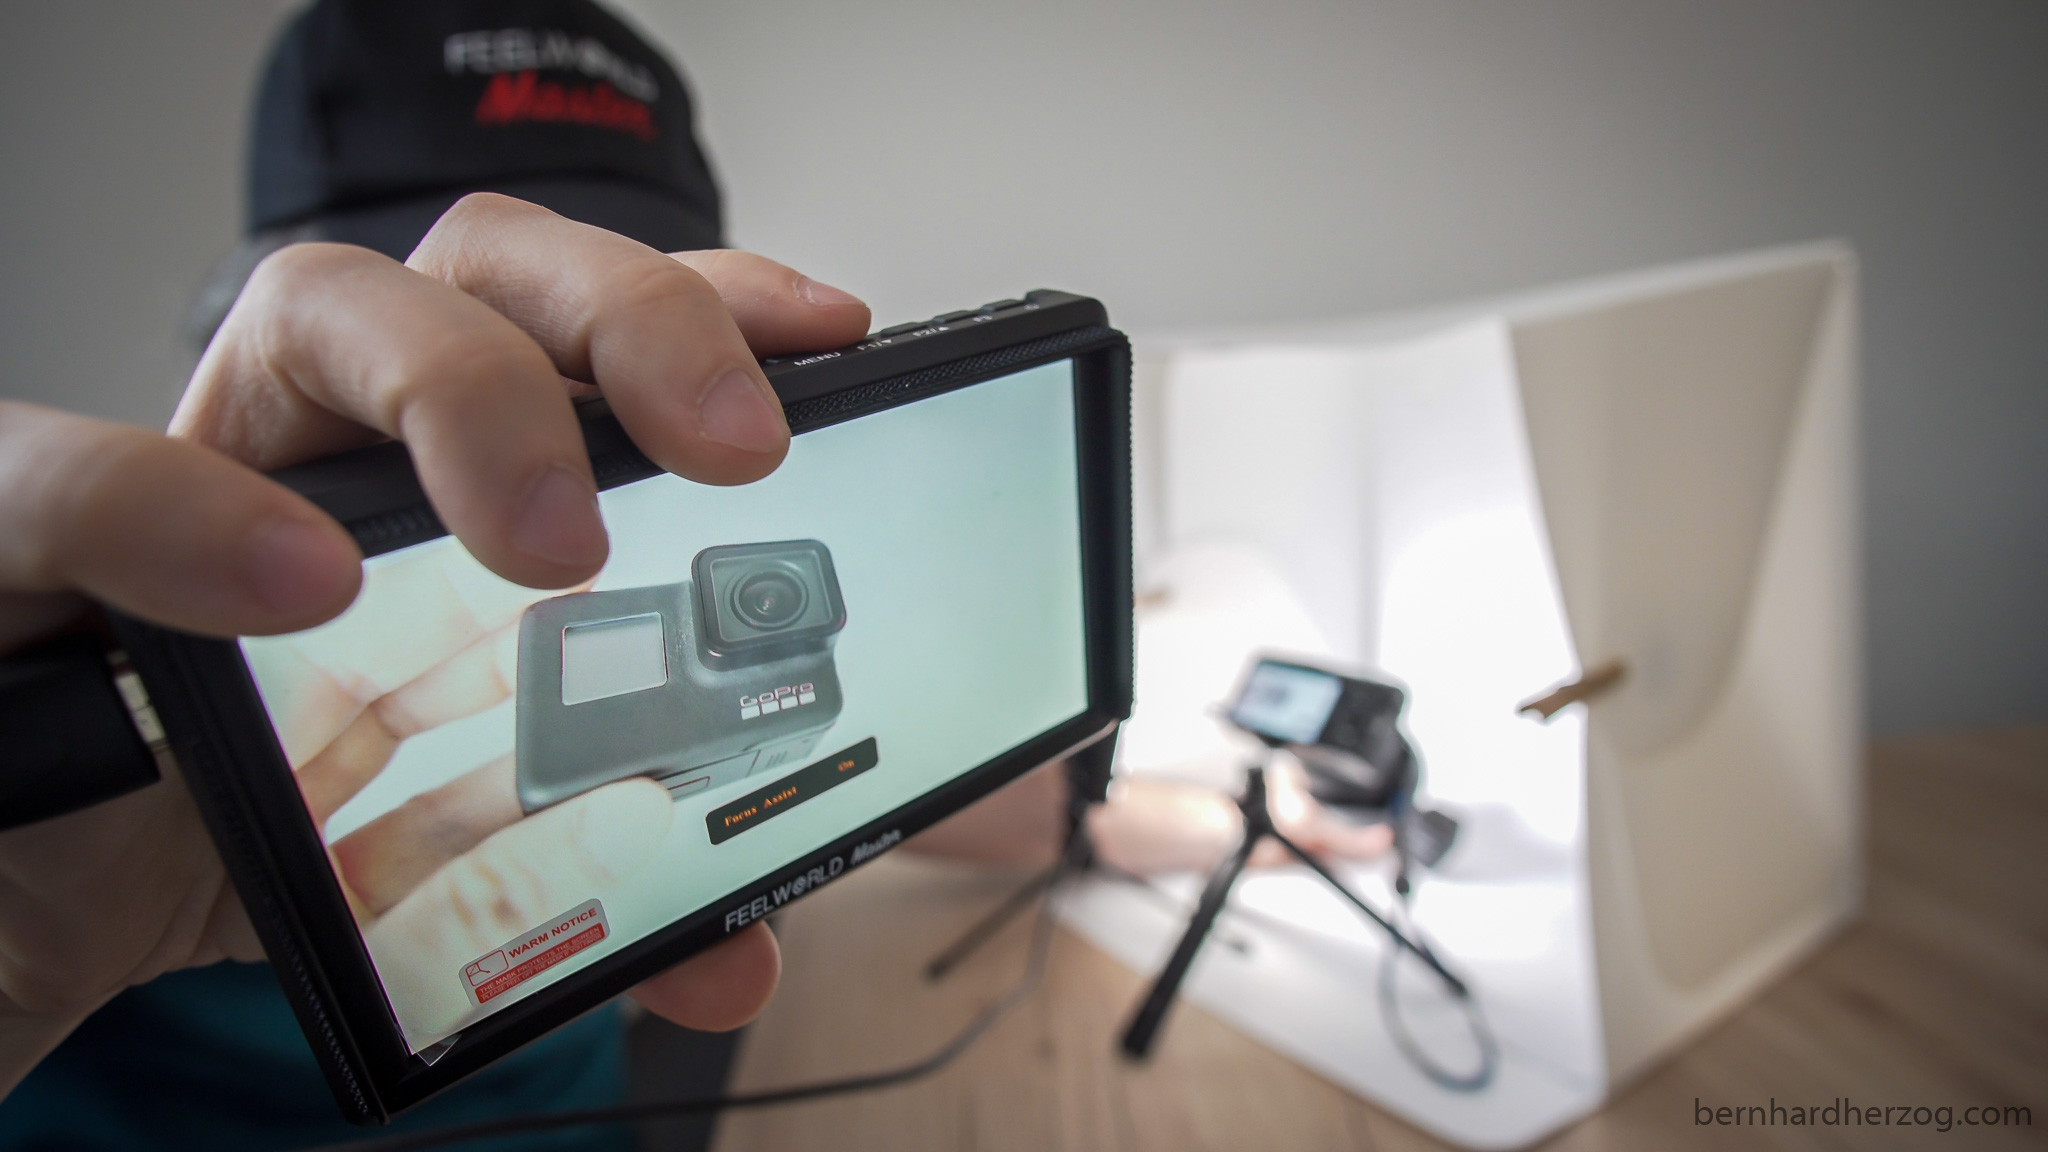
4. Product reviews
I do a lot of product reviews (videos and photos). For that I have a small light box / tent.
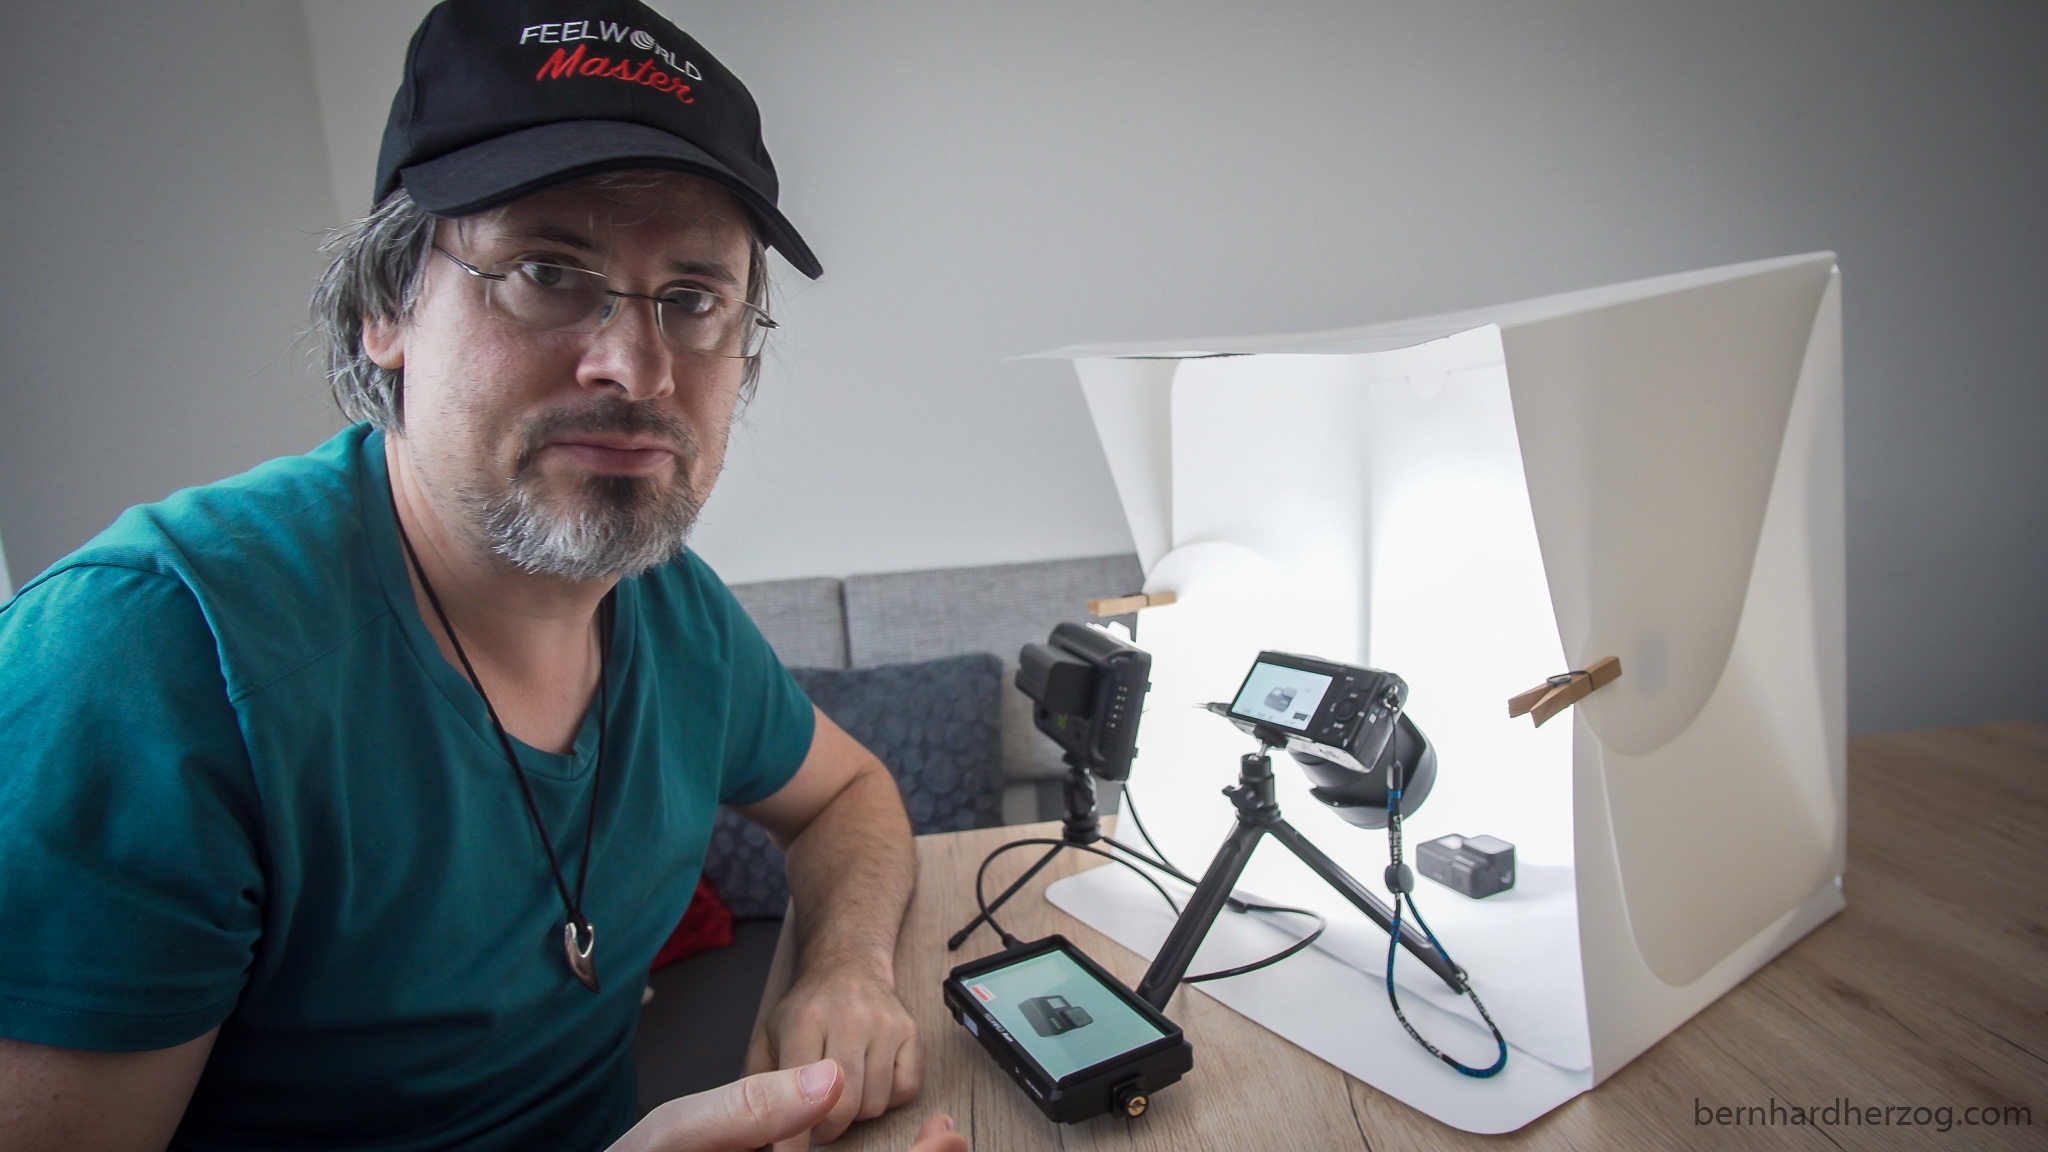
Because the camera is positioned almost in the tent and the camera screen is so small it is hard for me to frame the shot and to see which parts of my object are in focus.
This is why I like to use an external monitor in this situation. I usually just put it on the table in front of my camera.
I use focus peaking, for example to see if the company’s logo is in focus. Sometimes I use manual focus because the autofocus is not always focusing where I want.
I also use false colors. I have set it to function button 2. I can see if parts of my image are over- or underexposed. I can also see if skin tones (my hand for example) are properly exposed (should be around 70 IRE which is light grey/pink).

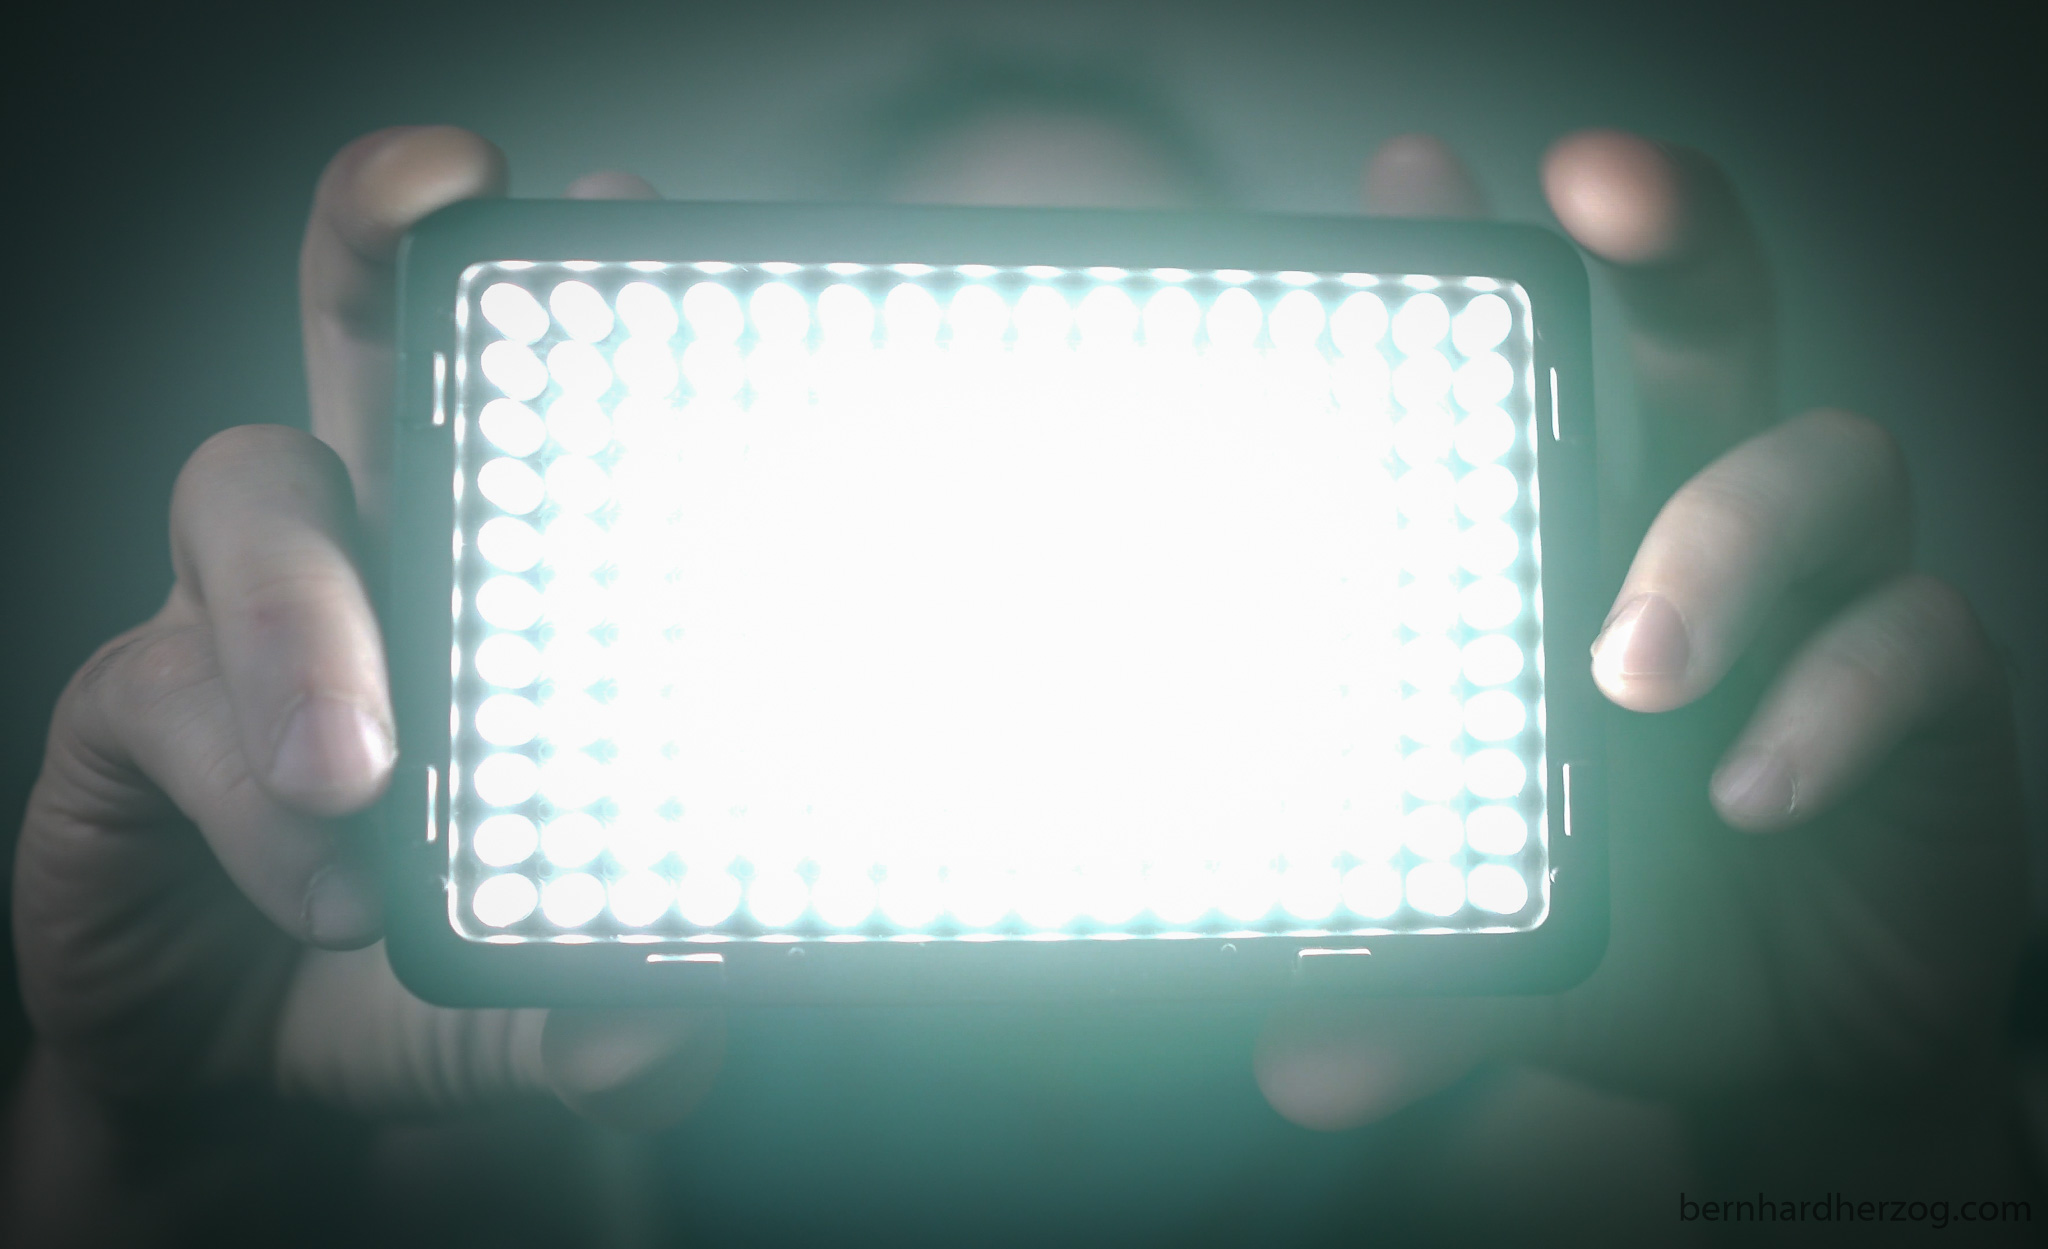
This function is esp. handy if I film objects that are emitting light. For example a phone screen (or a small monitor or an LED light). Then I use manual exposure. Because otherwise when I turn on the phone/LED/monitor, the camera would compensate for the change in brightness.
Usually I overexpose blacks for a more cinematic look.
5. Vlogging
When I talk into the camera Vlog style I need a flip-up screen to frame myself and to see if I am in focus.
I put the monitor on my a6500 for that matter.

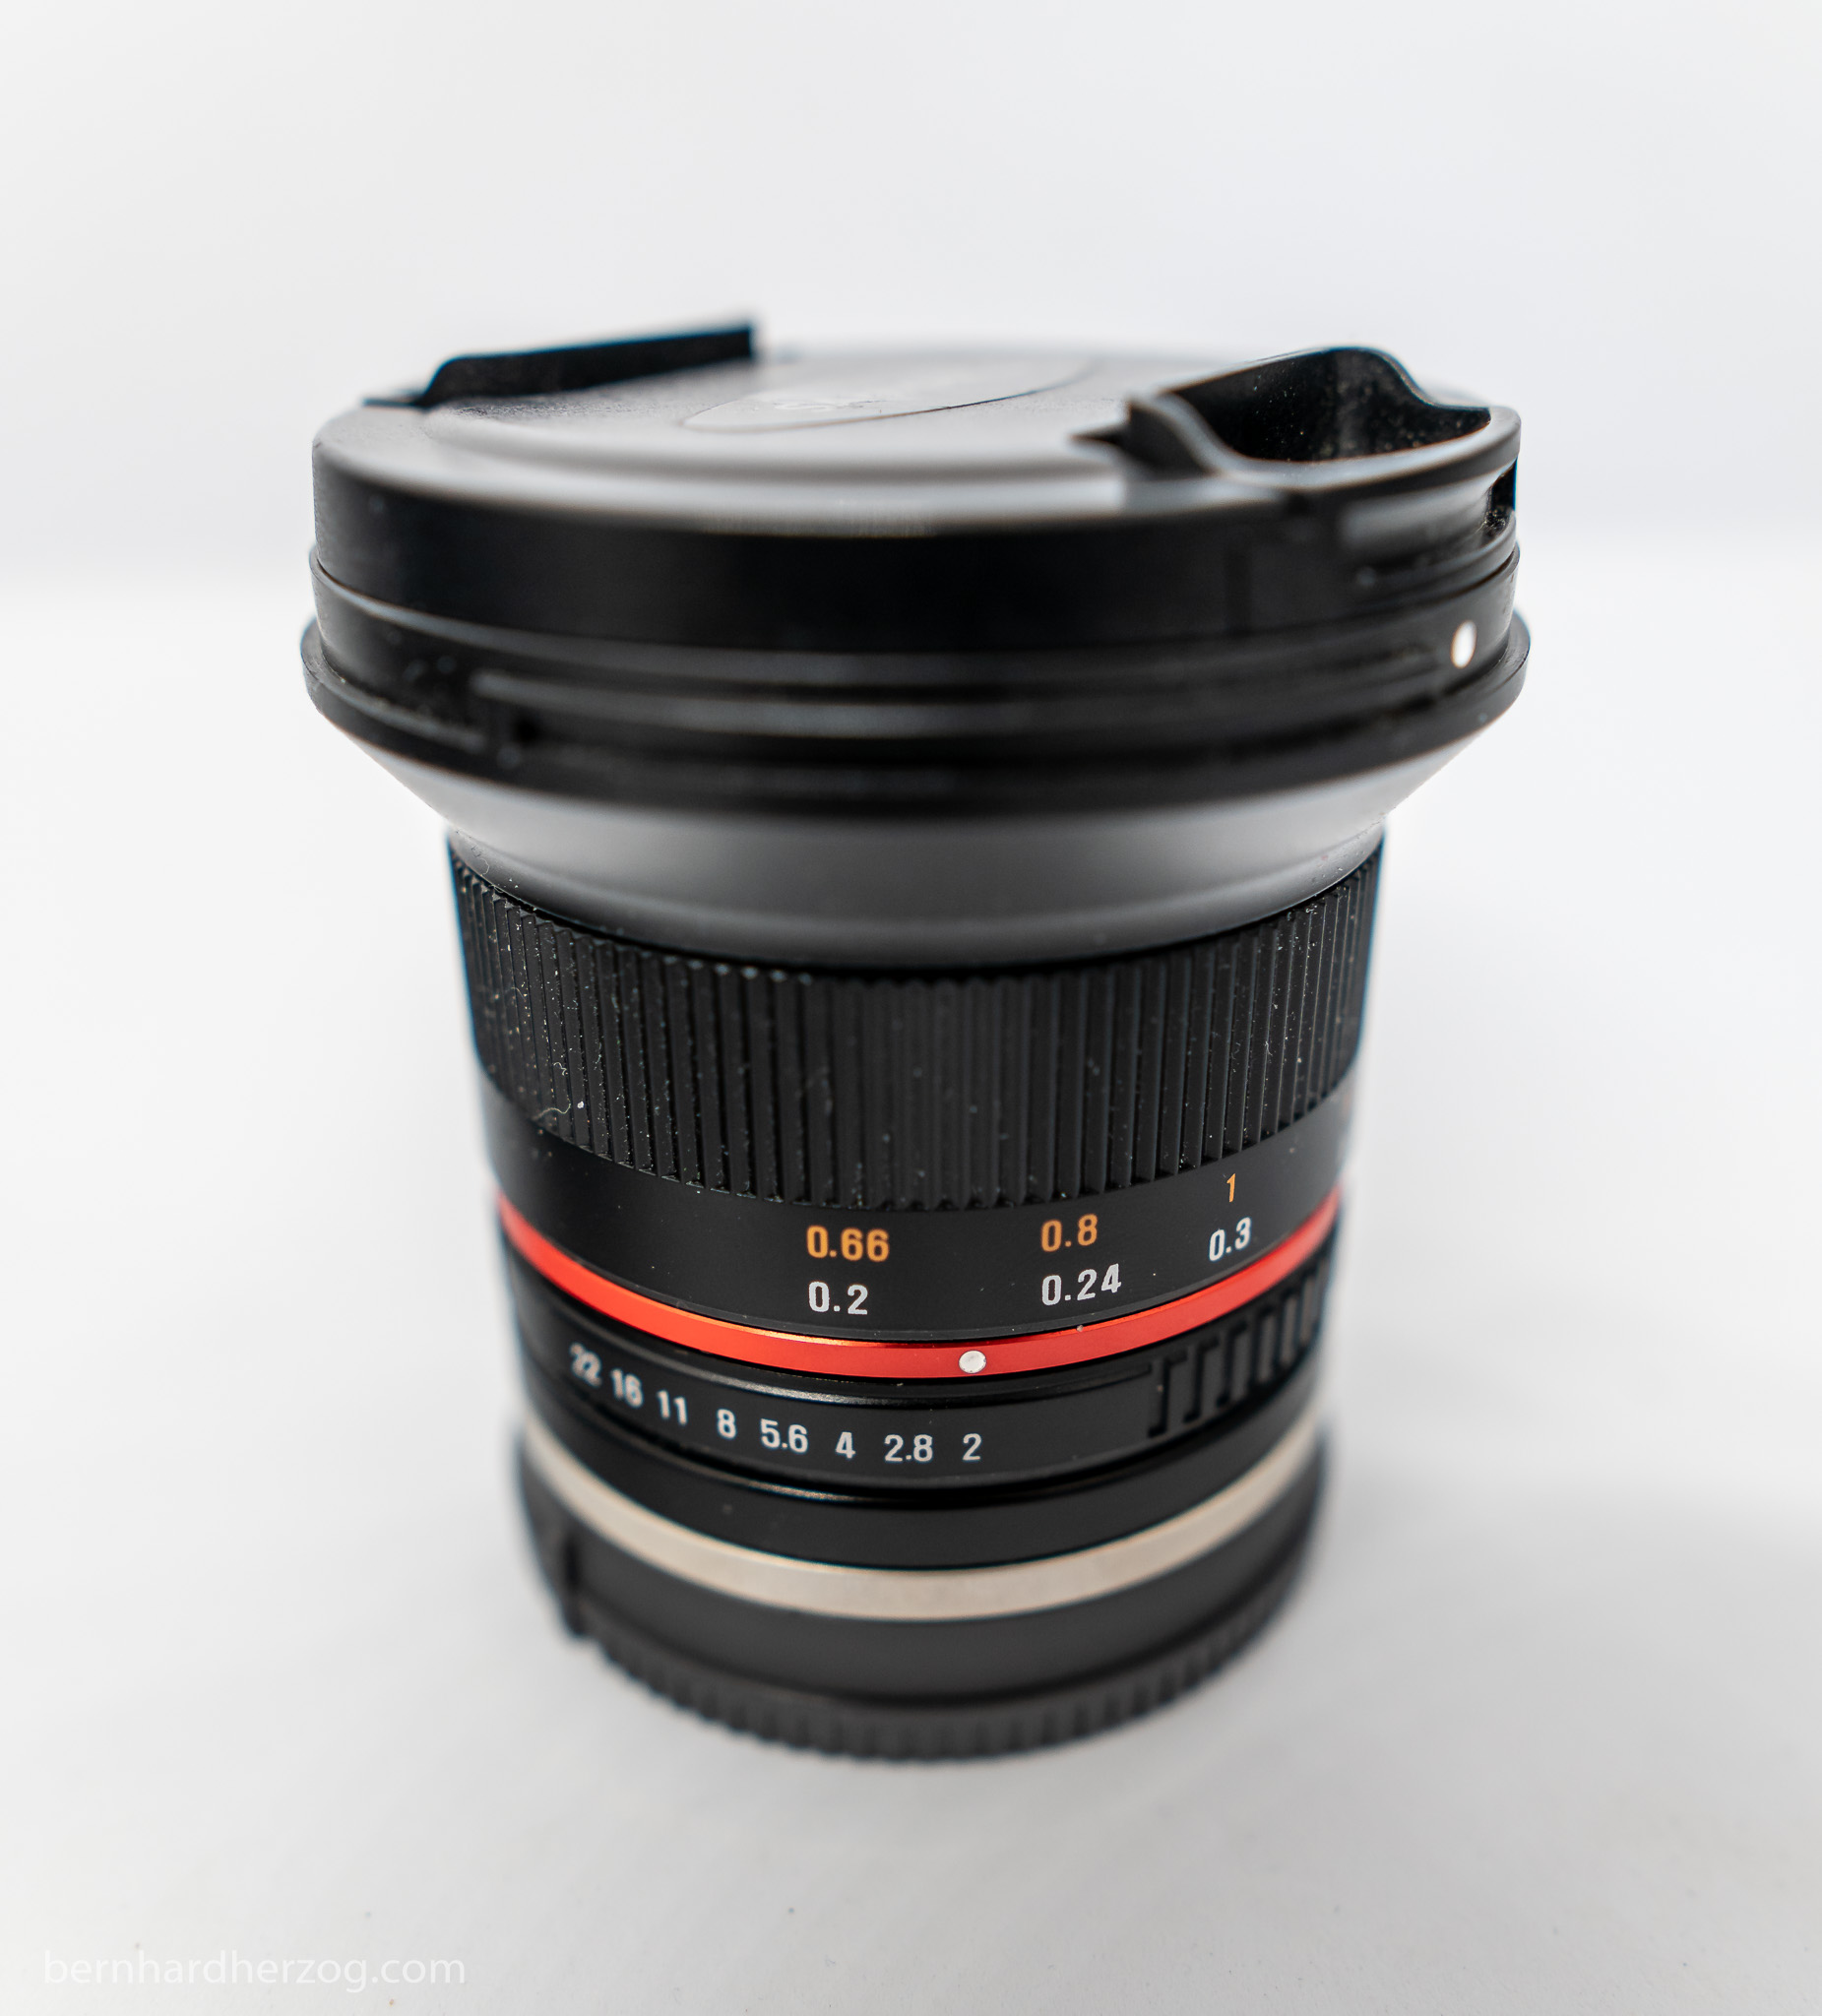
I like to use a manual lens, i.e. the Samyang 12mm F2.0 (my favorite lens). It is very wide so it is perfect for vlogging. It has a fast aperture, I can separate myself from the background.
If I do that I really have to rely on the focus peaking function to see if I am in focus. (I also flip the screen using function button 3.)
The MA6P works well for vlogging because it is so small and lightweight. And it is possible to put the microphone on the cold shoe of the tilt arm.
The only downside of using an external monitor is that it is very tempting to look at the monitor while filming (instead of looking at the lens). And using an external monitor is still a heavy setup.
Summary
I hope you got some inspirations from my 5 use cases. I was able to test the Feelworld Master MA6P in various scenarios. Here is what I like about it:
- very lightweight (175g without battery)
- screen-to-body-ratio (83%)
- good price for the quality
- tilt arm allows mounting of microphone
- bright and good quality screen (Full HD)
- DC out to power camera
- 3 function buttons
- bracket for sunshade is integrated (protects the screen)
- the wheel to lock down the tilt arm on the hot shoe of the camera is bigger now, i.e. the tilt arm does not wiggle around on cameras anymore
The monitor is an evolutionary improvement over its predecessors. It is the perfect size for using it on the hot shoe of a camera and on a gimbal.
If you plan to use the monitor exclusively at home I would recommend a bigger one like the MA7. But for me the strength of a field monitor is that it can be used in the field and the MA6P is perfect for that.
If you have any question about or experience with the monitor please comment below I appreciate it.
Please use the following links for buying. I will receive a small kickback for my efforts from anything you buy from these links without additional costs for you. THANK YOU!
Buy Feelworld Master Series MA6P (5,5” Full HD)
Buy Feelworld Master Series MA6F (5.5” HD)
Buy Feelworld Master Series MA7 (7”)
Recommended camera equipment for photo, video & travelling (AMAZON):
Sony a6600
Sony a6400 (cheaper)
Sony a6100 (Budget-Option for 4K)
Sigma 16mm 1.4
Sony 35mm 1.8
Samyang 12mm 2.0
Feelworld Master MA7
Smaller monitor
Rode VideoMicro
Rode Wiress Go II
Mini Tripod
Travel Tripod
Small LED-Light
Light #1 (powerful)
Light #2 (Bi-Color)
Softbox for this light
Light tent/box
DJI Osmo Action
GoPro 9
GoPro MAX
Invisible Selfie Stick
Mavic Mini 2 drone
Mavic Air 2
for photo and video:
Fuji XT-4
Fuji Telezoom
Entry level camera (Canon)
Leave a Reply