Here I will log all upgrades that I have done or that I am planning to do with my E-Bike(s) from China. Most of them will also work for scooters, because (I am sure it does not surprise you that) Chinese E-Bikes are actually much like scooters! I will do simple updates that require almost no tools whatsoever, but also more complex ones where some basic knowledge about electronics could come in handy 😉 (Die deutsche Version 🇩🇪 dieses Artikels findet ihr übrigens hier!)
Chinese bikes and scooters are a good starting point because (almost) everything is modular and can be changed. A Bosch (posh?) E-Bike with a mid drive motor might be much better than a Chinese E-Bike with a hub motor (because with the latter the spokes will break sooner or later). But it will be more difficult to change speed limits for example because motor and controller are not separate. (Of course I plan to stick to the local laws, but for example on steep hills it could be good to have a little extra power!)
At the moment I have the Fiido D4S, a 20 inch foldable e-bike. This is the perfect (not really blank) canvas to add components that I like – not only because of the cheap price… (check out my full review here!) My GF has a cheap Scooter (Link to Video Review).
Fiido D4S (banggood / EU) Fiido D4S (banggood / US) Fiido D4S @ amazon.de
Video
1. Bike Bell
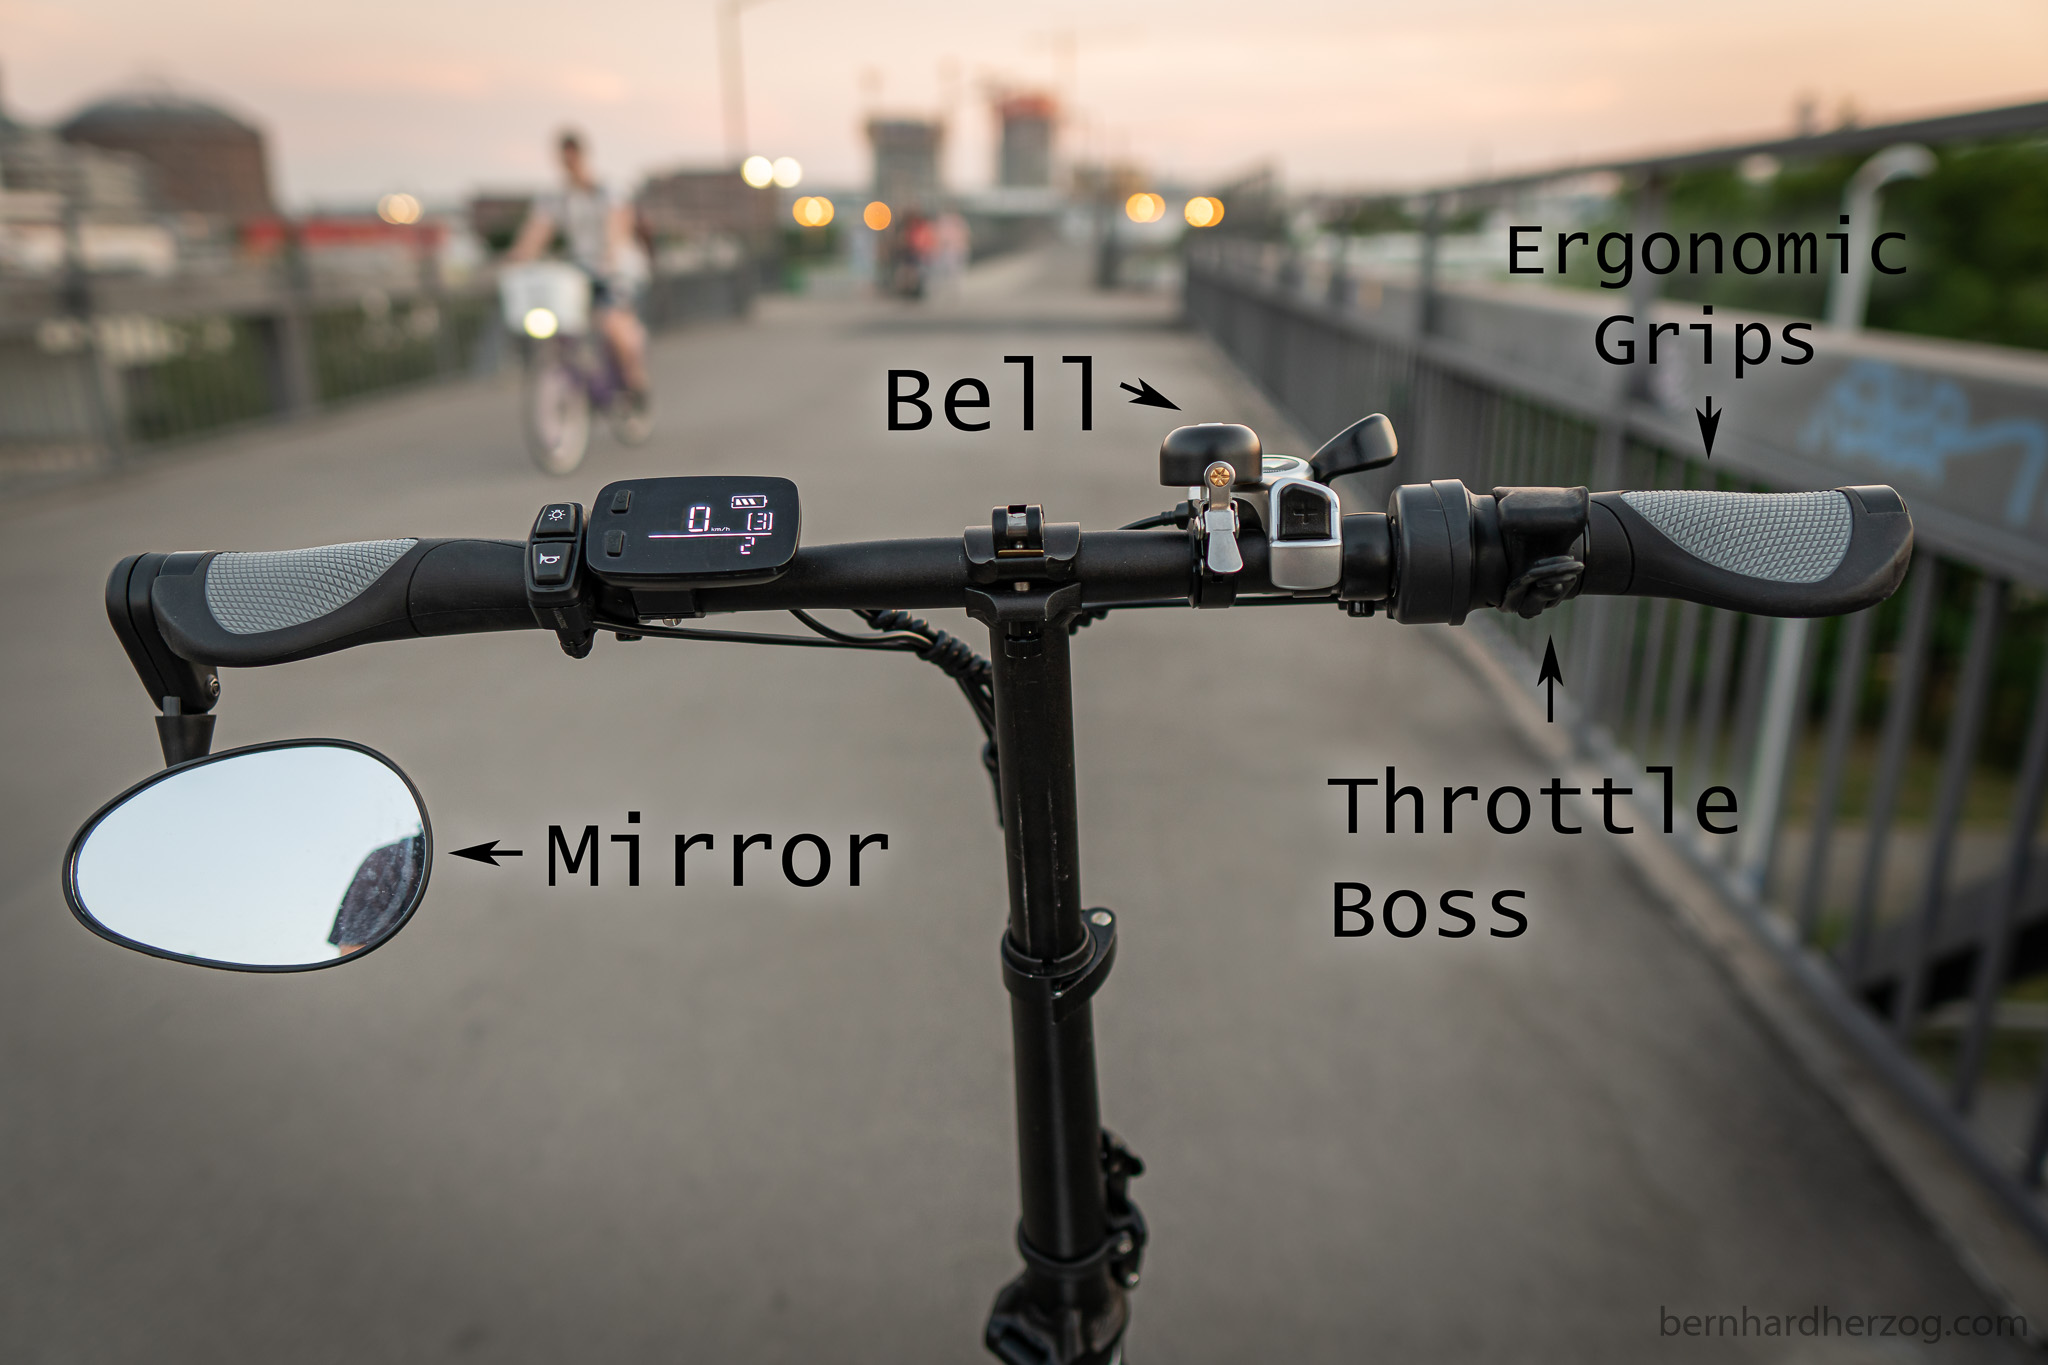
I did some changes to the “cockpit” of the bike:

The bell is important because some pedestrians did not react to the horn. Also the bell of the scooter was the first thing that broke (because it was made of cheap plastic).
At first I tried the bell from Decathlon (the one to the right), but it did not fit:
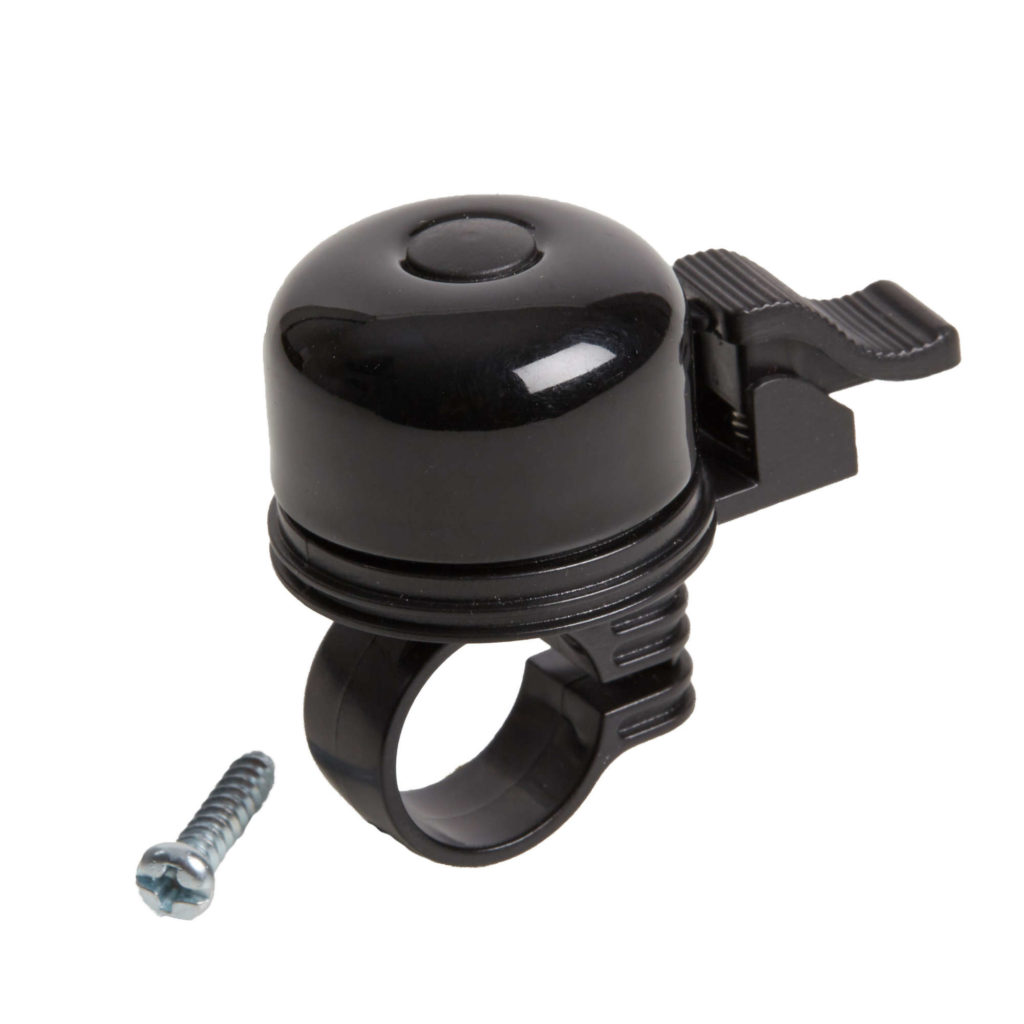
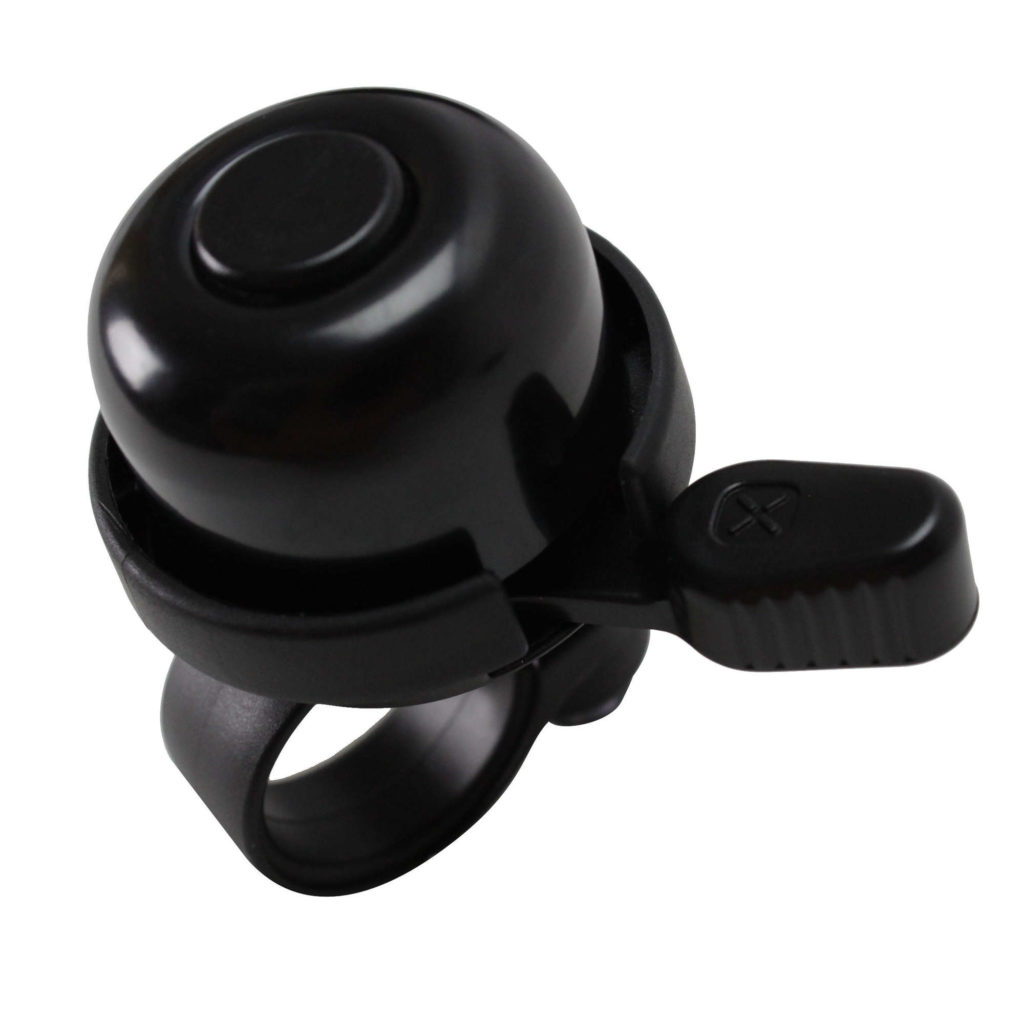
I found this model on Amazon, it fits a handlebar diameters ranging from 22,2 to 25,4 mm:
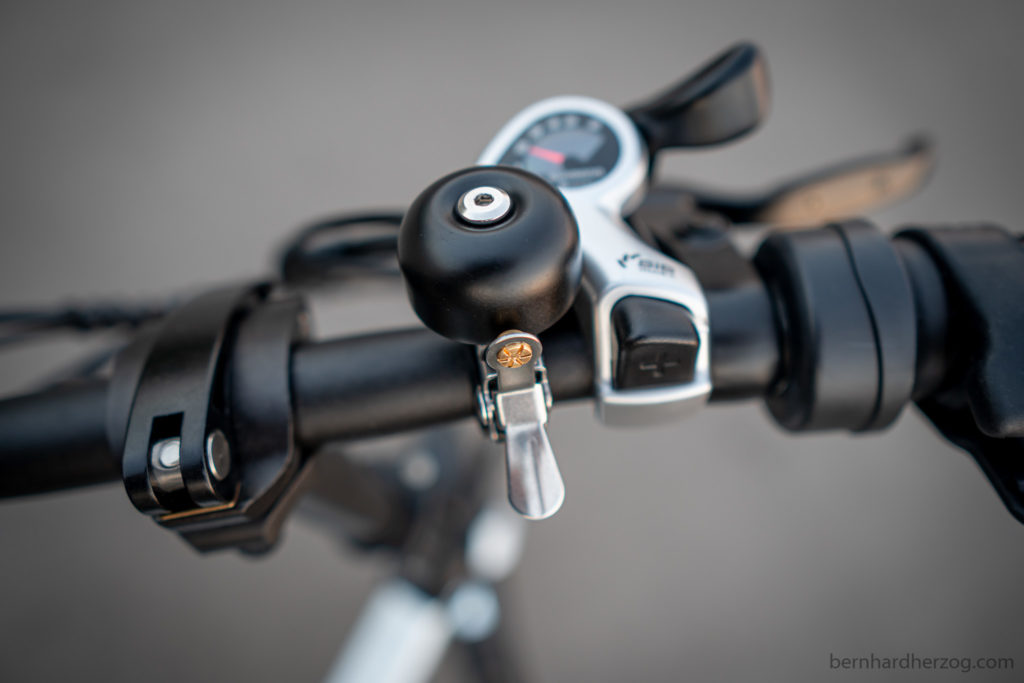
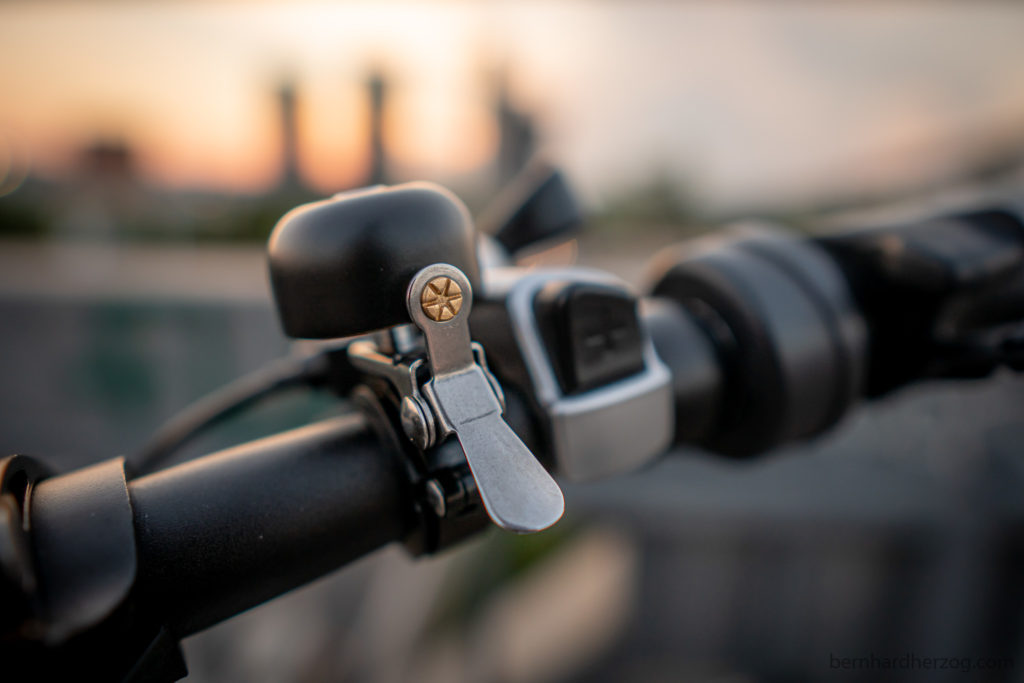
It has a very bright sound, not like the Decathlon bell which sounded little bit nicer… but on the other hand people are finally reacting because it is very loud!
Bell @ Amazon Bell @ amazon.it Bell @ amazon.fr Bell @ amazon.de
2. Thumb throttle (Throttle Boss)
The Fiido D4S has a twist throttle but my wrist got sore. That’s why I wanted to try a thumb throttle (a scooter usually already has this):
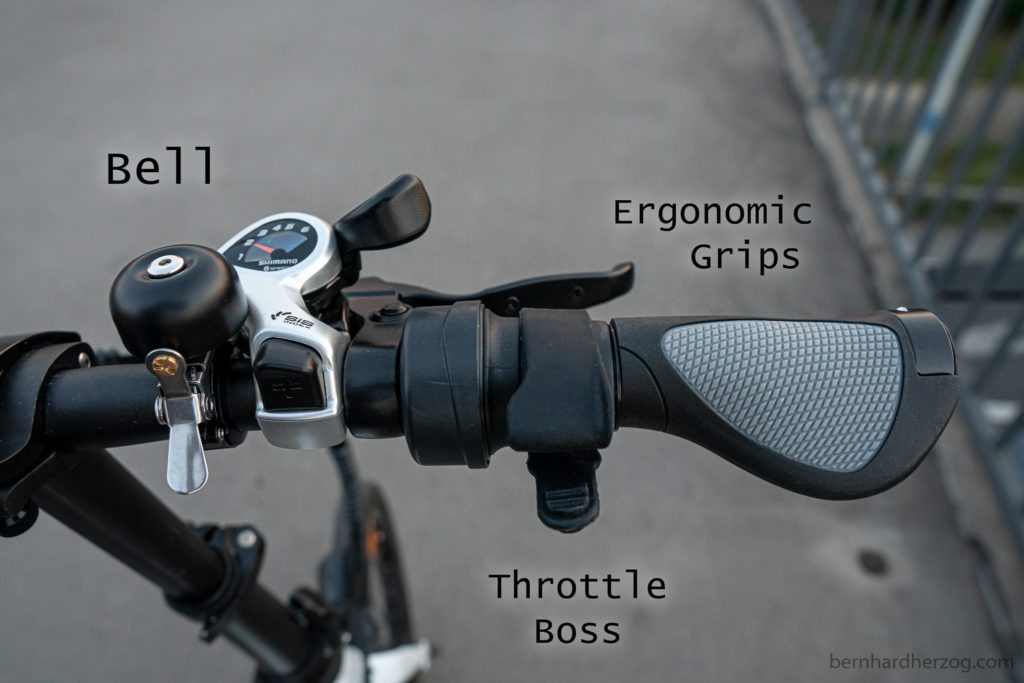
The jury is still out on what is better… if I want to have a sore wrist or thumb. But anyways to try it out I installed the “Throttle Boss”. In the future I can switch to a real thumb throttle (which would also need less space) but I would need to attach the electronics.
Throttle Boss @ Amazon @ amazon.de @ amazon.co.uk @ amazon.fr @ amazon.it @ Aliexpress
3. Rearview Mirror
I bought this mirror off of Decathlon:
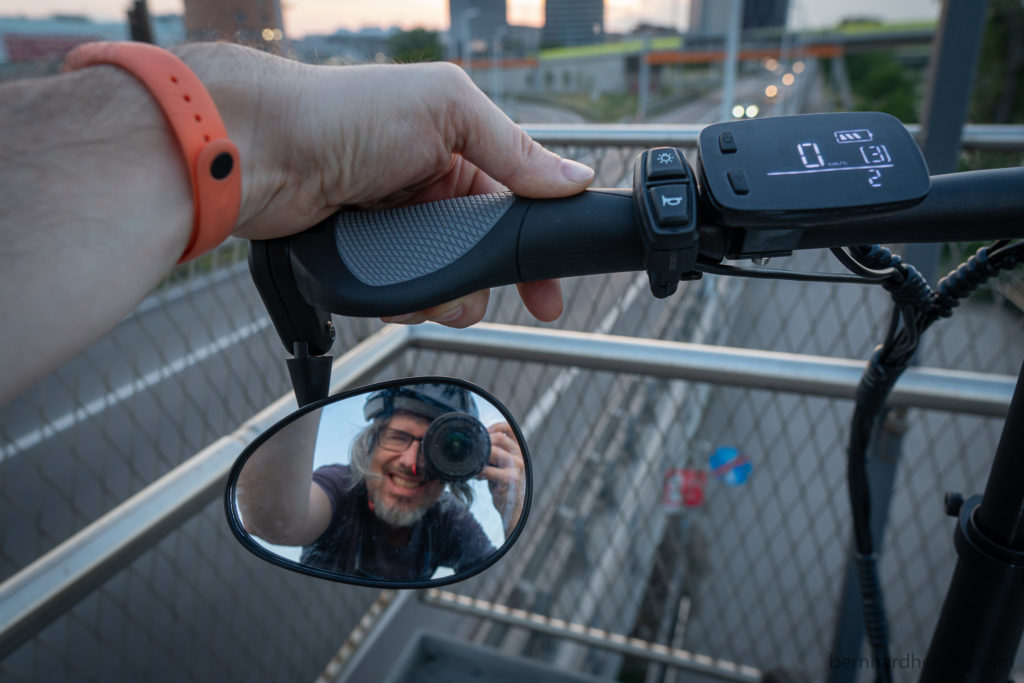
The advantage of this particular model is that (beside being very cheap) it can be mounted on both sides and also below the handlebar. Just be careful that the bike or scooter does not fall… BTW my girlfriend also likes it to use it as a kind of cosmetic mirror 💄 while cycling 😉
There are similar models on Amazon:
M-Wave Mirror (attached to the side) @ Amazon M-Wave Mirror (attached on top) @ Amazon @amazon.it @amazon.fr M-Wave (side mounted, amazon.de) M-Wave (handlebar mounted, amazon.de)
4. Ergonomic Grips
I was always annoyed that the stock grips started to rotate. That’s why I bought these ergonomic grips that have screws:

Make sure to buy “left long” and “right short” (Rohloff/Nexus). (If you want to keep the throttle that is.)
These grips are actually from Ergon but you will find Chinese clones.
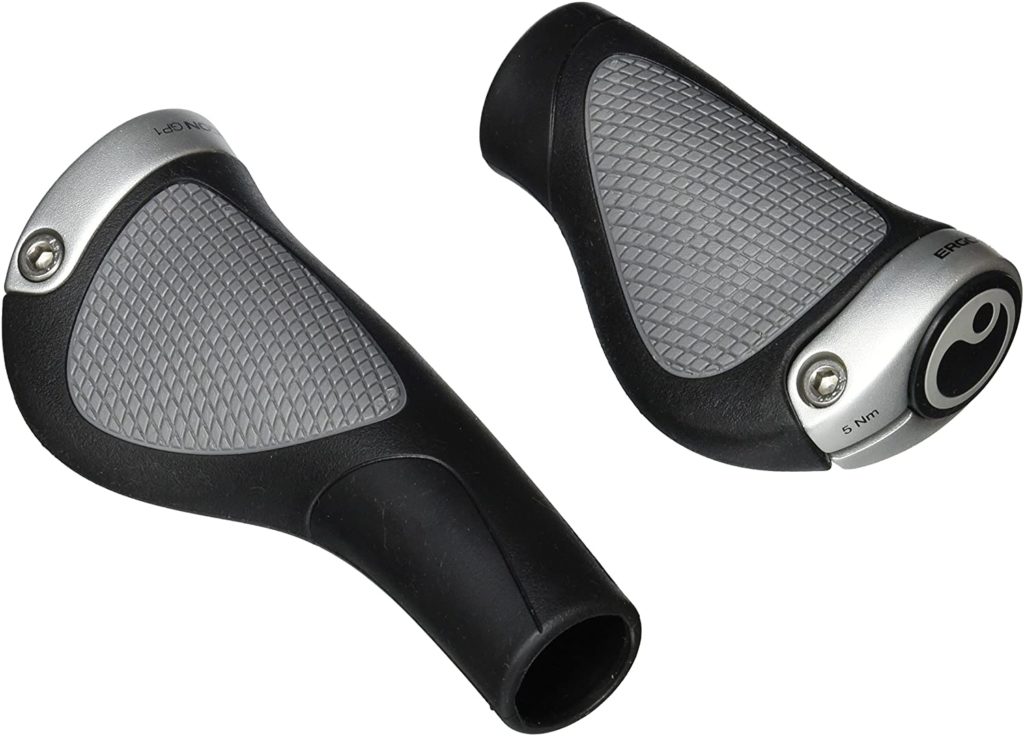
Ergon GP1 Rohloff/Nexus @ Amazon @ amazon.it @ amazon.fr @ amazon.de @ Aliexpress
5. Phone Holder
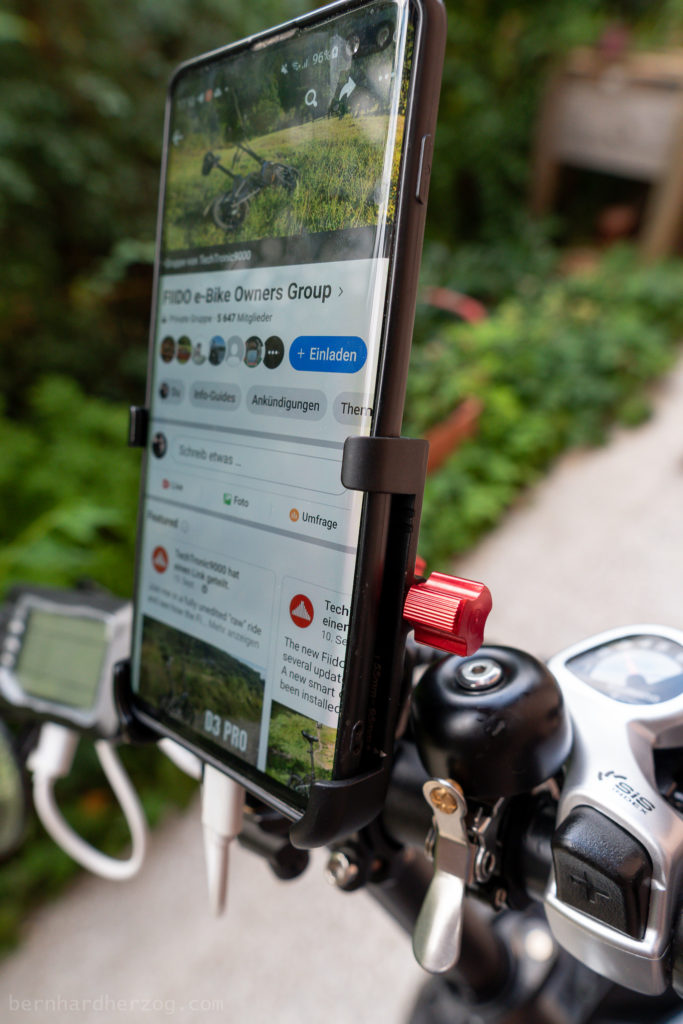
There is not much space left on the handlebar but I found a phone holder that extends nicely so I can still put my phone:
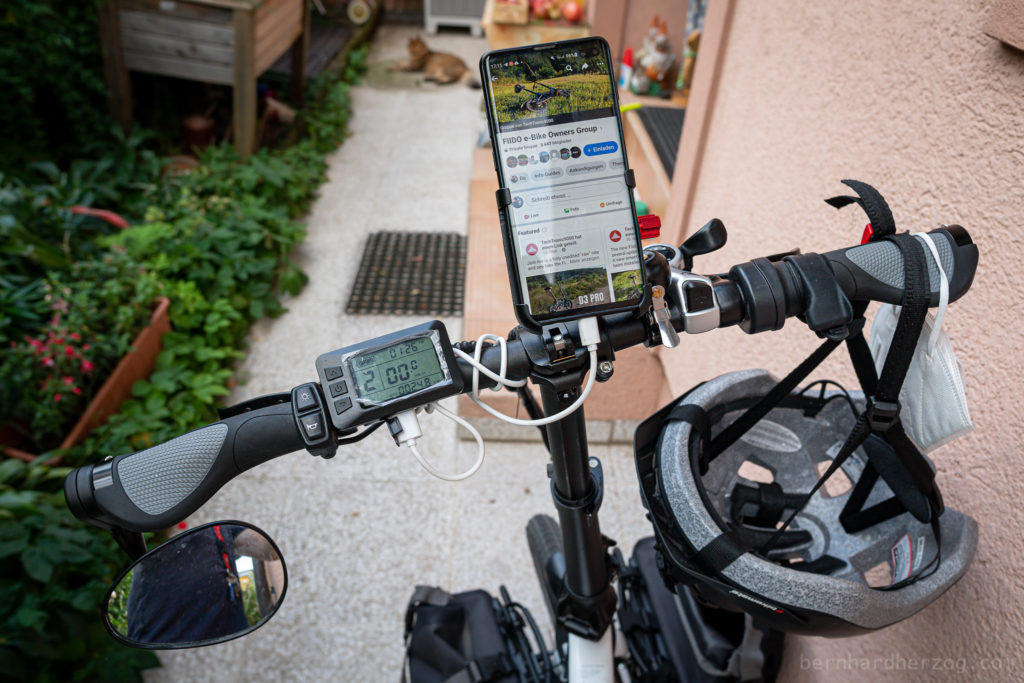
It is very quick to open and close the clamp:
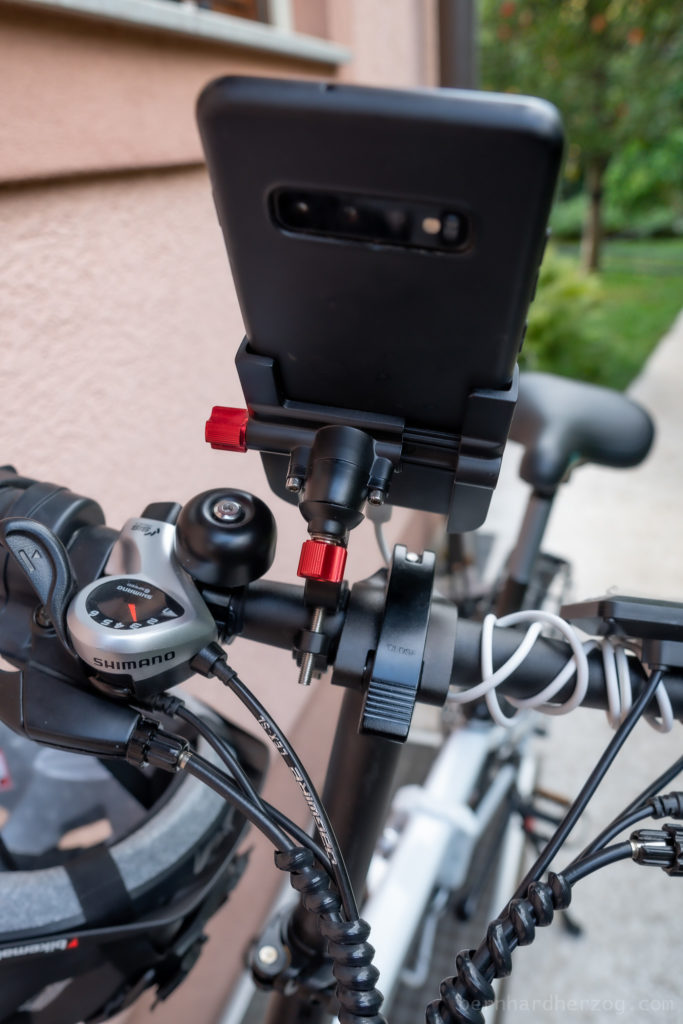
On the back there is another knob to change the orientation of the phone. This is also nice if I want to take a picture or make a video without removing it:
It is an advantage that the holder is made of aluminium but at the same time it could scratch the phone.
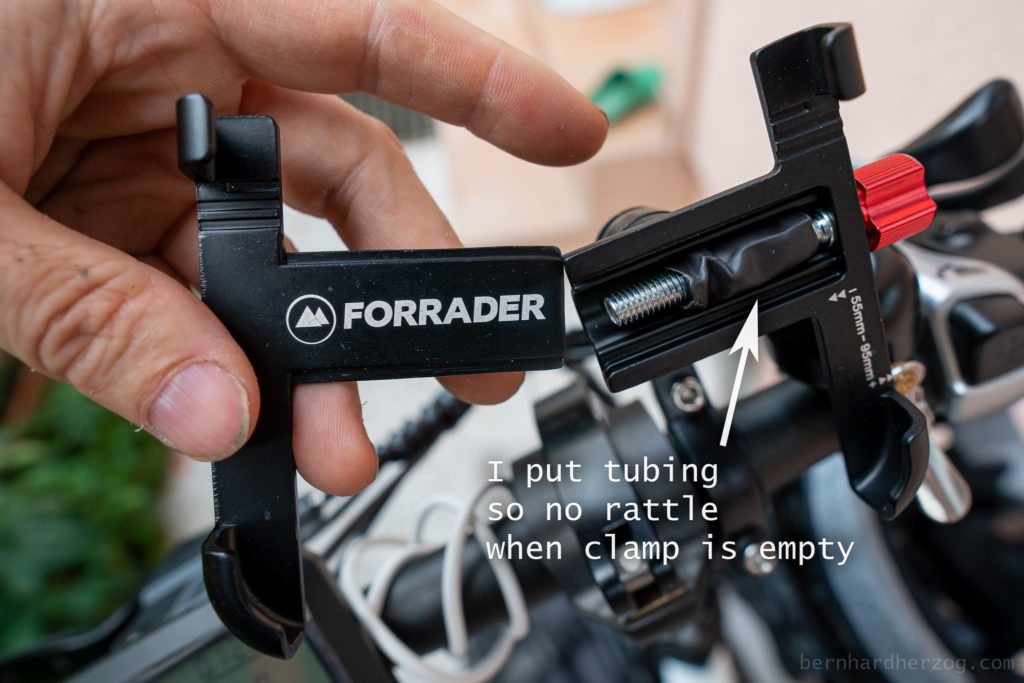
But I use a TPU phone cover so no problem. (There are some sticky rubber pads included, but I think they will not stick for very long!)
Phone Holder (Amazon) Phone Holder (amazon.de) Phone Holder (amazon.co.uk) Phone Holder (amazon.fr) Phone Holder (amazon.it) @ Aliexpress
6. Bike Rack
This was my first upgrade. Decathlon has a nice rack (literally 😉 ) for a price that is usually cheaper than you can get a similar item from Amazon.
Amazon Option from M-Wave (also on Ebay/Aliexpress)
Still I want to show you first a rack from Amazon which is meant for disc brakes (which the Decathlon rack is not). Bernd Hess sent me some pictures and wrote me, that he attached it to the frame using the first half of the lower clamp:


Rack for Disc Brake Bikes (Amazon) Rack @ Aliexpress
Still this rack is maybe not perfect because it is not that stable and there are not many attachment points to put panniers on the side with hooks (there are not many places to attach it). This problem I also had with the rack from Decathlon, at least on one side…
Decathlon Rack
Anyways one disadvantage of all these racks is the weight (almost 1kg, but Decathlon is marketing it as “lightweight”) and maybe that the racks sit relatively low:
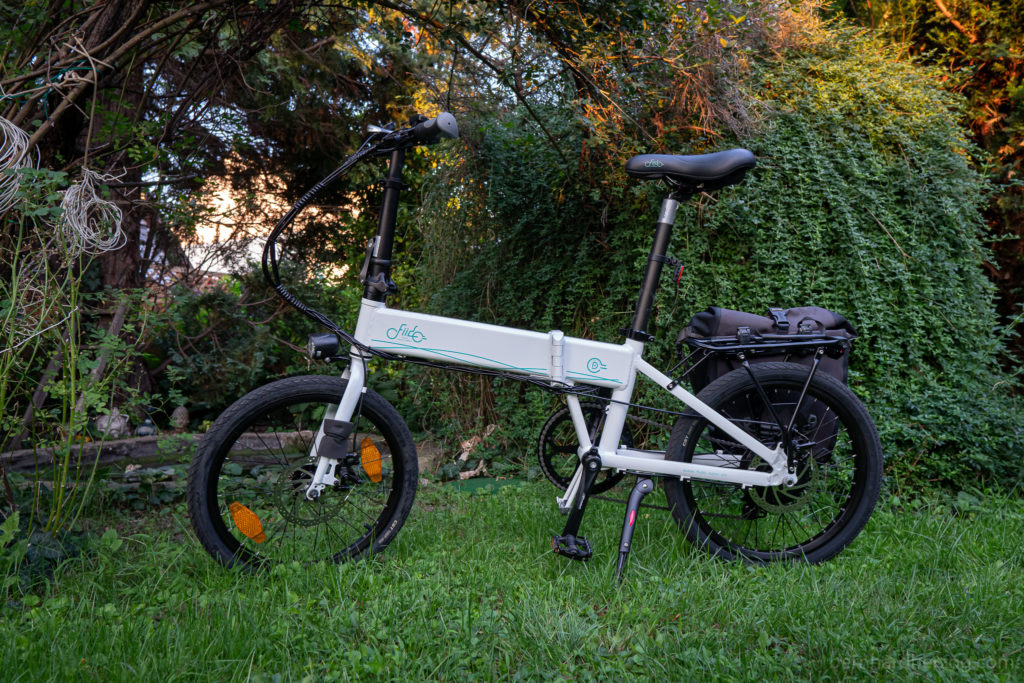
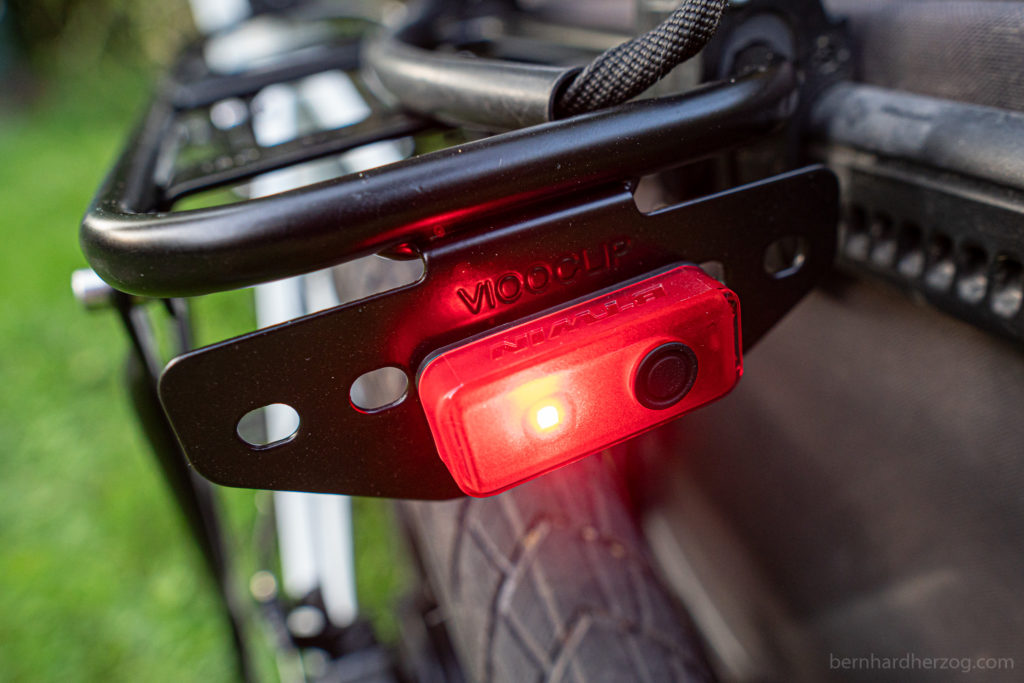
I got the idea for this rack from Joe Fallkon from the Fiido e-Bike Owners Group on Facebook (or maybe let’s better say the Fiido Support Group 😉 ). As I said the “problem” is that this rack is not really meant for bikes with disc brakes (and hub motors).
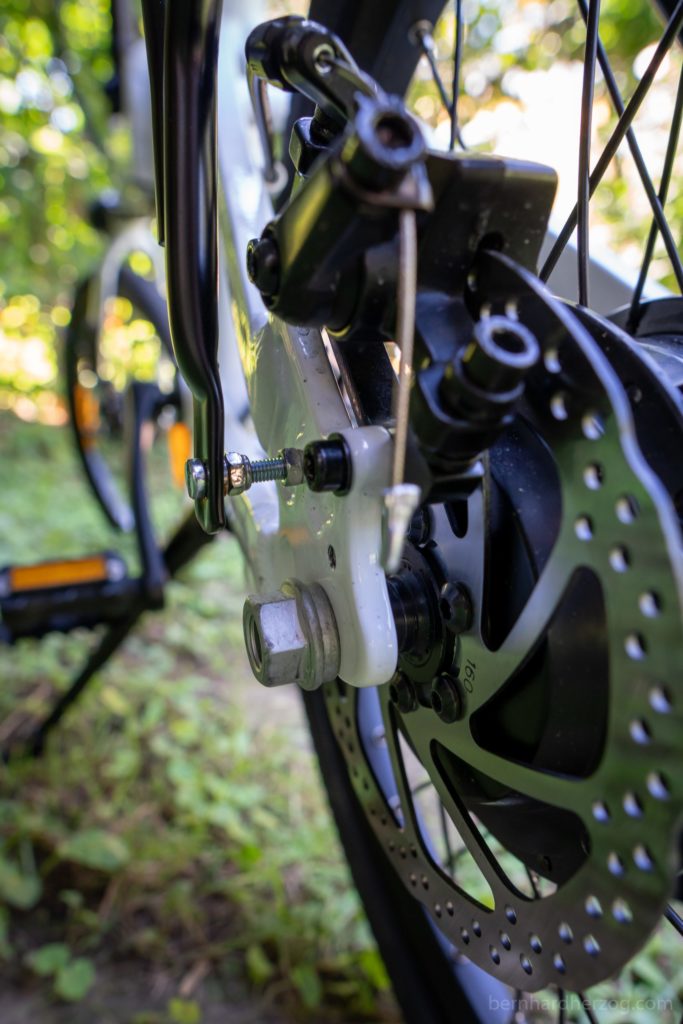
The solution is to use longer screws and hex nuts to extend the clearance on one side (I used 3 extra M5 screws with a length of 30mm, I recommend hex type because tightening them is much easier using an allen key, don’t use the type I used if possible):
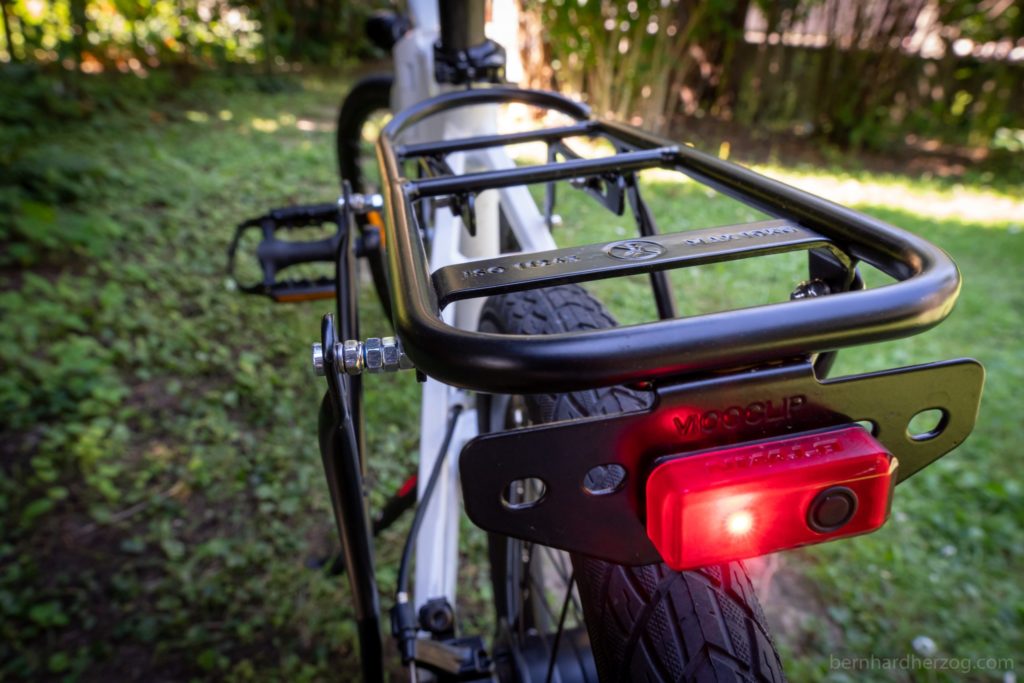
Note: because the screws stick out it is more difficult to put a bike pannier on this side. But you could add less hex nuts and tighten it more. I will usually just use one pannier bag (on the other side) so this is not really an issue for me.
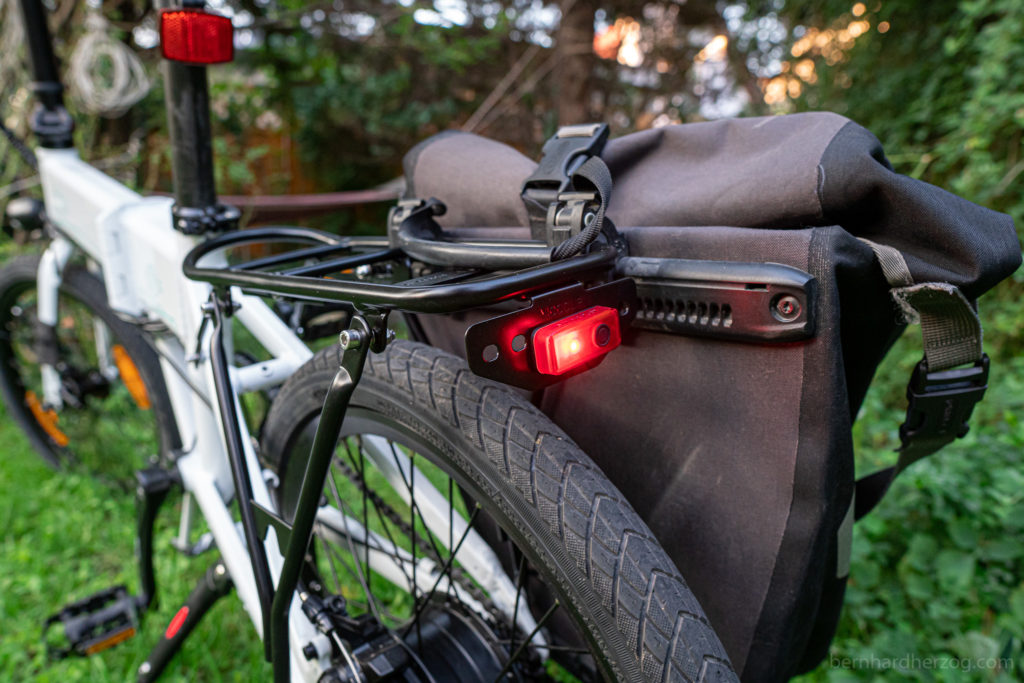
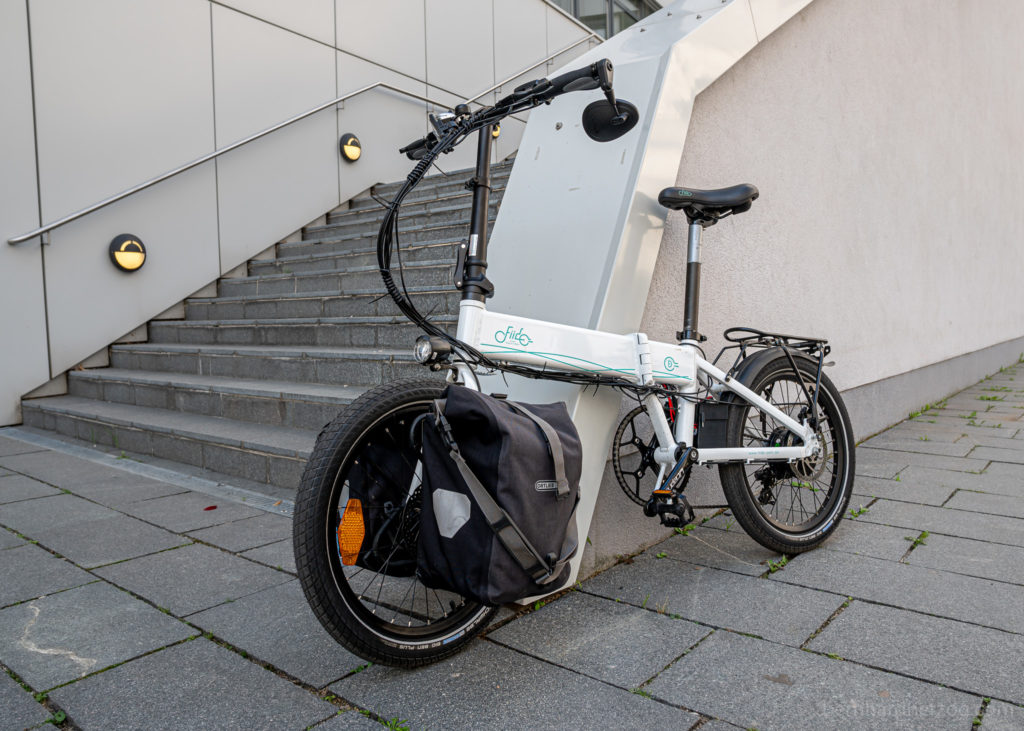
Anyways this rack is – except for this “detail” – a perfect match for the bike, I can even mount my large Ortlieb panniers and don’t even touch them when pedalling (almost)! If you want to make sure that you have enough clearance for your feet I would recommend the Ortlieb Front-Roller panniers and put them all the way to the back:
Lowrider
Because the rear rack is quite heavy and because I still touch the bags with my feet sometimes (at least when I don’t put it all the way in the back) I had the idea to build a lowrider:
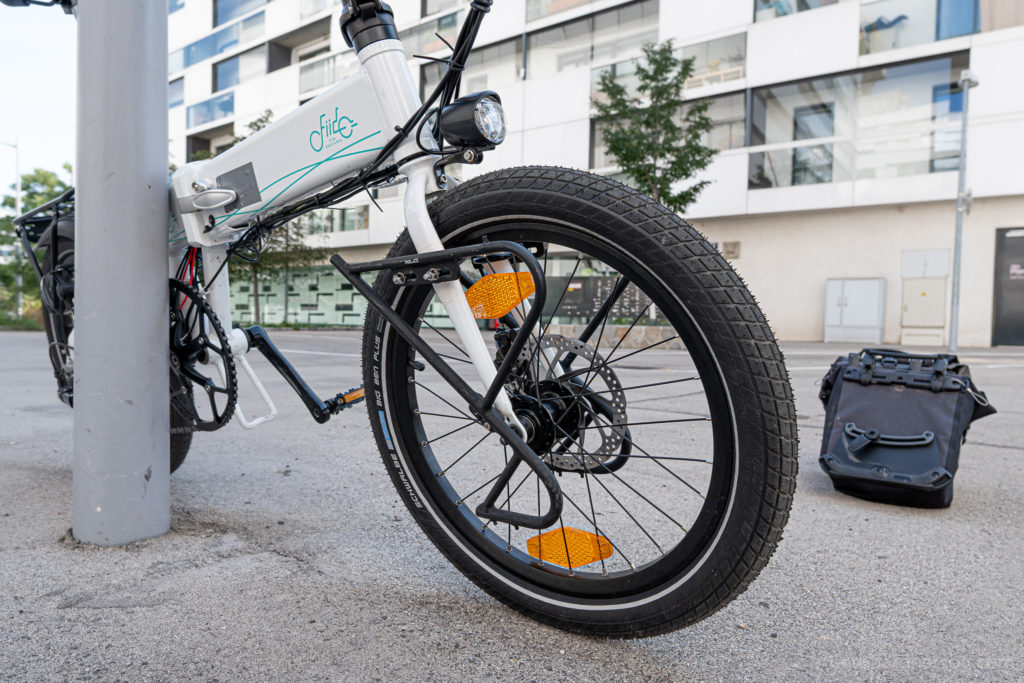
It is like a front rack, but much more lightweight. And the front light will not obstructed!
It was relatively easy to mount. On the bottom I used the included spacer to have enough clearance for the break calipers.
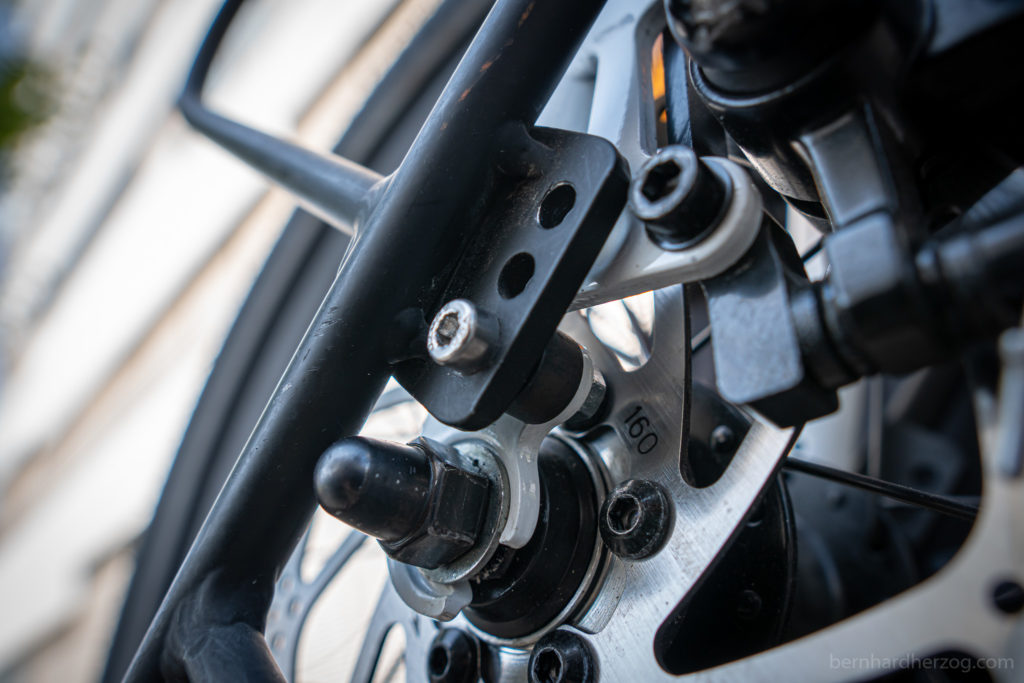
On the top I used two spacers each:
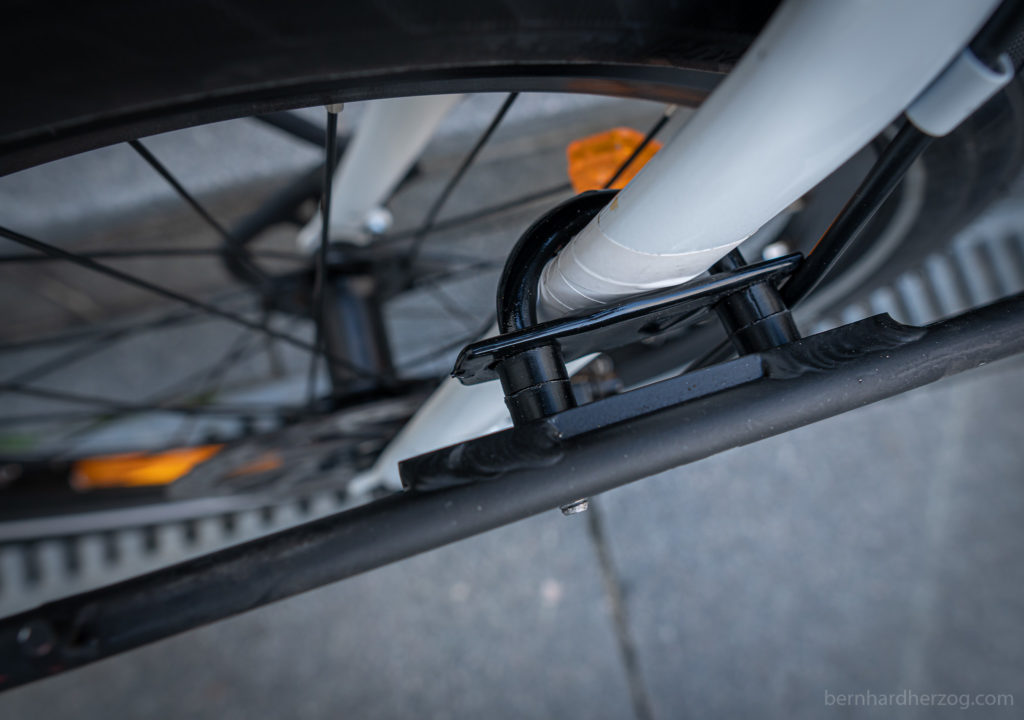
spacers are 6.40 mm inner and 12.90 outer diameter!
This lowrider is of a much lower weight (300g) compared to the rear rack (~1kg). The disadvantage is that I have to put an even load on each side or I will create an imbalance. Also the two parts are not connected, so it is important to tighten the screws or the lowriders can start to rotate outwards… if you want you can bridge the two parts to prevent this…
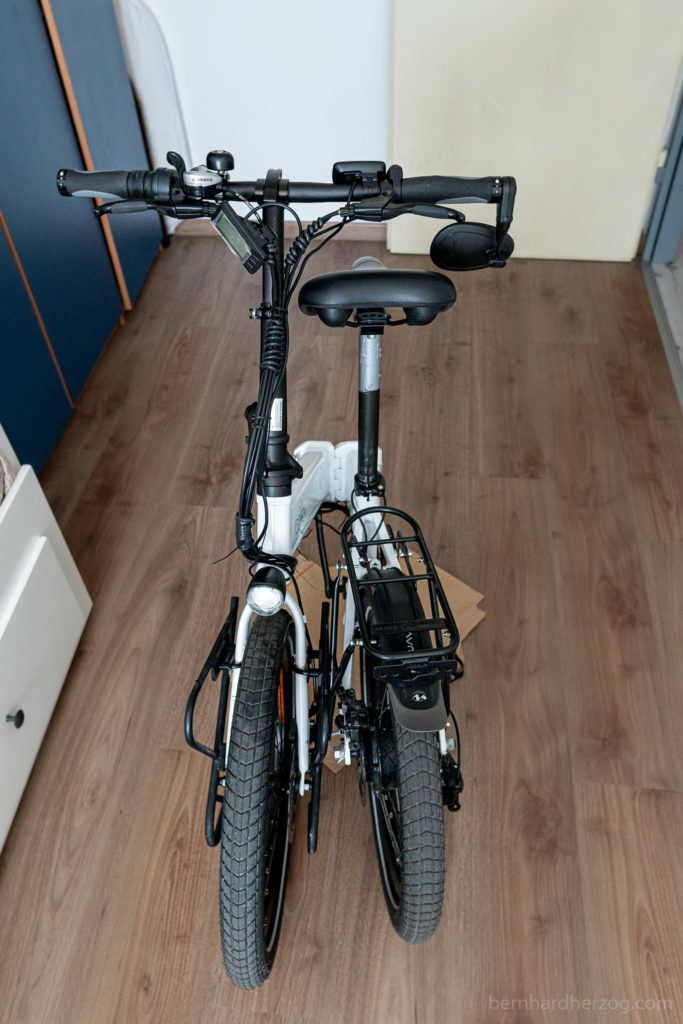
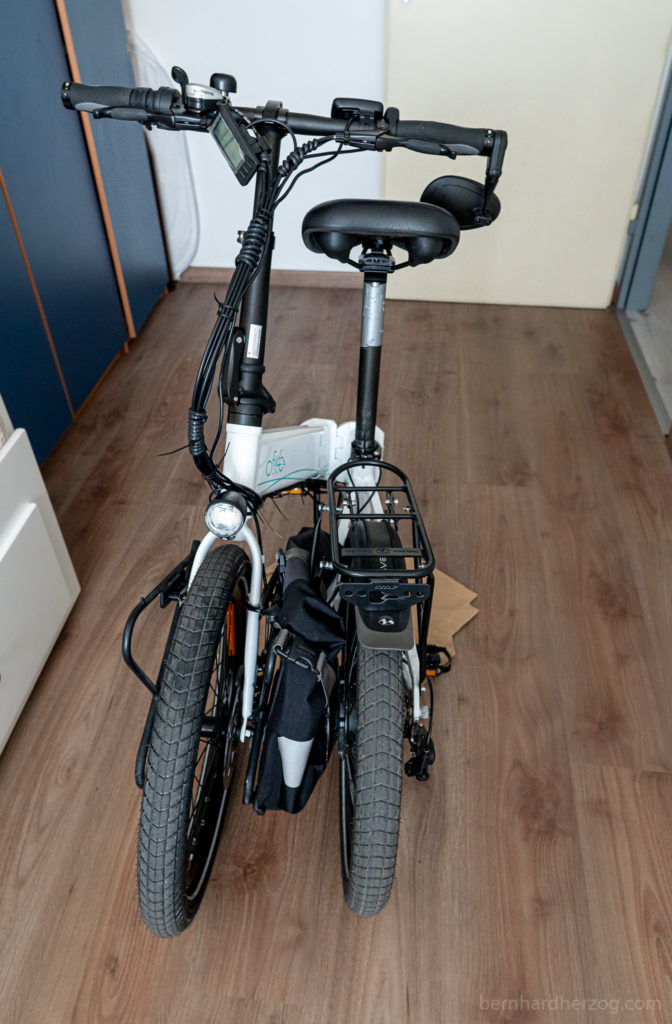
rear rack takes most space
Bike Rack 20 Inch (decathlon.de) Bike Rack 20 Inch (decathlon.co.uk) Matching Backlights (decathlon.de) Ortlieb Front-Roller Bike Panniers Rack for Disc Brake Bikes (Amazon) Rack @ Aliexpress XLC Lowrider @ Amazon XLC Lowrider @ amazon.co.uk XLC Lowrider @ amazon.de XLC Lowrider @ amazon.it XLC Lowrider @ amazon.fr
7. M-Wave Mudguards
I ordered the M-Wave mudguards / fenders. This is a popular choice for 16-20 inch foldable bikes, also for children’s bikes. (There is a version for 12-18 inch as well…)
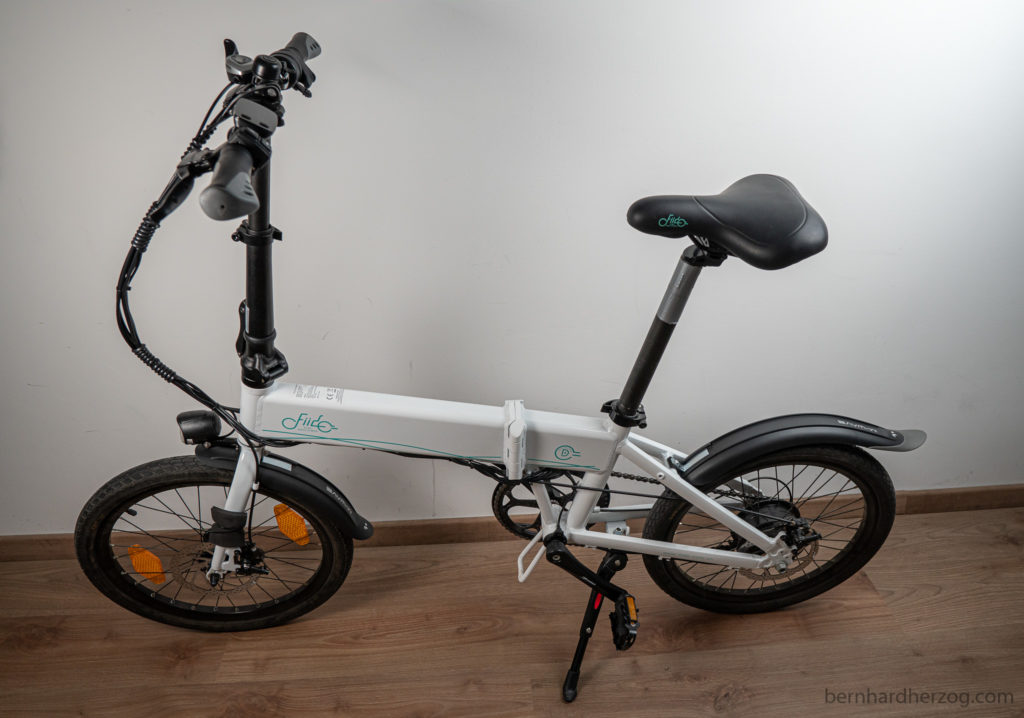
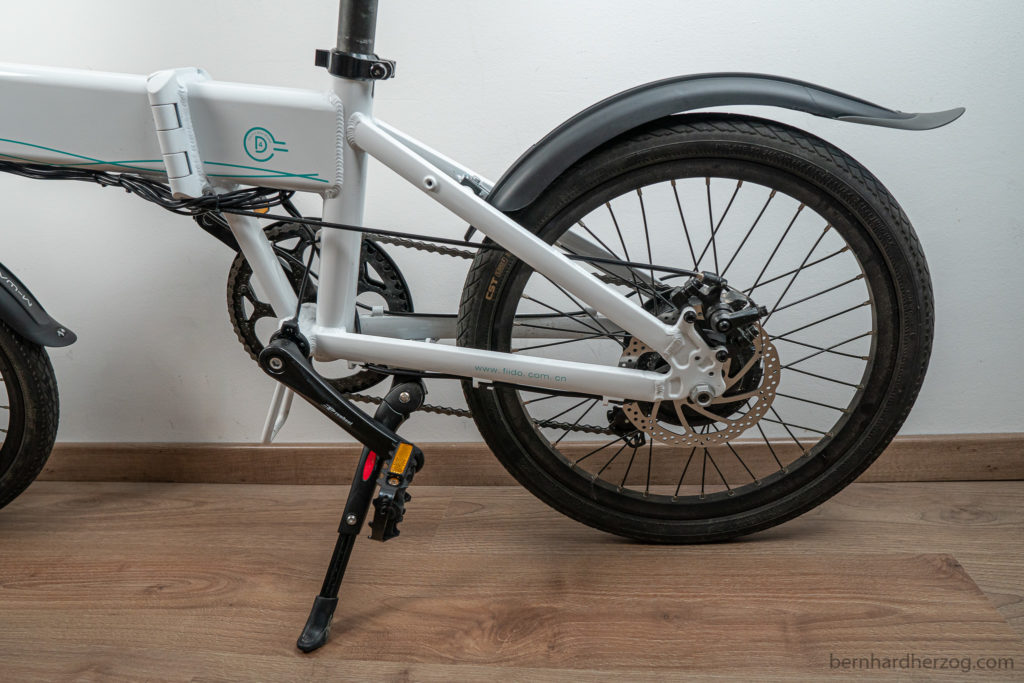
The mudguards are put on a bracket that is screwed onto the bike frame. One disadvantage of this easy assembly is that a bike thieve could do the opposite and pull them out easily as well…
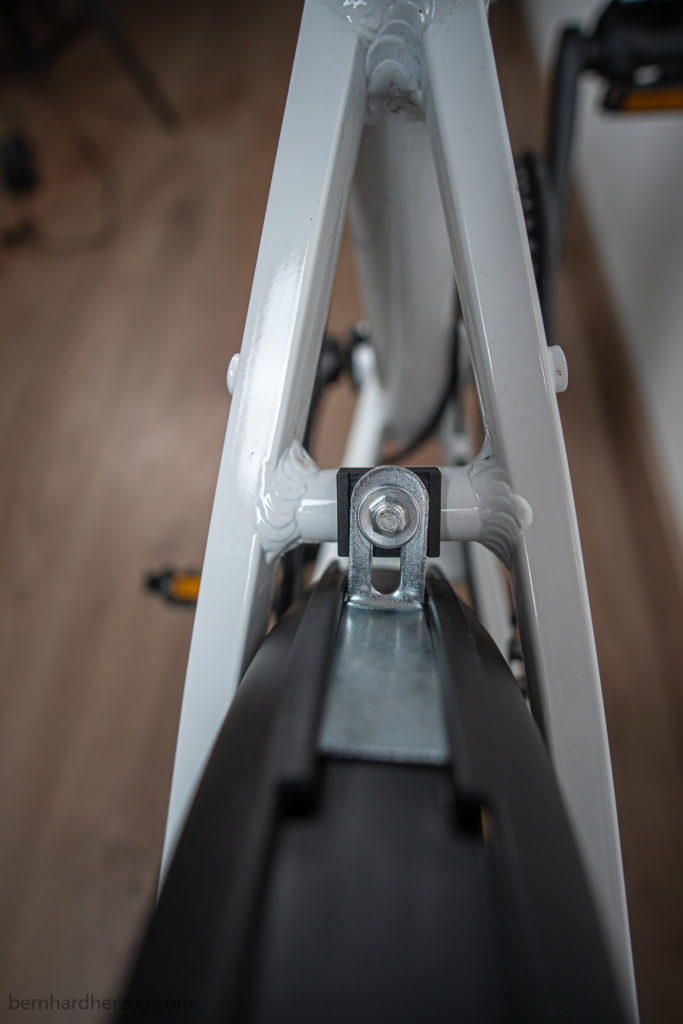

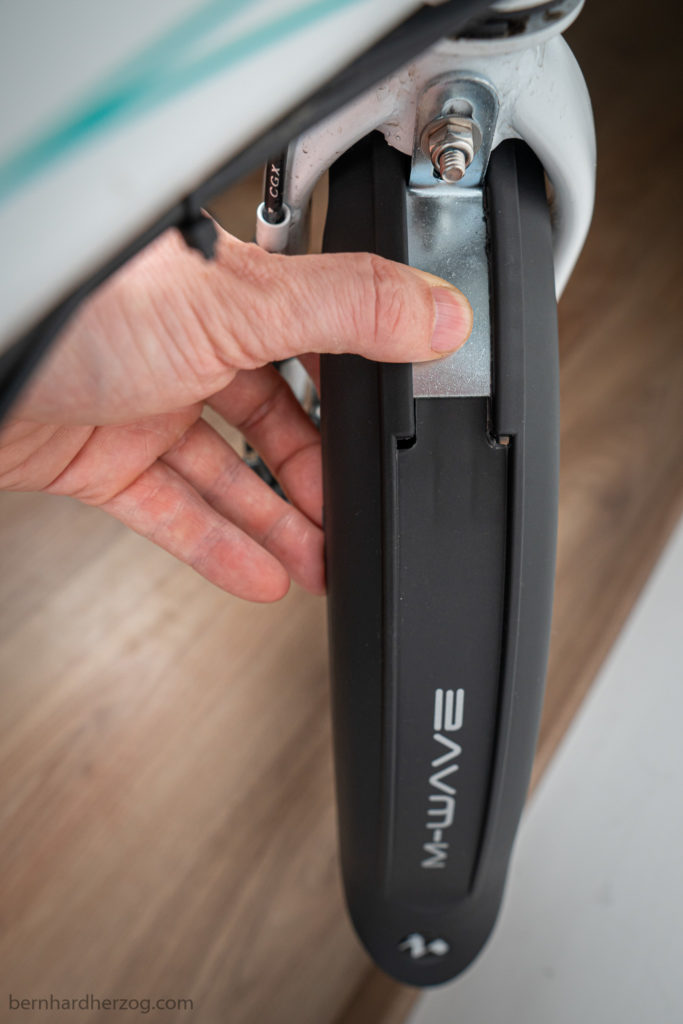
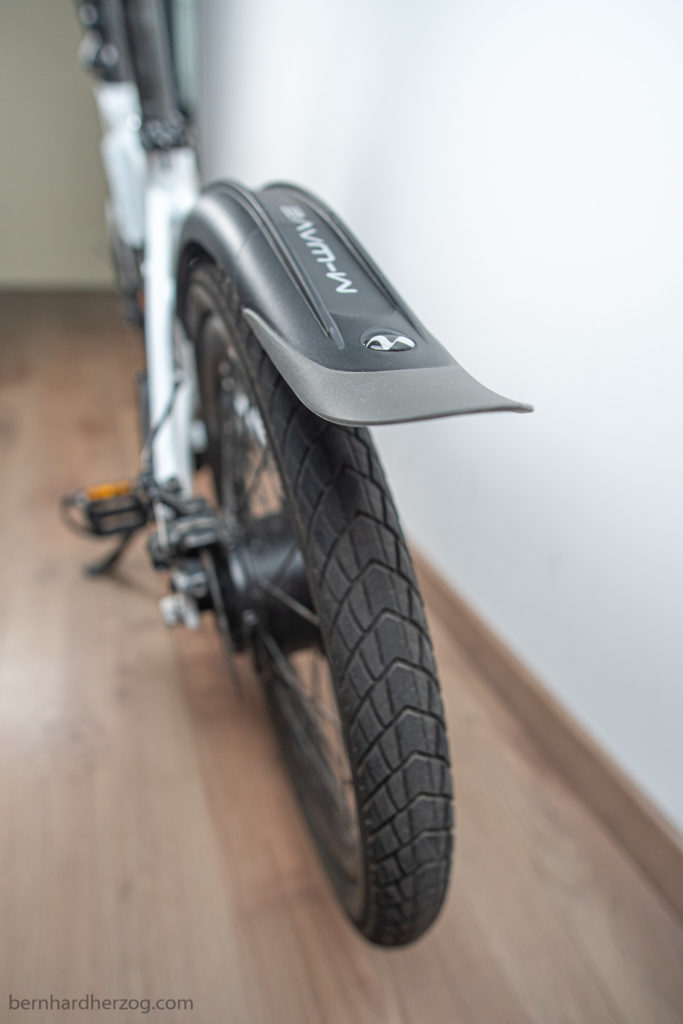
At the moment I am really happy with my purchase! The assembly is really easy, the fenders look cool and they are not heavy at all!
Kotschützer @ amazon.de Mudguards @ amazon.co.uk Mudguards @ amazon.it Mudguards @ amazon.fr Mudguards @ amazon.de
8. Changing the Controller
Changing the controller is kind of specific for my E-Bike (Fiido D4S) but since the Kuteng controller I used is very well known you can apply the knowledge to other project as well. Just the wiring might be different.
My main goal was to increase the torque (i.e. go faster uphill). So I needed to put a controller with more current (Ampere). If I would want to increase speed I would need to connect a 48V instead of a 36V battery (see next chapter).
Describing the controller change in detail made this post too long so I created a separate one: click here to read it
10A KT Controller @ aliexpress 8A KT Controller 7A KT Controller (but has different wiring, see video of Jonas Krug) KT Display (I ordered the one with USB) @ aliexpress
9. New Batteries
I ordered three batteries:
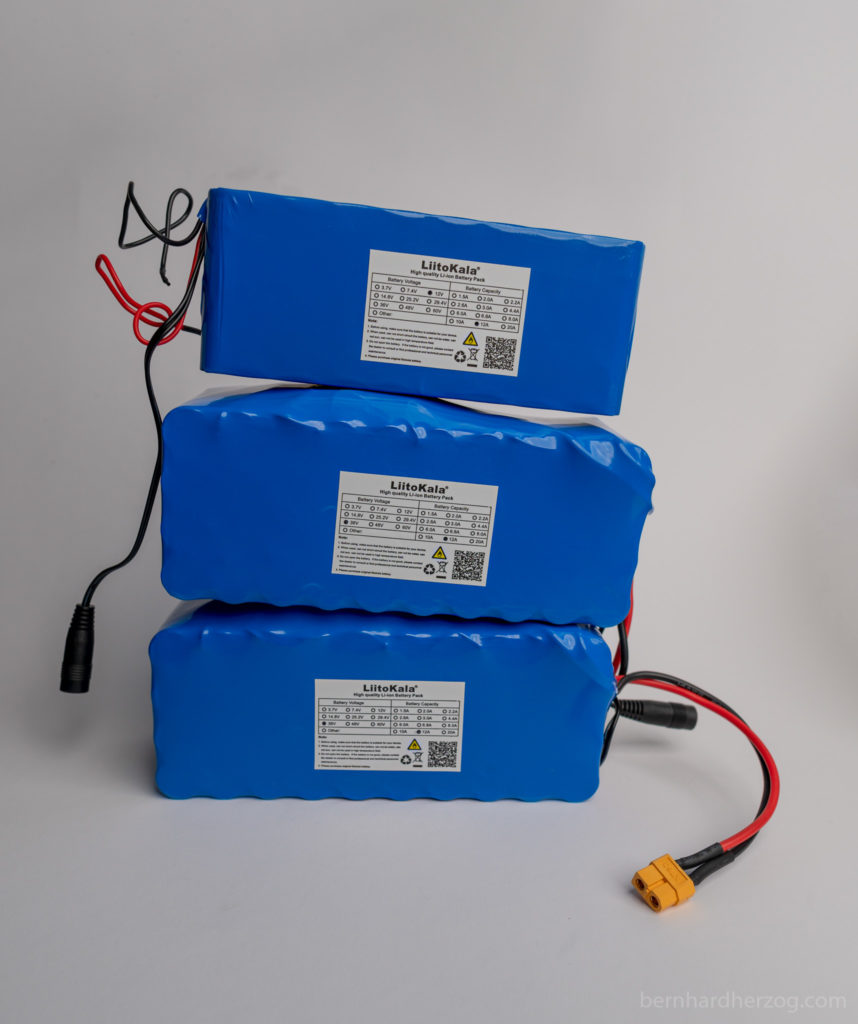
- Liitokala 36V 12Ah (to extend the range if added in parallel to the bike battery)
- another Liitokala 36V 12Ah (for my girlfriend if she ever buys another e-bike to use instead of her scooter)
- LiitoKala 12v 12Ah (to add in series, i.e. to test 48V capabilities)
Warning: on the Littokala 12V I might need to change the BMS and the cables, because the cables are maybe to thin to put the battery in series with the 36V battery… (to many Ampere) so right now I would only recommend to buy a 36V or a 48V battery!
36V 13.6A (10s4p 18650) –> same size as D4S battery!!! 36V 12Ah Battery @ aliexpress
I wrote a separate post on how I upgraded the battery: click here to read it!
10. 58t chainring
My foldable E-Bike can go higher speeds but it gets difficult to pedal at that speed, I look like a hamster. As a remedy for this I want to install a bigger 58t chainring:
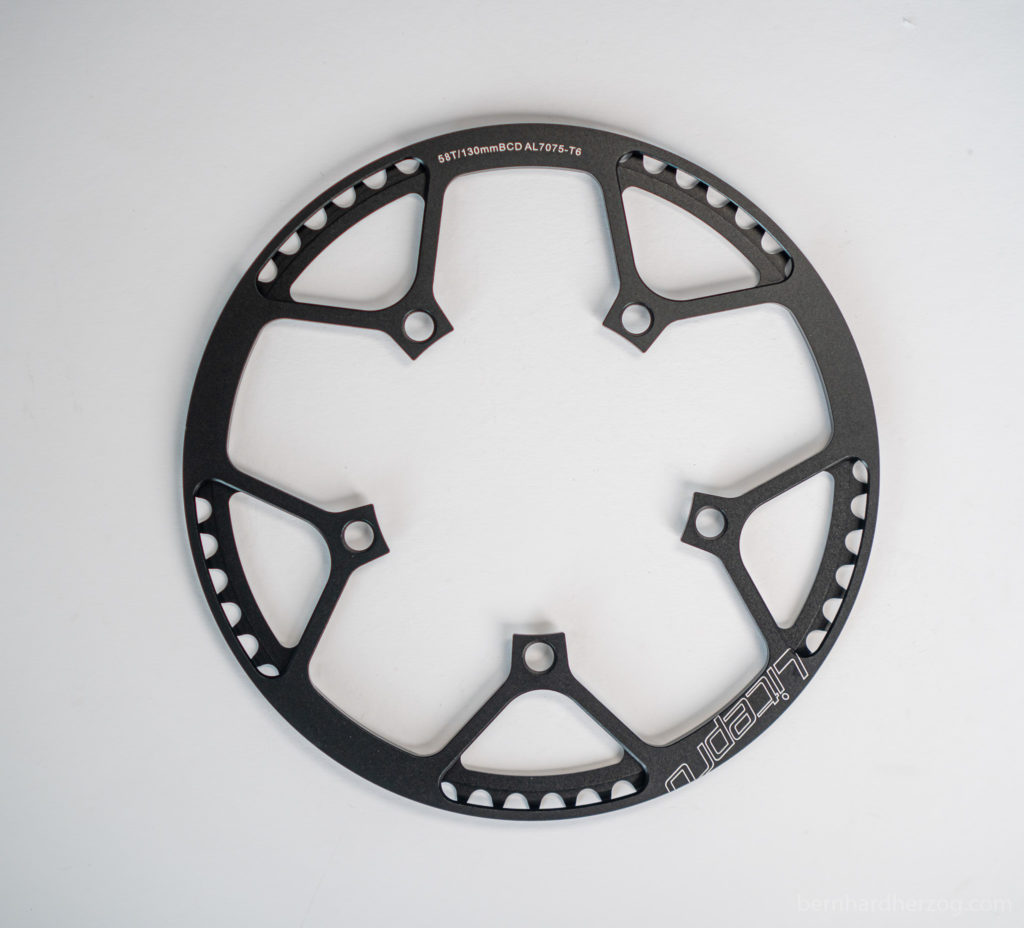
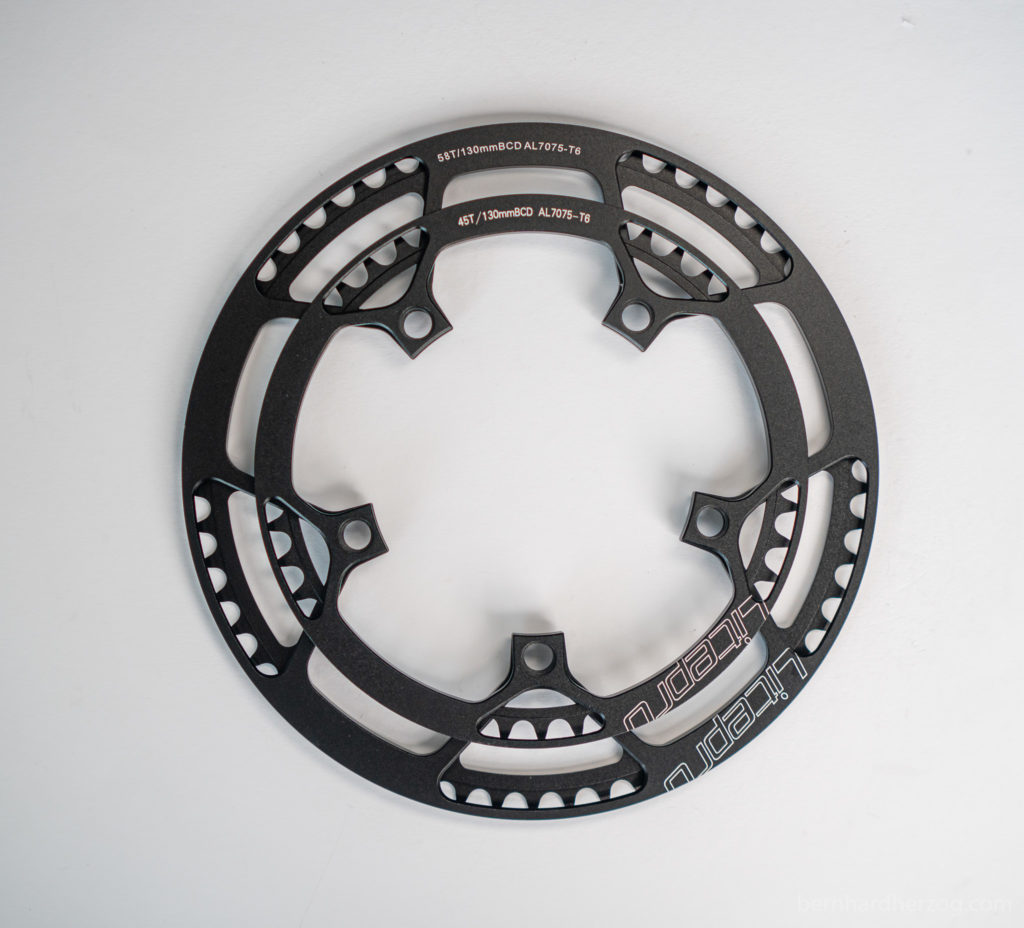
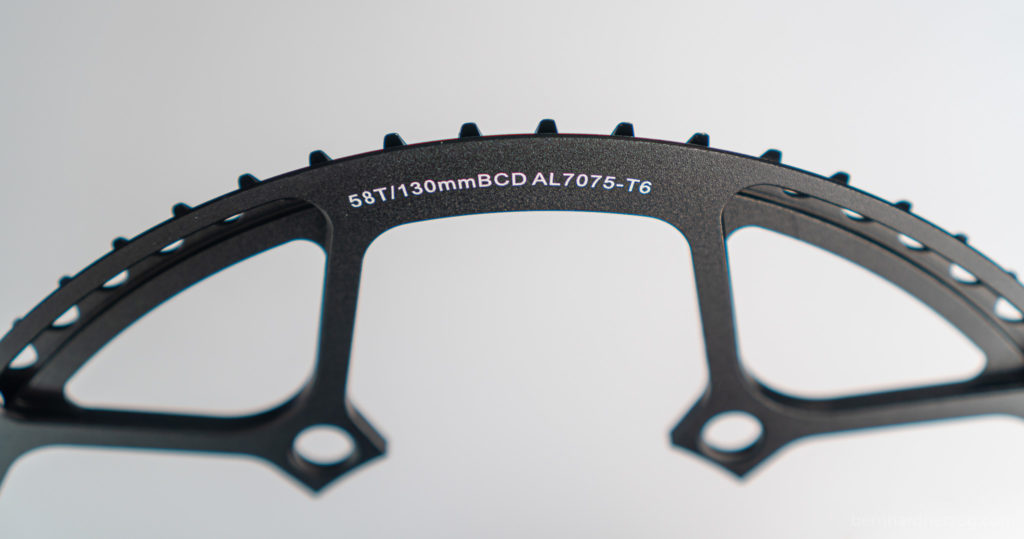
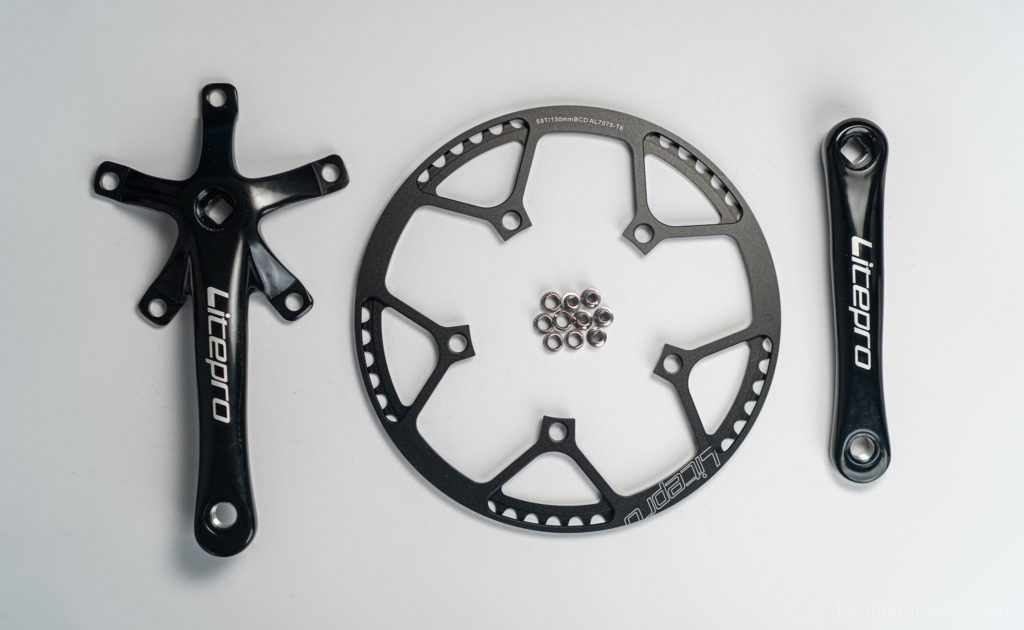
This will make it more difficult to go uphill. But you can always use the throttle, or also replace the rear derailleur and the flywheel if you want.
Changing the chainring
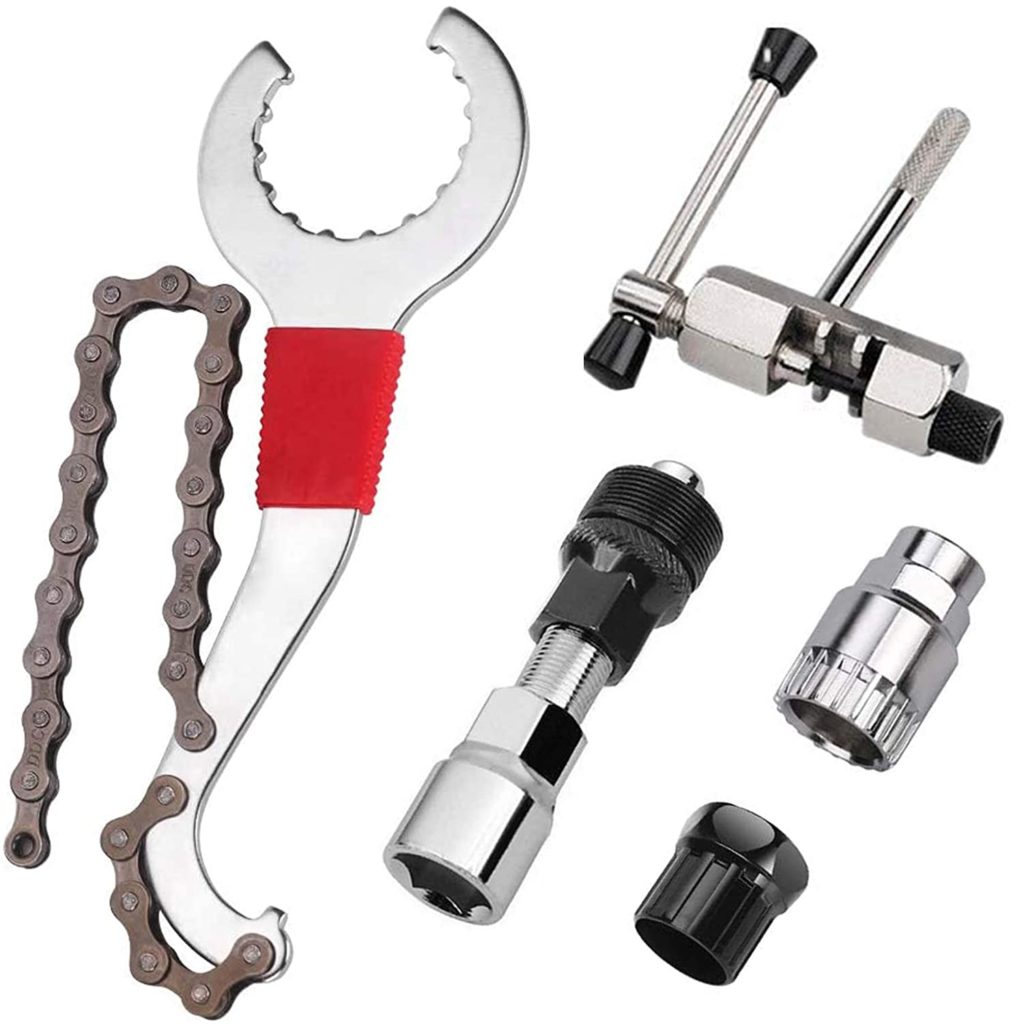
For removing the crank you need a crank removal tool:
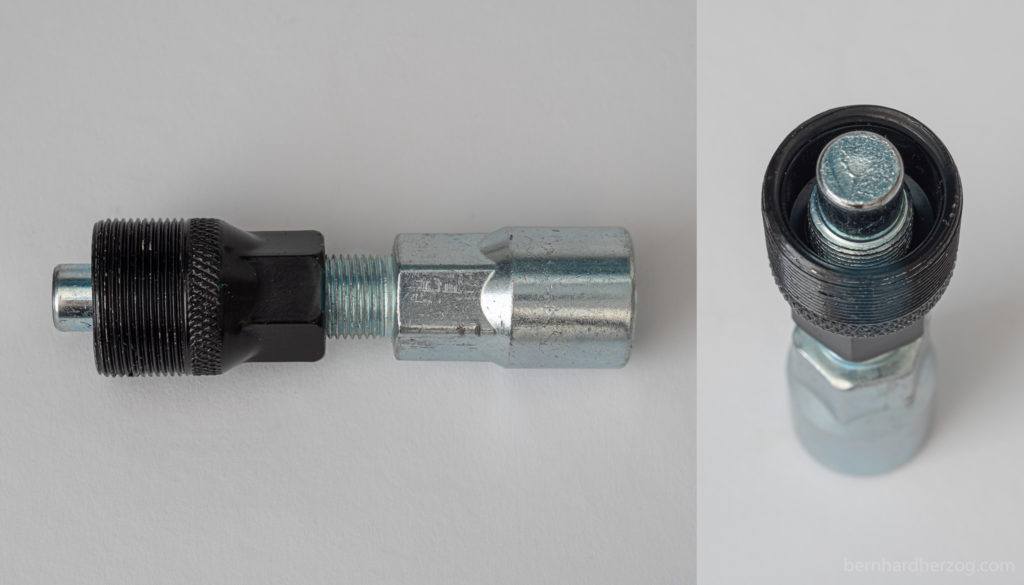
It is good to buy a cassette removal toolkit because sooner or later you will need it anyways:
Here is another nice tutorial about changing the crank:
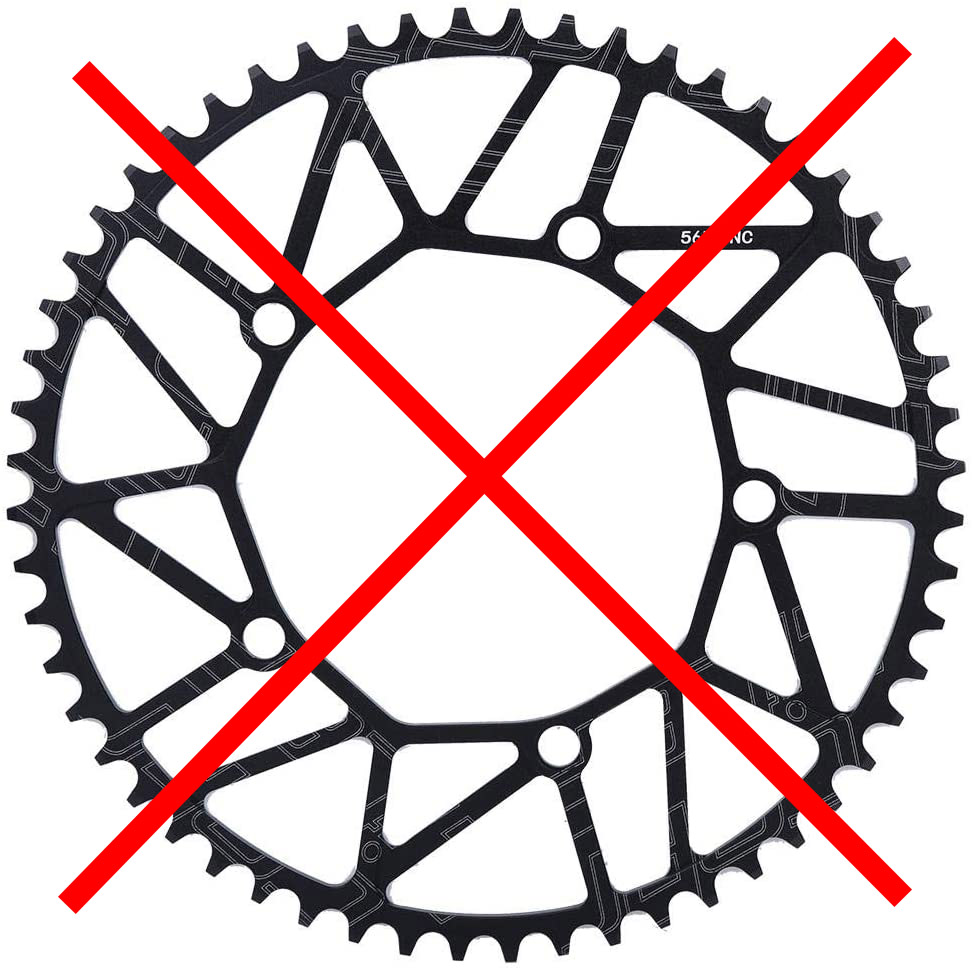
Note: Don’t buy this style of chainring, you will need a special kind of chain so that it does not fall off (it could work if you have a thinner chain, for example with the Fiido D2):
Changing the chain
It is recommended to also replace the chain with a longer one (you can keep the old chain for testing, it will work but it is not perfect):
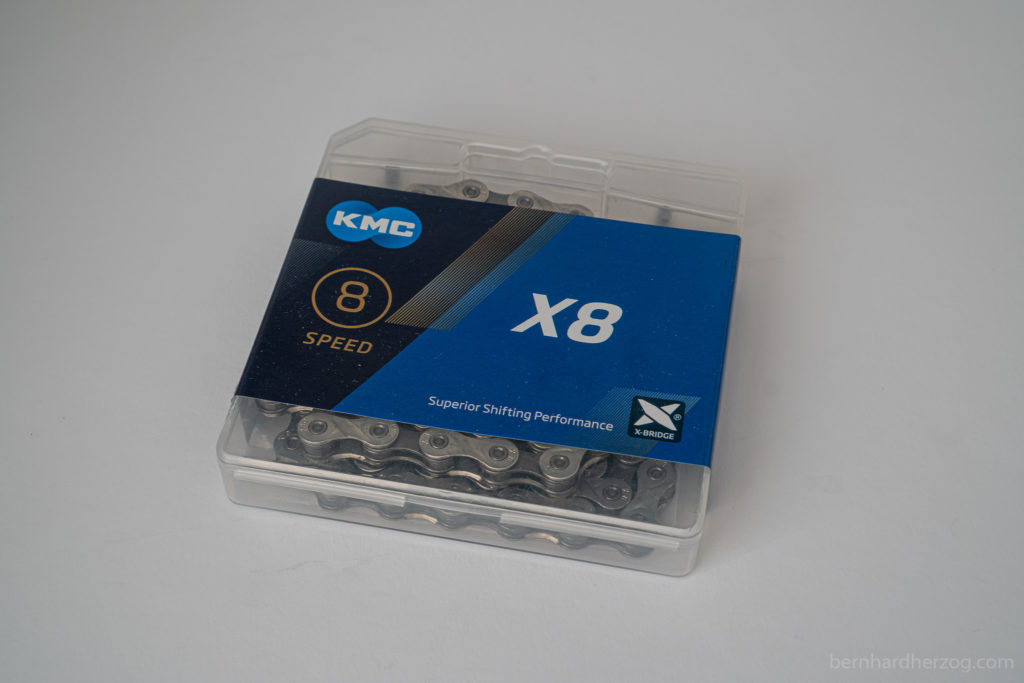
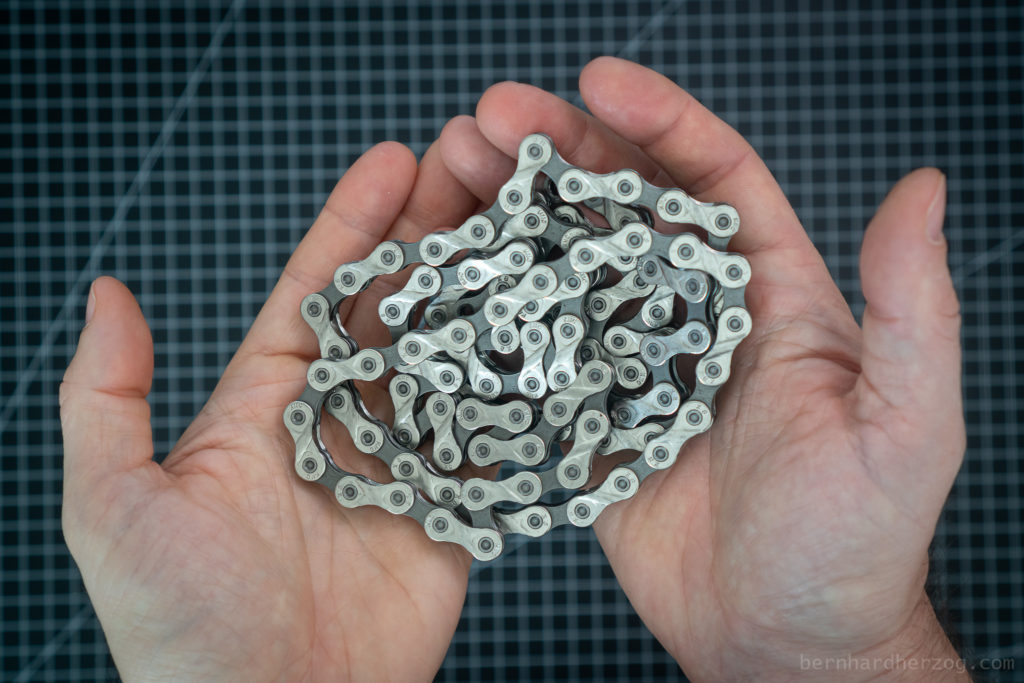
The KMC chain has 116 Links (I used the full length):
To remove the old chain you will need the bicyce chain remover tool. It was included in my toolkit. (My old chain did not have a missing link, because then it would be easier to break it!)
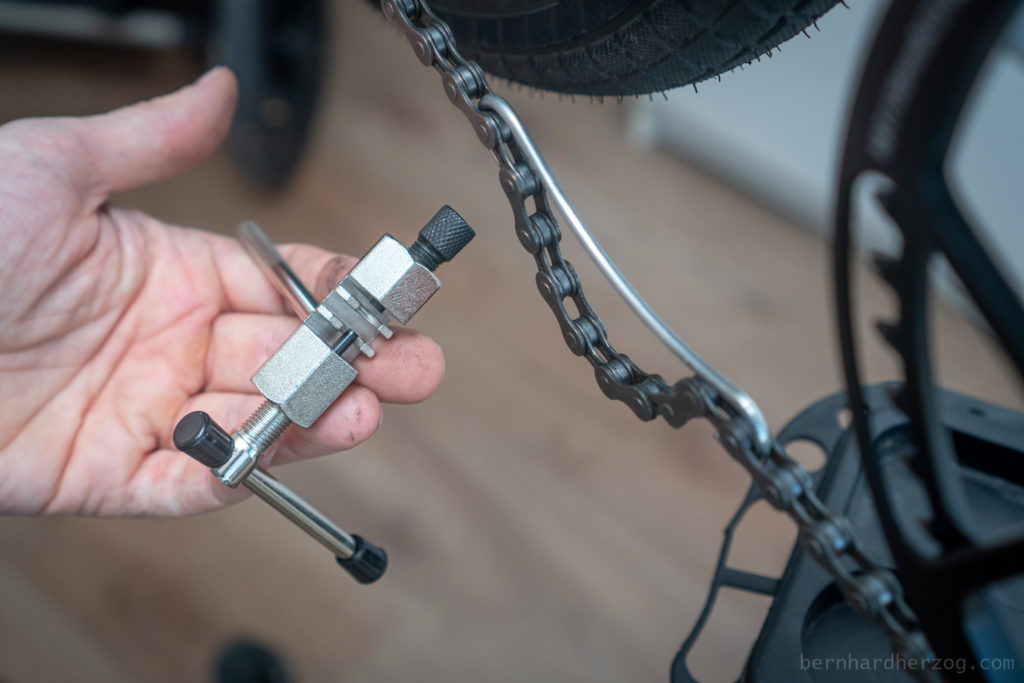
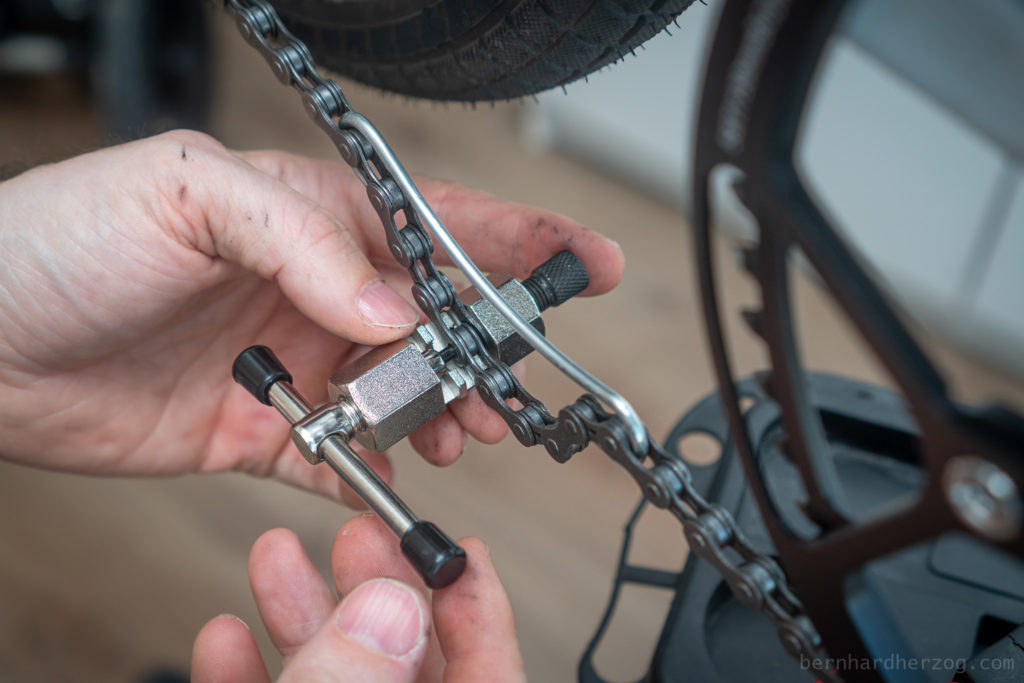
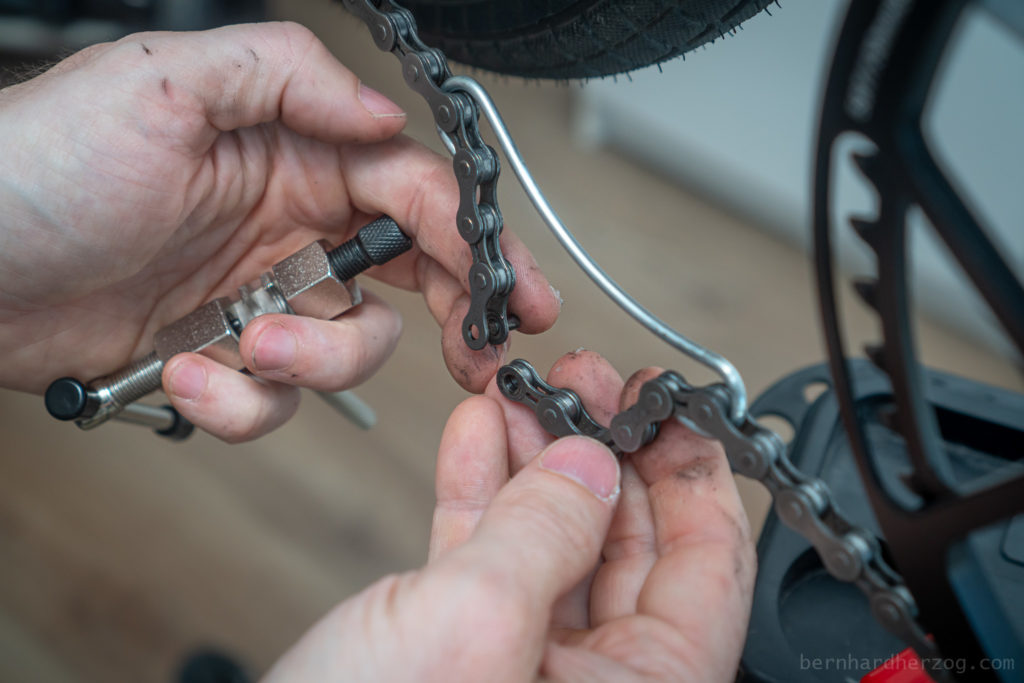
Note: At first there will be resistance when tightening the chain removal tool. Then it get’s easier. It is recommended to stop when it is getting harder again so that the chain pin is not pushed out completely. That way you can still close the chain in theory…
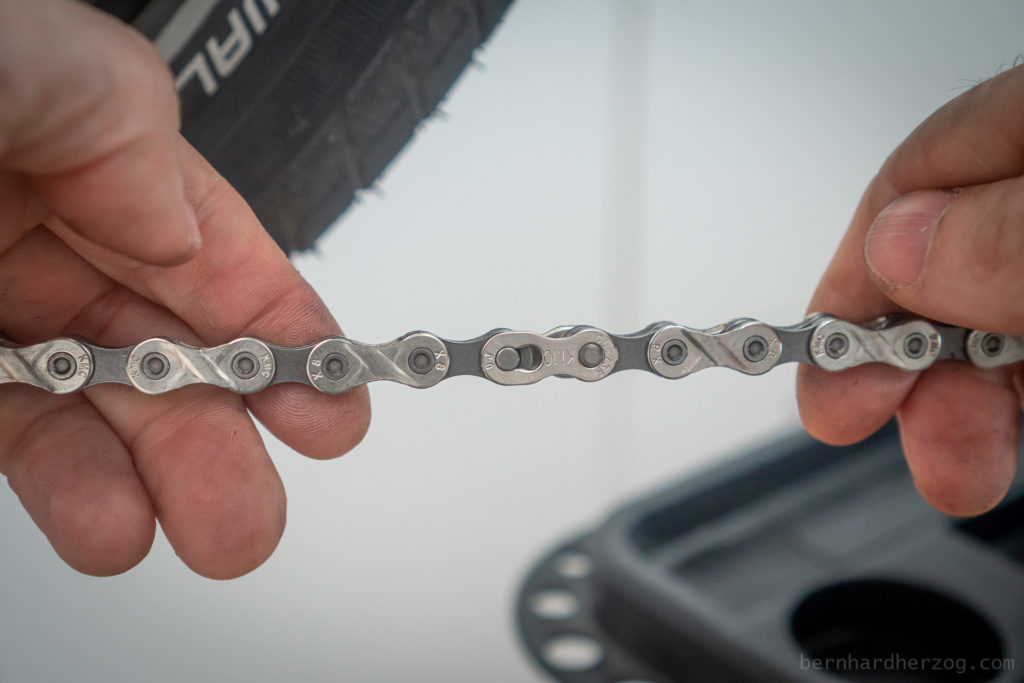
Adding the new chain was easier because of the missing link:
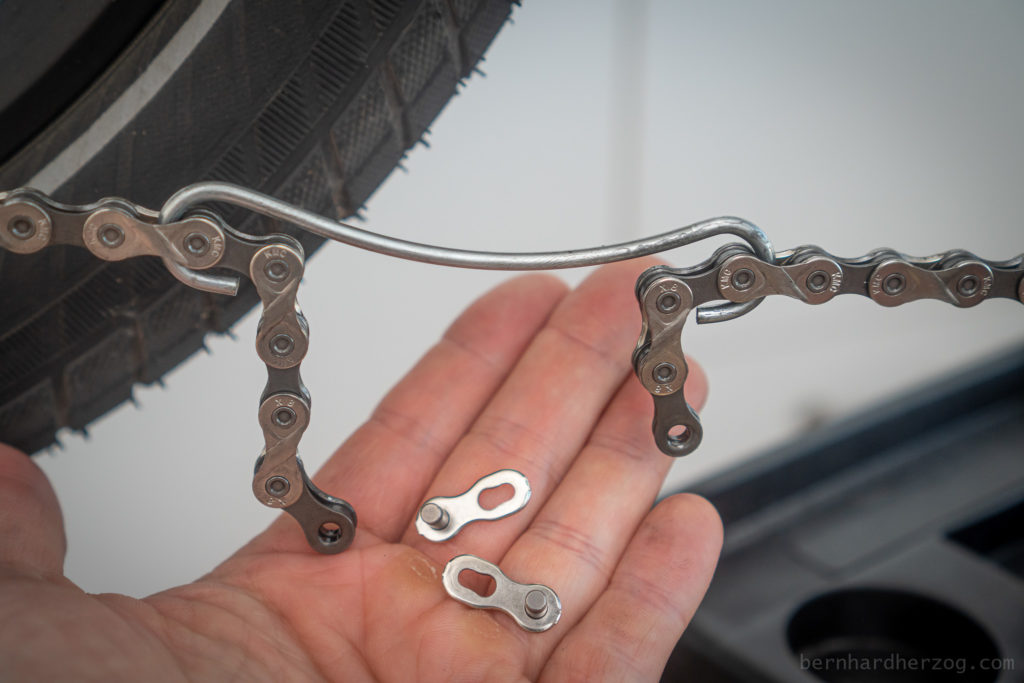
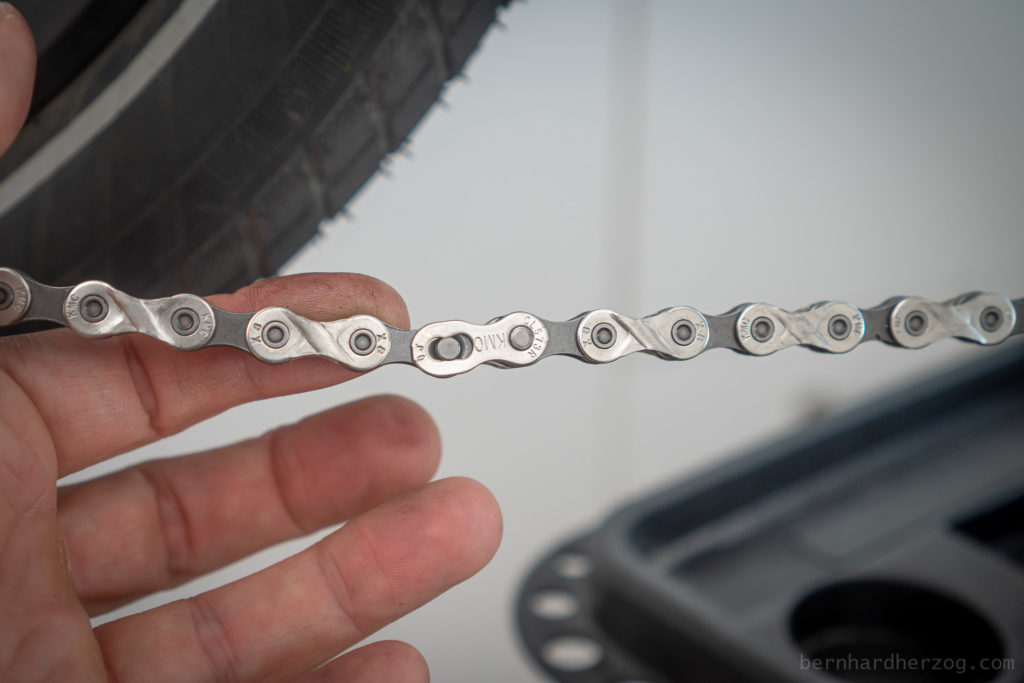
…I pulled a little bit with my hands so that the missing link stays in place
Cassette Removal Toolkit (Amazon) Toolkit @ amazon.de Buy Crank (Aliexpress) Chainring (choose 58t) KMC Chain (choose X8) Multipurpose Grease (for bearings, not for the chain!) WD40 (for chain) 16mm wrench (to remove pedals and for crank puller) 8mm allen key (for screw) Shimano SL-M315 Rapidfire Plus 7 speed Shimano Altus RD-M310 Derailleur DNP 11-34T Flywheel
11. Transport bag
I bought a transport bag so that the bike is less bulky when I go with public transport. In Austria bike places are limited in fast trains but if I go with a folded bike it is free. Also for the car this is very practical.
There is also a version for scooters:
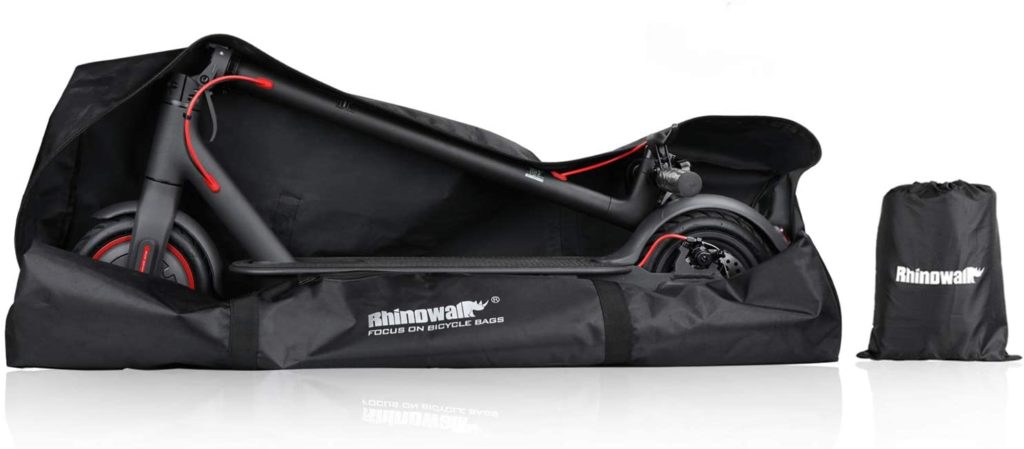
I bought this 20 inch tote bag (I will also link the 26 inch version which has more space below and which I would recommend, esp. if you install the upgrades in this guide):

First I fold the bike. Because I have a rack installed the bike is more wide folded. That’s why I put the handlebar outside and not inside the bike (i.e. not between the wheels):
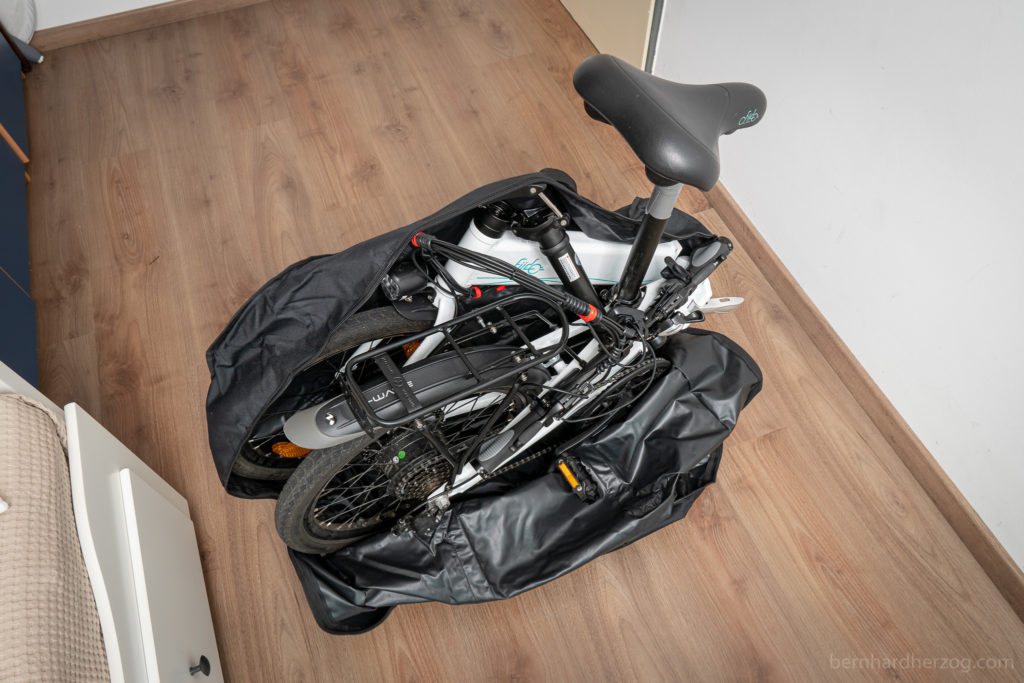
When closing the zippers I start with where the bike has been folded and put the bike a little bit back so I don’t force the zippers.
The bag is very cheap that’s why the zippers are not heavy duty. When I close the back zipper (where the wheels are) I push the bike forward again to the already closed zippers, again to avoid putting stress on the zippers. (The 26 inch version should provide more space, I will link it below.)
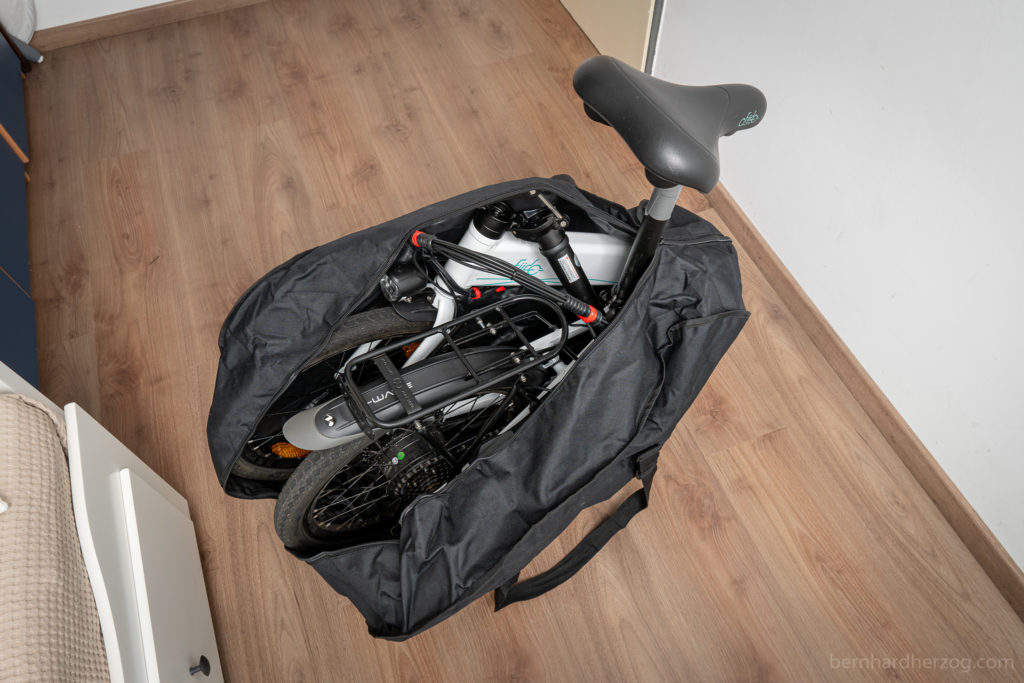
I could also push down the saddle and remove the handlebar completely (put it into bubblewrap) and make everything even more compact.
With a more compact bike like the D11/Fiido X and without a rack it would be a much easier fit.
The bike is now as heavy as before (it is an e-bike after all). But it is much easier to carry because it is much less bulky.
You also have to consider that the bag is ~1 kg which adds to the total weight. If the zippers would be stronger and the bag beefier everything would be even harder to carry..
At first I wanted the bag for my gf so that her (future) bike is easier to carry for her, but I think she still needs a bike that is much more lightweight… (Fiido X?)
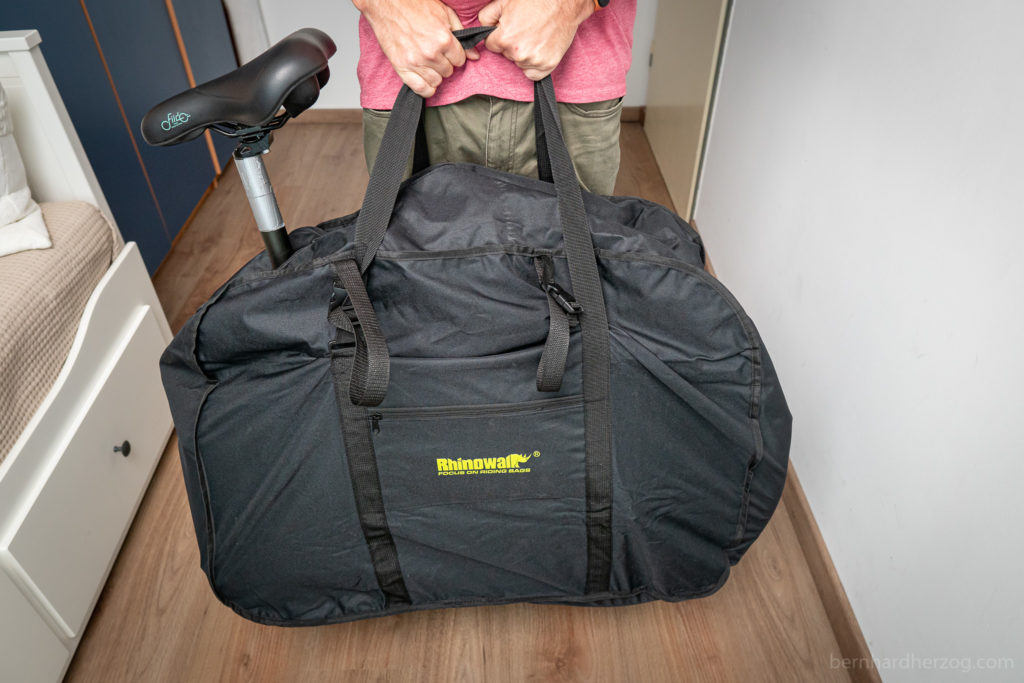
Anyways all this is important for trains because the corridors are so narrow and without the bag it would be very difficult to got here. Also you keep the car clean and tidy.
Rhinowalk 20 inch Transport Bag (Amazon, buy the version for foldable bikes) Rhinowalk 26 inch Transport Bag (recommended for D4S, esp. if you upgrade tires/rack/etc., look for the version for foldable bikes) Rhinowalk Transport Bag for Scooters
12. Schwalbe Big Ben Plus Tyres
This is one of the most important updates because the Schwalbe balloon tyres give a much more comfy ride, even without suspension fork or seatpost (when inflated to 2 bars). This converts the bike almost into a fat-bike.
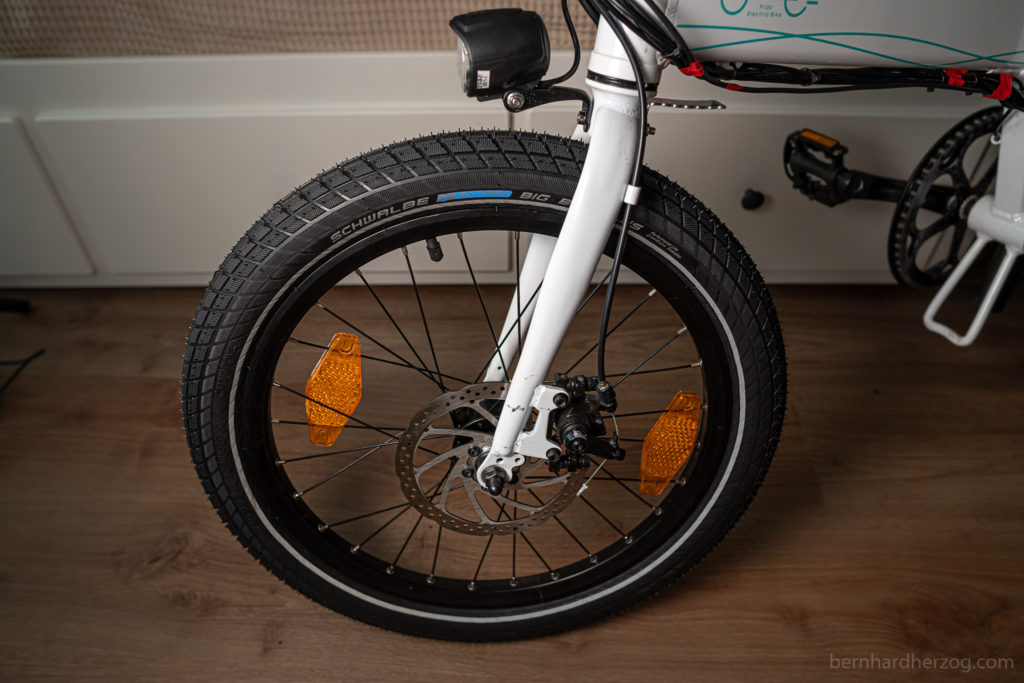
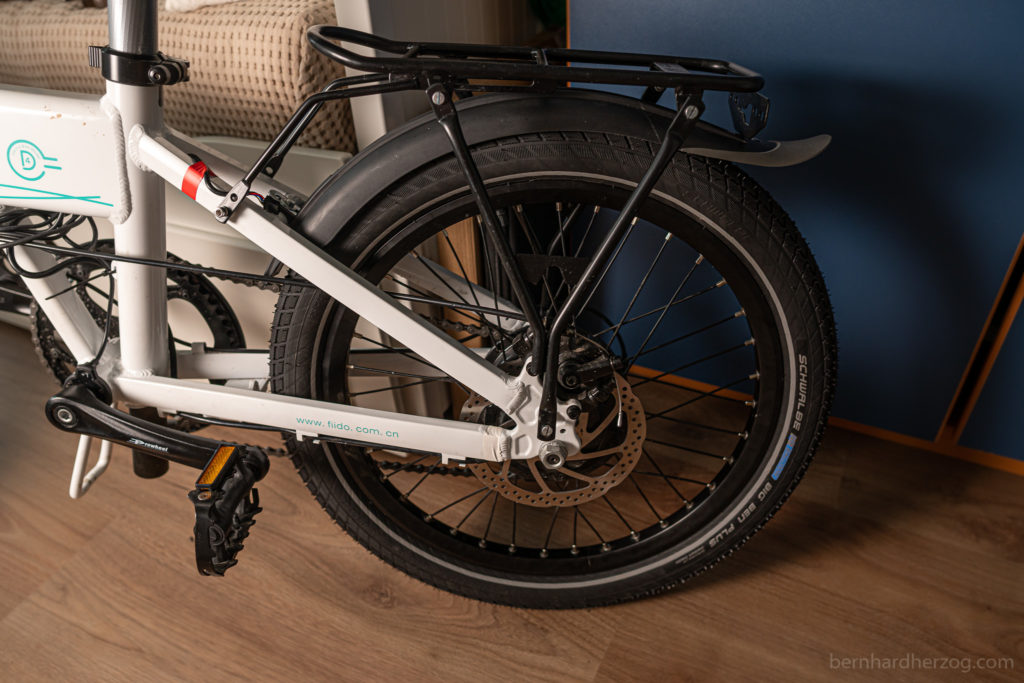
Please click here for my full review & installation how-to of the Schwalbe Balloon tires!
Schwalbe Big Ben Plus 55-406 (Amazon) Schwalbe Big Ben Plus 55-406 (amazon.co.uk) Schwalbe Big Ben Plus 55-406 (amazon.de) Schwalbe Big Ben Plus 55-406 (amazon.fr) Inner Tubes (Amazon, look for 20×2,15′) Toplink Joeblow Sport Pump (Amazon)
13. Alarm
I thought a bike alarm would be a good idea to protect my scooter bike (with all the upgrades I have made)… here you can see my gf trying to steal my bike:
I put the alarm in the black box I printed with my 3d printer… (Here you can read everything about it!)
It is connected to the internal bike battery, but you can also buy a rechargable version integrated in the bike light for example:
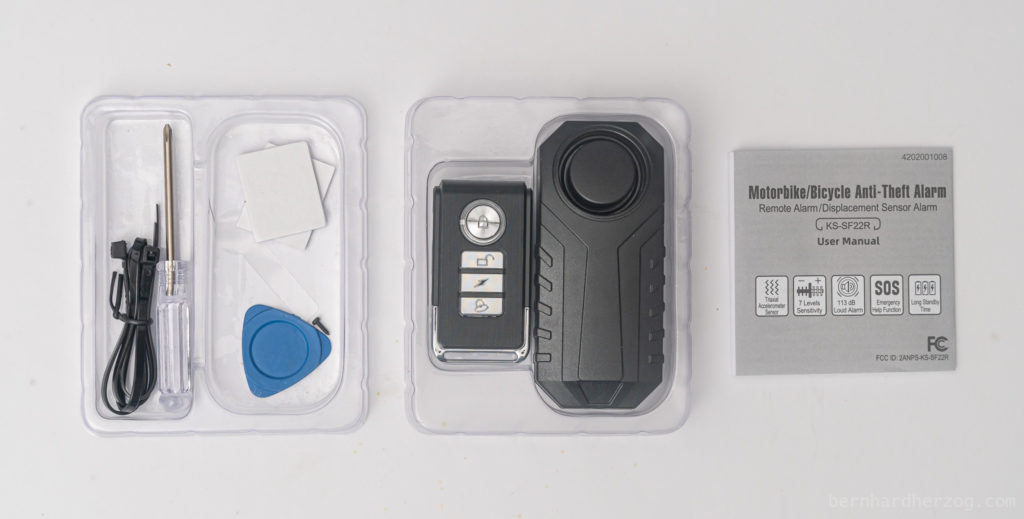
it is nice because you can change the level of sensitivity and how loud it will be
Internal Alarm (Amazon) Internal Alarm (amazon.co.uk) Internal Alarm (amazon.de) Internal Alarm (amazon.fr) Alarm + Light (Amazon) Alarm + Light (amazon.co.uk) Alarm + Light (amazon.de) Alarm + Light (amazon.fr) Battery Alarm
14. GPS
I use the GPS tracker from SinoTrack:
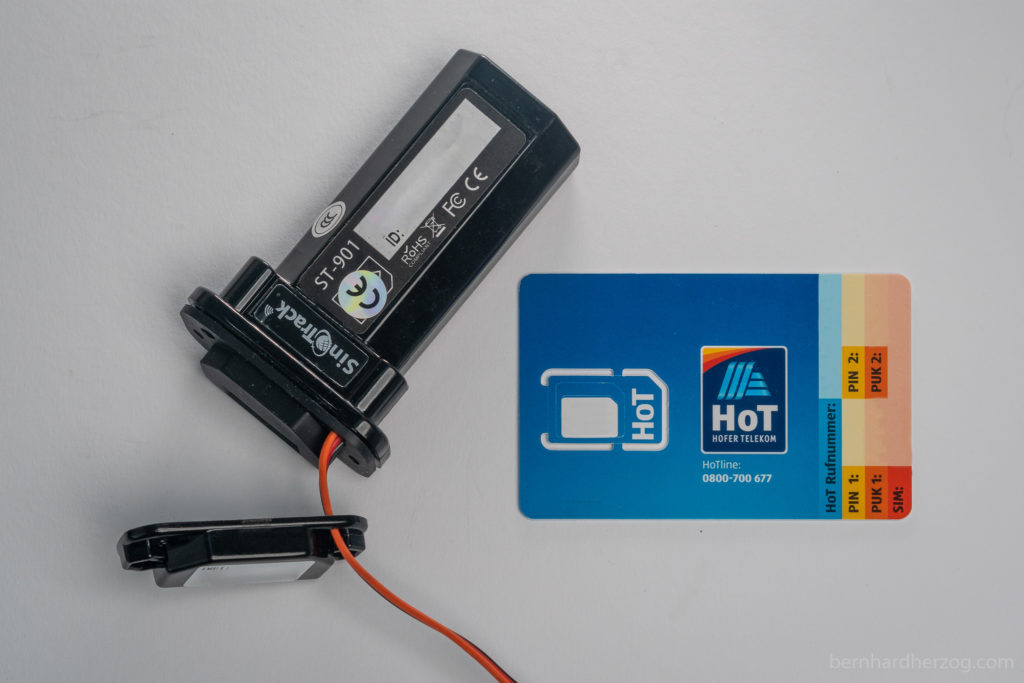
Please click here for my full review and setup guide for this neat little device!
15. Samsung SmartTag Plus (and Apple AirTag)
A GPS Tracker is cumbersome to install and use (esp. because of its size it is difficult to hide). That’s why I tested the Samsung SmartTag as an alternative:
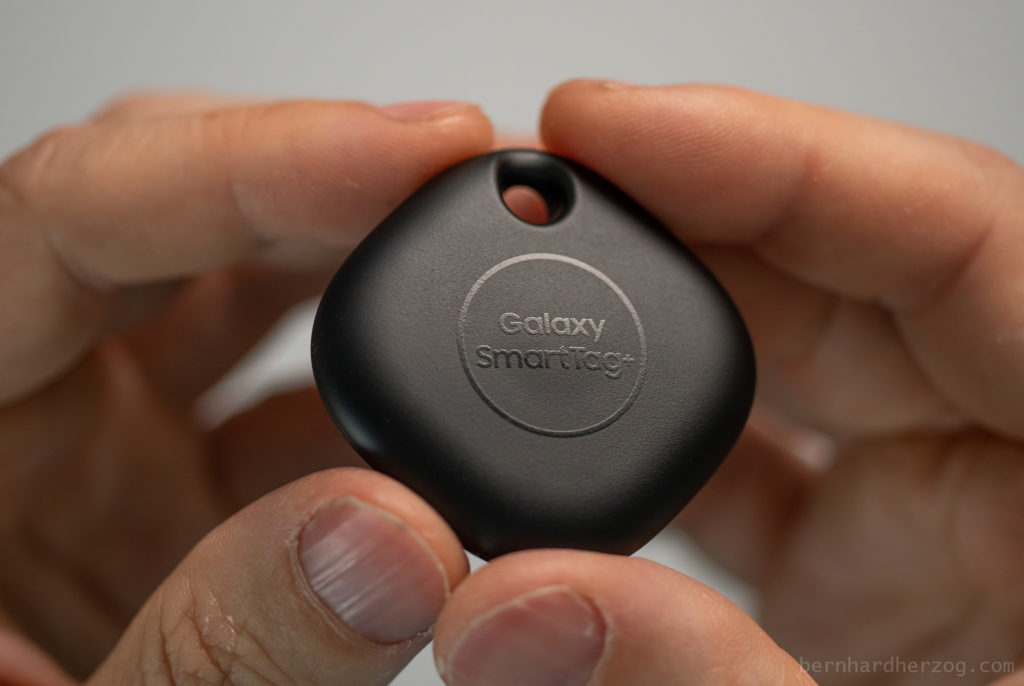
Please read my full review here!
Samsung SmartTag Plus @ Amazon Samsung SmartTag Plus @ amazon.de Samsung SmartTag @ amazon.co.uk Samsung SmartTag Plus @ amazon.fr Samsung SmartTag Plus @ amazon.it Apple AirTag @ Amazon Apple AirTag @ amazon.de Apple AirTag @ amazon.co.uk Apple AirTag @ amazon.fr Apple AirTag @ amazon.it
16. Kickstand
I had to replace the kickstand, because the pedals where always hitting it when reversing and finally it broke.
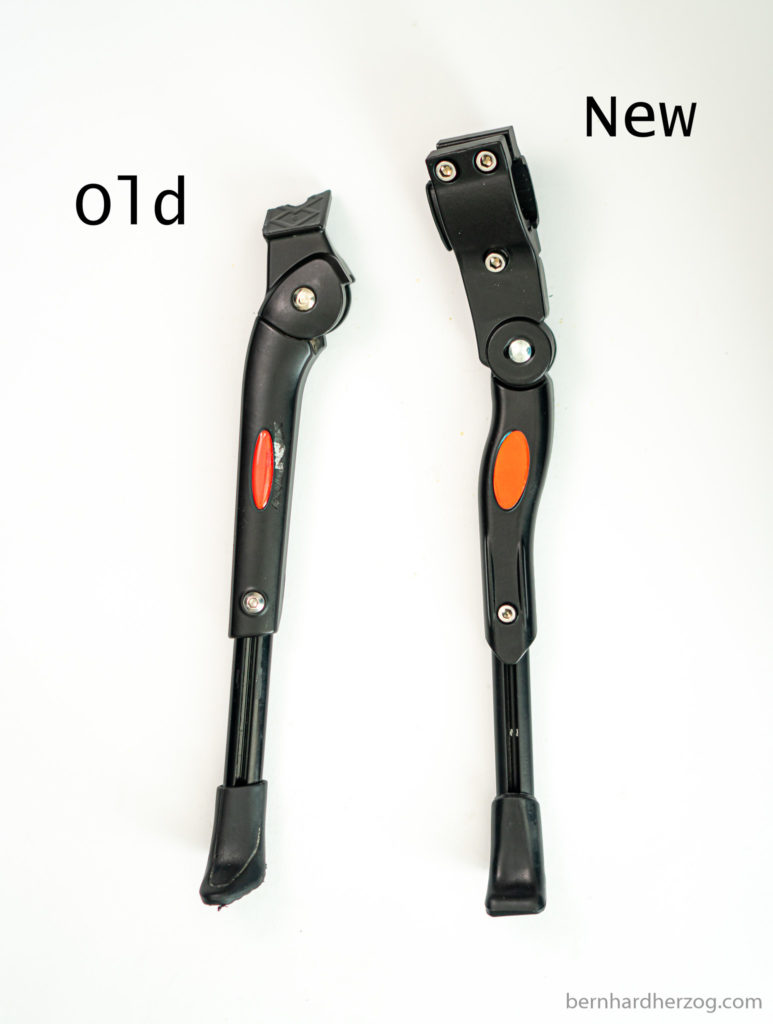
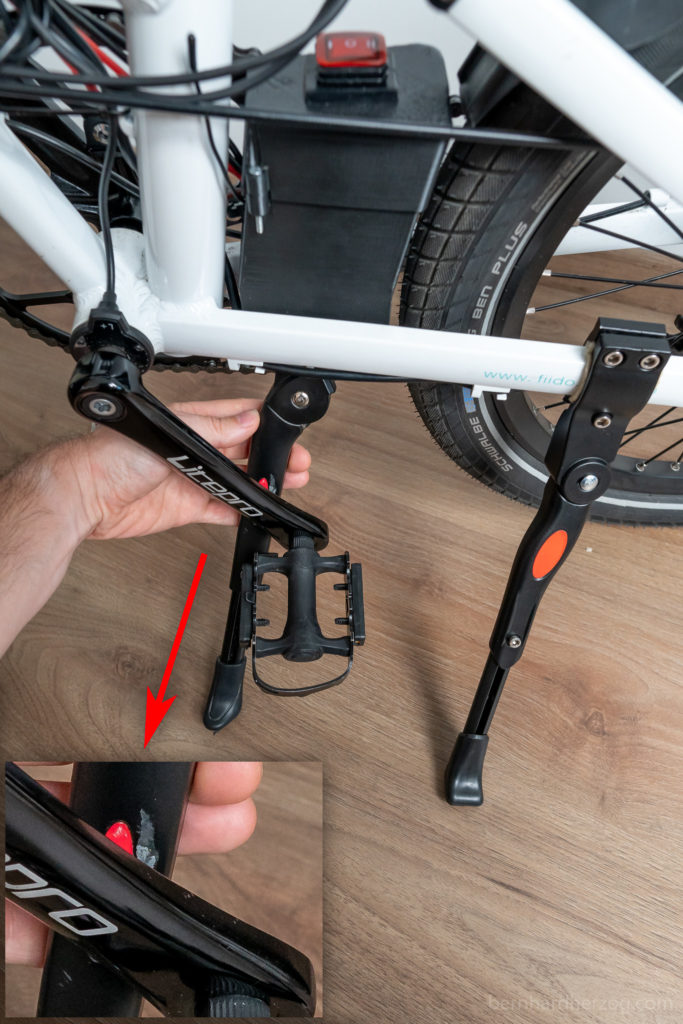
Also very annoying was the “Gong” sound when closing it, because it was hitting the brake disc.
The new kickstand is much better, it solves these issues but the bike is more upright now… maybe I need to shorten the lower part.

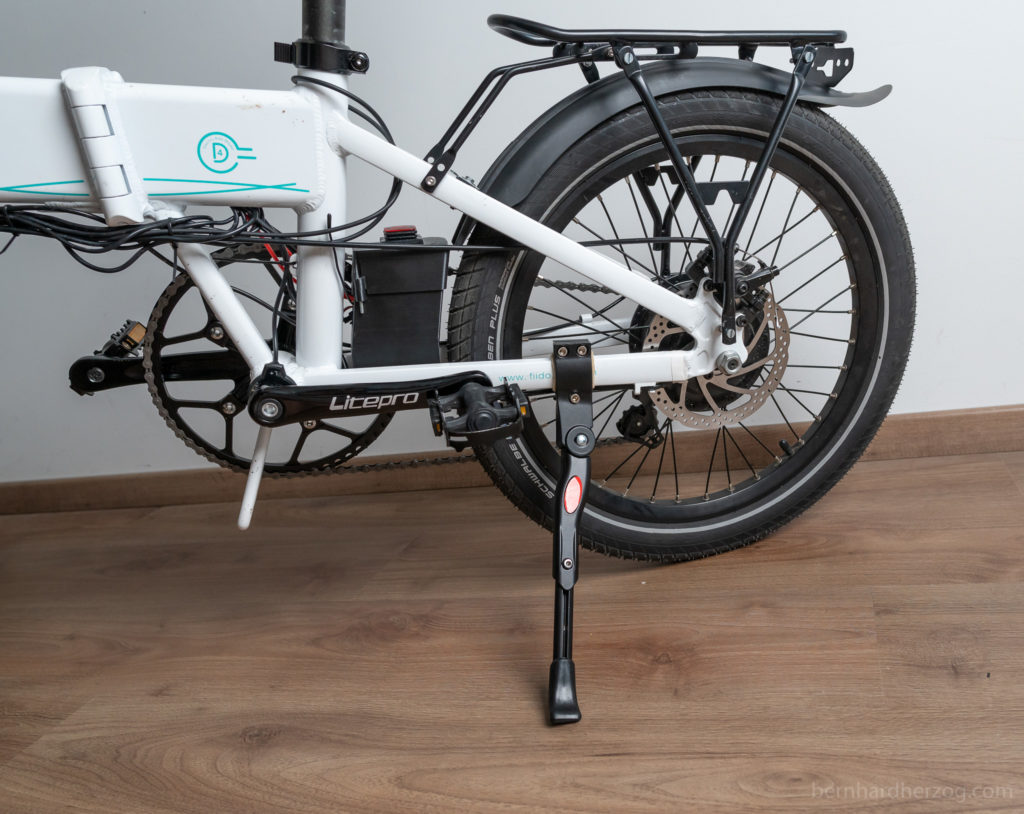
I just have to be careful when I put luggage on the opposite side
Note: In the meantime I put the kickstand more to the back (it is not possible all the way to the back because there is a loop for the motor cable). Because when I was not careful, I was hitting the pedal with my heel… well nothing is perfect 😉 (well it is working now for me I have shoe size EU 43)
Black Kickstand @ Amazon White Kickstand @ Amazon Black Kickstand @ amazon.co.uk White Kickstand @ amazon.co.uk Black Kickstand @ amazon.de White Kickstand @ amazon.de Black Kickstand @ amazon.fr White Kickstand @ amazon.fr Black Kickstand @ Amazon.it White Kickstand @ Amazon.it Kickstand @ Aliexpress
To be continued…
Here you can see a list of my future upgrades:
- ergonomic handlebar (but be careful that the cables are long enough)
- better breaks (Shimano m375)
- Suspension fork (front)
- Suspension Seatpost (ok if you are smaller than ca. 170cm, otherwise try to find 50cm length) + Adapter 31,6 to 33,9
Please check back often, I will try to make regular updates to my list!
Maybe you are thinking now: Why the hell don’t you buy a bike (or scooter) that has everything already? But like I said in the beginning such a bike is much harder to change and above all I can learn a lot from DIY! So don’t think twice and have fun!
Fiido D4S (banggood / EU) Fiido D4S (banggood / US) Fiido D4S @ amazon.de
This post is also available in Deutsch.

Leave a Reply